Why Non-Load Bearing Walls Make Your Shed Design More Flexible

Non-load bearing walls revolutionize interior design flexibility, offering homeowners unlimited potential to customize their living spaces without compromising structural integrity. These versatile partition walls serve as room dividers, storage solutions, and design elements while leaving the main structural support to load-bearing walls and support beams. Understanding the distinction between load-bearing and non-load bearing walls empowers DIY enthusiasts to confidently tackle renovation projects, from creating new closet spaces to opening up cramped rooms.
Whether you’re planning a shed renovation or considering a home remodel, non-load bearing walls present cost-effective opportunities to transform your space. These walls typically run parallel to ceiling joists and can be modified, moved, or removed without affecting your building’s structural stability. Their lightweight construction, usually consisting of simple wooden frames covered with drywall, makes them ideal for DIY projects and quick spatial reorganization.
By mastering the basics of non-load bearing wall construction, homeowners gain the freedom to adapt their living spaces to evolving storage needs while maintaining safety and building code compliance.
Understanding Non-Load Bearing Walls in Shed Construction
Key Characteristics of Non-Load Bearing Walls
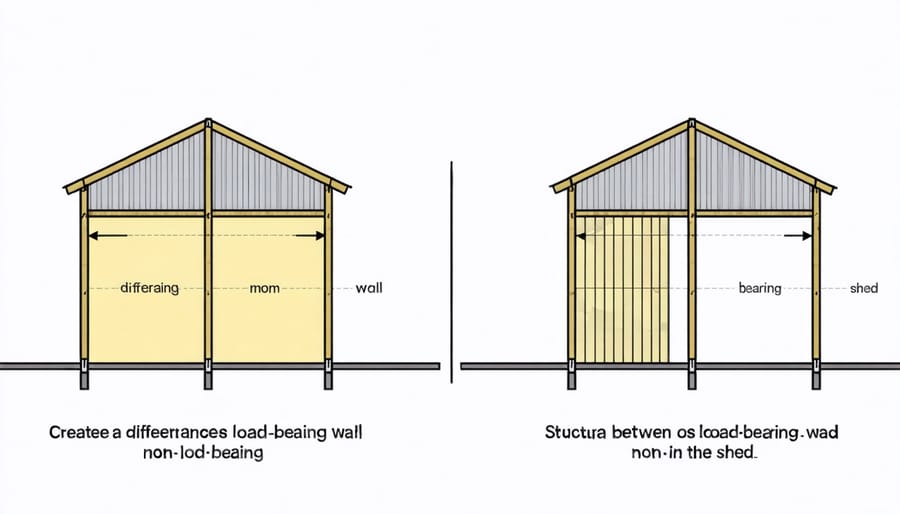
Non-load bearing walls are distinctly different from their load-bearing counterparts in several key ways. During shed wall construction, you’ll notice these walls typically have lighter framing members, often using 2×3 or 2×4 lumber instead of heavier materials. They’re usually positioned perpendicular to the roof joists or trusses above and don’t connect directly to the foundation below.
One telling characteristic is their thickness – non-load bearing walls are generally thinner than load-bearing walls. You can often identify them by gently tapping the wall; a hollow sound typically indicates a non-load bearing wall. These walls also frequently feature larger openings for windows and doors without requiring substantial headers or support beams.
In terms of placement, non-load bearing walls can be more flexible, allowing for future modifications without compromising your shed’s structural integrity. They’re commonly used for creating storage compartments, dividing space, or adding aesthetic elements to your shed’s interior. When planning your layout, remember that these walls can be removed or relocated more easily than load-bearing walls, giving you greater flexibility in adapting your space over time.

Benefits for Shed Design
Incorporating non-load bearing walls in your shed design opens up a world of versatile storage possibilities. These walls provide excellent flexibility for customizing your space without compromising structural integrity. You can easily modify the interior layout as your storage needs change, making it simple to adapt your shed over time.
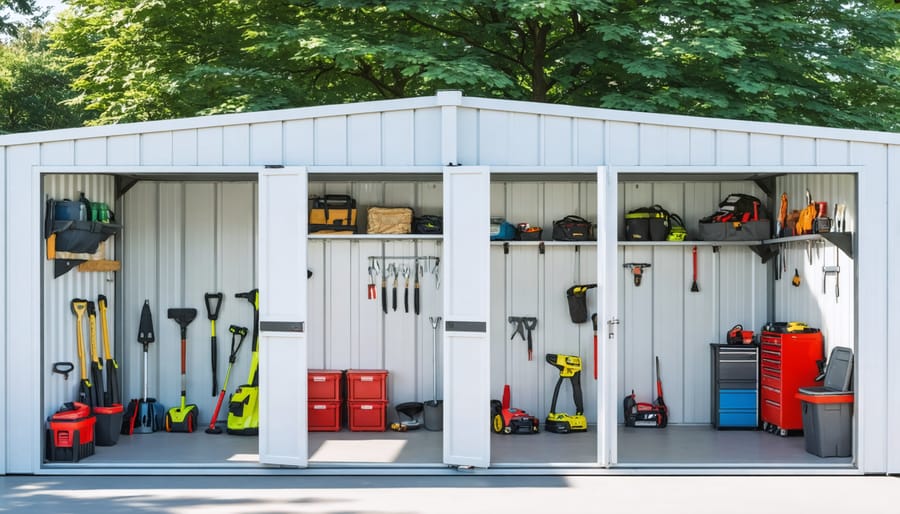
One key advantage is the ability to create separate zones within your shed. You can partition areas for different purposes, such as keeping garden tools separate from workshop equipment or creating a potting station away from power tools. These dividing walls also make it easier to install shelving, pegboards, and other organizational systems exactly where you need them.
Non-load bearing walls are typically lighter and more affordable than structural walls, making them budget-friendly additions to your shed design. They’re also easier to install or remove, which is perfect for DIY enthusiasts who might want to reconfigure their space in the future. Additionally, these walls can help improve organization by providing more vertical surfaces for mounting storage solutions while maintaining proper airflow throughout the shed.
Remember, since these walls don’t support any weight from above, you have greater freedom in positioning them to create the most functional layout for your specific needs.
Strategic Placement of Non-Load Bearing Walls

Interior Organization Options
Non-load bearing walls offer fantastic opportunities to maximize your interior storage potential. These versatile partitions can be customized to incorporate various organization solutions that make the most of your vertical space. Built-in shelving units, pegboards, and sliding storage systems can be easily integrated into these walls without compromising structural integrity.
Consider installing adjustable track systems that allow you to modify shelf heights and configurations as your storage needs change. Wall-mounted cabinets and fold-down workbenches can be securely attached to create functional workspaces that can be tucked away when not in use. For craft enthusiasts, non-load bearing walls can accommodate floor-to-ceiling organizers for supplies and materials.
You can also create hidden storage compartments within these walls by installing recessed shelving units or pull-out panels. This approach is particularly useful for storing smaller items or creating a cleaner, more organized appearance. Remember to plan your storage layout carefully, considering the items you’ll be storing and how frequently you’ll need to access them. The beauty of non-load bearing walls is that they can be modified or relocated as your storage needs evolve.
Future Modification Possibilities
One of the greatest advantages of non-load bearing walls is their flexibility for future modifications. Since these walls don’t support the structure above, they can be easily removed, relocated, or altered to accommodate changing needs. Homeowners can transform smaller rooms into larger spaces by removing these walls, creating an open-concept layout without compromising structural integrity.
These walls also offer excellent opportunities for adding features like built-in shelving, entertainment centers, or pass-through windows. You can cut openings for new doors or windows, or even install sliding doors to maximize space efficiency. For growing families, non-load bearing walls can be partially removed to create archways or modified to add closet space.
When planning renovations, these walls provide cost-effective solutions as they typically require less engineering oversight and fewer structural considerations than load-bearing alternatives. This flexibility makes them particularly valuable in homes where space needs might change over time, such as when accommodating aging parents or creating a home office.
Before making any modifications, always consult with a professional to confirm the wall’s non-load bearing status and ensure your planned changes meet local building codes.
Construction Tips and Material Selection
Recommended Materials
Popular materials for non-load bearing walls include drywall (gypsum board), which offers a smooth finish and excellent fire resistance. Wood panels and plywood are lightweight, cost-effective options that work well in shed interiors. Medium-density fiberboard (MDF) provides a stable surface perfect for mounting shelves or storage units. When insulating your shed walls, consider combining these materials with foam board or fiberglass insulation. Plastic wall panels offer moisture resistance and easy maintenance, making them ideal for humid environments. For a modern touch, consider using oriented strand board (OSB) or beadboard, both of which provide durability while maintaining an attractive appearance. These materials are readily available at most home improvement stores and can be installed with basic DIY skills.
Installation Best Practices
When installing non-load bearing walls, start by marking the wall location on the floor and ceiling using a chalk line. Ensure you follow proper wall framing techniques by spacing studs 16 inches on center. Use a level to maintain perfect vertical alignment, and secure top and bottom plates with appropriate fasteners. Install blocking between studs for added stability and to support fixtures or shelving. Double-check all measurements and angles before securing drywall or paneling. Remember to leave proper clearance around doors and windows, typically 1/2 inch on each side. For the best results, use pressure-treated lumber for bottom plates that contact concrete floors, and always verify local building codes before starting your project.

Non-load bearing walls offer homeowners incredible flexibility in designing and modifying their living spaces. These versatile elements allow you to create separate areas, add storage solutions, or improve privacy without compromising your home’s structural integrity. When planning renovations or additions, considering non-load bearing walls can save both time and money while providing the freedom to adapt your space as needed. Remember to always consult with a professional before making any structural changes, and ensure proper permits are obtained when required. By understanding the role and benefits of non-load bearing walls, you can make informed decisions about your home’s layout and maximize its potential for years to come.

