
Keep Your Shed Rock-Solid: Expert Tips for Perfect Concrete Anchoring
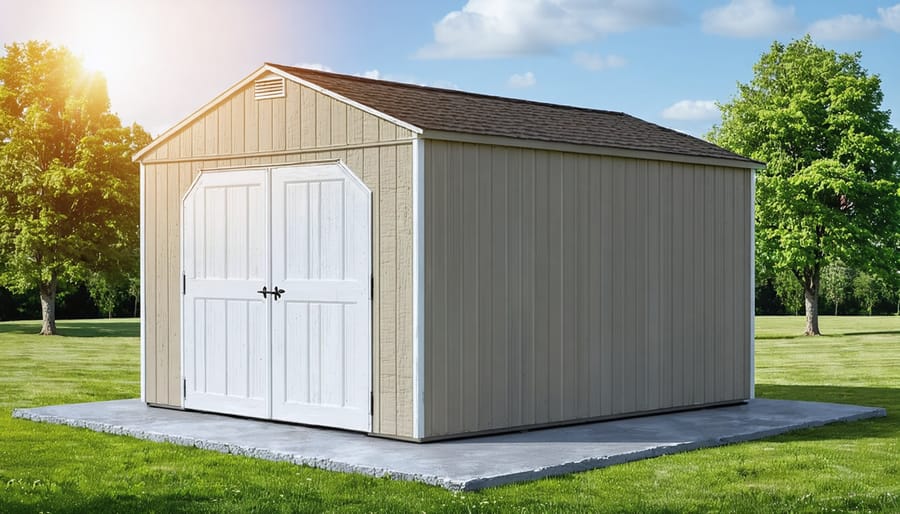
Secure your storage shed properly with concrete anchors to prevent wind damage, structural shifting, and potential safety hazards. Choosing the right anchoring system stands as one of the most critical decisions when establishing the best foundation for your shed. Modern concrete anchors deliver exceptional holding power through wedge-style expansion bolts or epoxy-based systems, each offering distinct advantages for different soil conditions and shed sizes.
Professional installers consistently recommend J-bolts or wedge anchors for their superior lateral strength and ease of installation, particularly in regions prone to high winds or seasonal ground movement. These heavy-duty fasteners, when properly embedded in concrete, create a permanent connection that maintains your shed’s stability while protecting your investment and stored belongings.
Consider factors like your local building codes, soil composition, and shed dimensions when selecting anchor types and spacing. Standard recommendations call for anchors at each corner and at intervals no greater than six feet along perimeter walls, ensuring optimal load distribution and maximum structural integrity.
Why Concrete Anchors Are Essential for Shed Stability
Weather Protection and Safety Benefits
Properly installed wind anchors for sheds provide crucial protection against nature’s most challenging elements. During severe weather, your shed faces significant uplift forces that can literally tear it from its foundation. Concrete anchors act as your shed’s guardian, creating a robust connection between the structure and the ground that stands firm against high winds, storms, and even potential earthquakes.
Beyond storm protection, concrete anchors help maintain your shed’s structural integrity year-round. They prevent subtle movements that can lead to misaligned doors, damaged floors, or gaps in walls where moisture might creep in. This stability is especially important in areas with freeze-thaw cycles, where ground movement could otherwise cause your shed to shift or settle unevenly.
The safety benefits extend to your family and property as well. A properly anchored shed protects your stored items from damage and prevents the structure from becoming a hazard during extreme weather events. Think of concrete anchors as an insurance policy – a one-time investment that provides peace of mind and long-term protection for years to come.
Local Building Codes and Requirements
Before installing concrete anchors for your shed, it’s crucial to check your local building codes and requirements. Most municipalities have specific regulations about shed installations, including anchoring methods and minimum requirements for wind resistance.
Typically, local codes will specify the minimum number of anchor points needed based on your shed’s size and the region’s wind zones. For example, many areas require at least four anchor points for small sheds and additional anchoring for larger structures.
Your local building department may also have requirements regarding:
– Minimum anchor depth
– Spacing between anchor points
– Type of approved anchoring systems
– Distance from property lines
– Required permits and inspections
We recommend contacting your local building department or checking their website before starting your project. Some areas may require professional installation or inspection. Keep in mind that proper anchoring isn’t just about compliance – it’s essential for protecting your investment and ensuring safety during severe weather conditions.
If you live in an HOA community, be sure to review their guidelines as well, as they may have additional requirements beyond local building codes.
Types of Concrete Anchors for Sheds
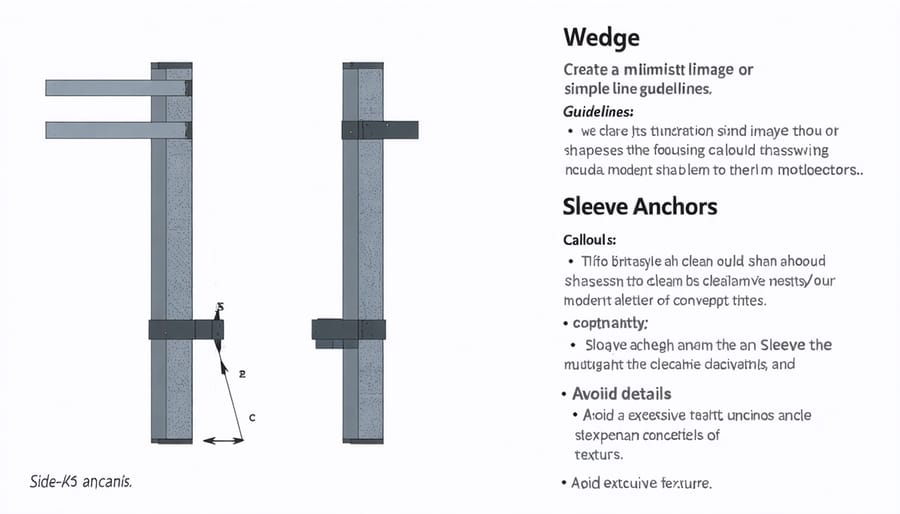
Wedge Anchors vs. Sleeve Anchors
When it comes to securing your shed to a concrete foundation, wedge anchors and sleeve anchors are two popular choices, each with its own set of advantages. While both offer reliable holding power, understanding their differences can help you make the best choice for your specific needs.
Wedge anchors are known for their exceptional strength and reliability. As you tighten the nut, the wedge at the bottom expands, creating a powerful grip against the concrete. They’re perfect for permanent installations and can handle heavy loads, making them ideal for larger sheds. However, they don’t allow for removal and reinstallation, so your placement needs to be spot-on the first time.
Sleeve anchors, on the other hand, offer more flexibility. Similar to U-anchor installation techniques, they work well in various materials and are more forgiving if you need to make adjustments. The sleeve expands uniformly around the bolt, providing consistent pressure and reliable hold. They’re easier to install than wedge anchors and work great for smaller to medium-sized sheds.
For most residential shed installations, either option will work well when properly installed. Consider your shed’s size, local weather conditions, and whether you might need to move the shed in the future when making your choice. Remember to check your local building codes, as some areas have specific requirements for anchor types and installation methods.
Chemical Anchors and Their Applications
Chemical anchors offer a robust and versatile solution for securing sheds to concrete foundations. These two-part epoxy systems create an incredibly strong bond between the anchor bolt and concrete, making them ideal for situations where maximum hold strength is essential.
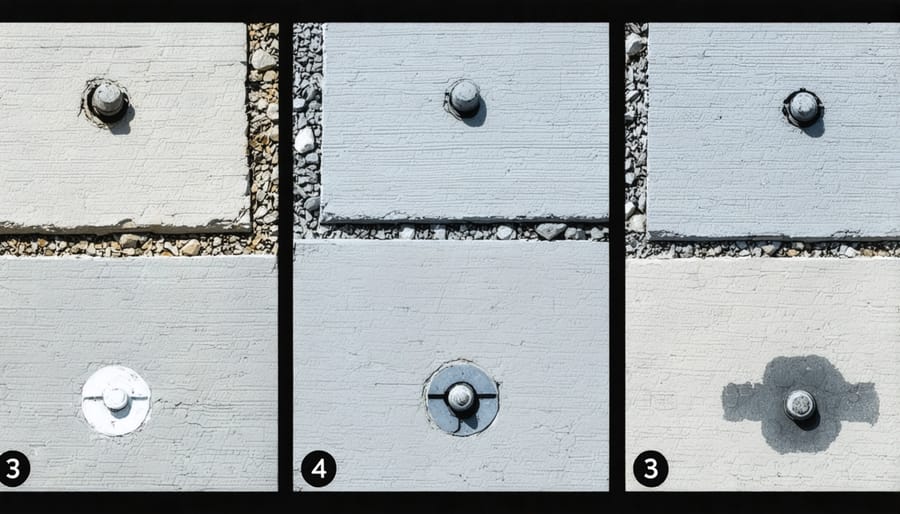
The process involves drilling a hole in the concrete, thoroughly cleaning it, and injecting the epoxy compound. The anchor bolt is then inserted into the epoxy-filled hole, which hardens to create a permanent bond. What makes chemical anchors particularly effective is their ability to distribute the load evenly throughout the concrete, reducing the risk of cracking or failure.
These anchors excel in both indoor and outdoor applications, as they’re resistant to moisture, chemicals, and temperature fluctuations. For shed installations, they’re especially valuable when dealing with cracked concrete or when positioning near edges where traditional mechanical anchors might not be suitable.
While chemical anchors typically cost more than mechanical alternatives, their superior strength and durability make them a worthwhile investment for permanent shed installations. Just remember to follow the manufacturer’s curing time guidelines before applying any load to ensure optimal performance.
Installing Concrete Anchors Step by Step
Tools and Materials Needed
To properly install concrete anchors for your shed, you’ll need the following tools and materials:
Essential Tools:
– Hammer drill with masonry bits
– Regular hammer
– Socket wrench set
– Level
– Measuring tape
– Marker or pencil
– Safety glasses and work gloves
– Dust mask
– Shop vacuum (for cleanup)
Required Materials:
– Concrete anchors (wedge or sleeve anchors recommended)
– Washers and nuts
– Your shed’s base rail or bottom frame
– Concrete cleaner (if working with existing slab)
Before gathering these items, ensure you’ve completed proper site preparation to guarantee a solid foundation. The specific size and quantity of anchors will depend on your shed’s dimensions and local building codes, so have these details handy when purchasing materials.
Remember to check that your hammer drill is powerful enough for concrete work, typically requiring at least 5 amps for effective drilling.
Common Mistakes and How to Avoid Them
Even experienced DIYers can make mistakes when installing concrete anchors for sheds. One common error is not measuring anchor placement accurately, leading to misaligned holes that weaken the installation. Always double-check your measurements and use a template before drilling.
Another frequent mistake is choosing anchors that are too small for your shed size. Remember that bigger sheds need stronger anchors – when in doubt, go with a larger size rather than risking an undersized option.
Drilling holes that are too shallow or too deep can compromise anchor effectiveness. Follow manufacturer guidelines precisely for hole depth, and use a depth gauge or mark your drill bit with tape for consistency.
Many people skip cleaning out the drilled holes, but debris can prevent proper anchor seating. Use a wire brush and compressed air to remove all dust and fragments before insertion.
Rushing the curing process is also problematic. Even if you’re eager to finish your project, allow the concrete anchor adhesive to cure completely according to instructions – usually 24-48 hours, depending on weather conditions.
Lastly, avoid over-tightening the anchors, which can strip threads or crack concrete. Use a torque wrench when specified to achieve the right tension.
Securing your shed with the right concrete anchors is crucial for long-term stability and safety. Whether you’ve chosen expansion anchors, wedge anchors, or sleeve anchors, proper installation following manufacturer guidelines will ensure your shed stays firmly in place for years to come. Remember to consider your local climate, soil conditions, and shed size when selecting anchors, and don’t hesitate to consult with a professional if you’re unsure about any aspect of the installation process. Regular maintenance checks of your anchor points, especially after severe weather events, will help maintain your shed’s security. By taking the time to properly anchor your shed, you’re protecting both your investment and the valuable items stored inside. For the best results, always use high-quality anchors and appropriate tools, and follow local building codes and permit requirements.
Looking for a shed accessories?
Browse our full range of shed accessories from authorized dealer brands. Free shipping to the continental US.