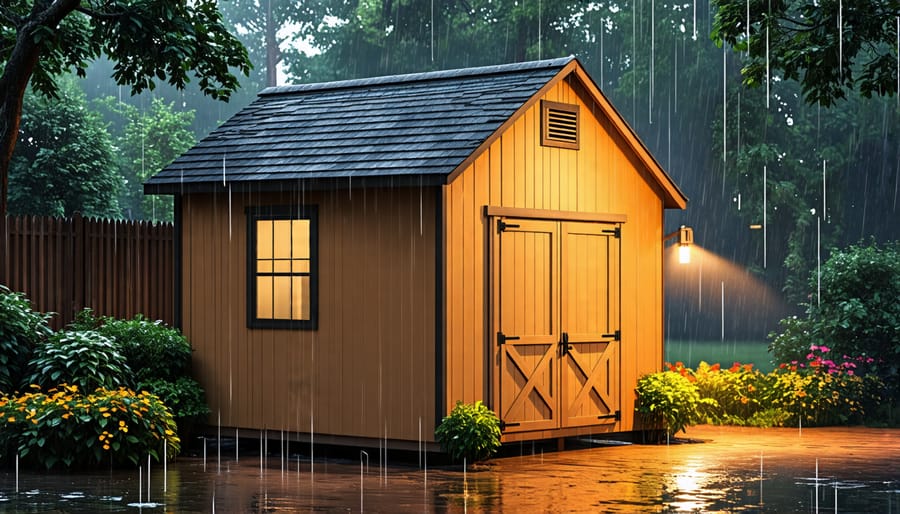
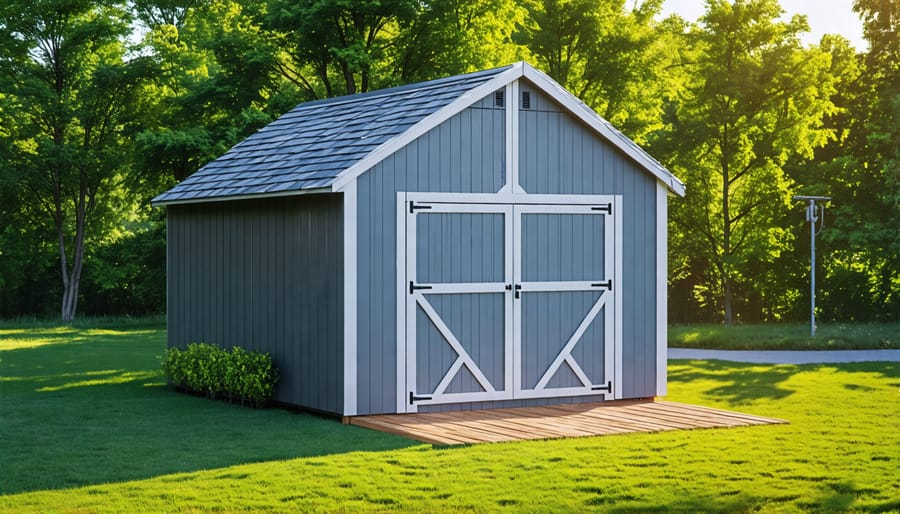
7 Simple Steps to Make Your Shed Watertight and Weather-Resistant

Seal cracks and gaps in the shed’s exterior walls, roof, and foundation with weatherproof caulk to prevent moisture intrusion and drafts. Apply a high-quality exterior paint or wood stain to protect the shed’s surface from rain, sun, and temperature fluctuations. Install a sturdy, weatherproof roof with proper flashing and drainage to direct water away from the structure. Organize your shed efficiently to maximize space and prevent clutter that can trap moisture and attract pests.

Inspect and Repair the Roof
Identifying Roof Issues
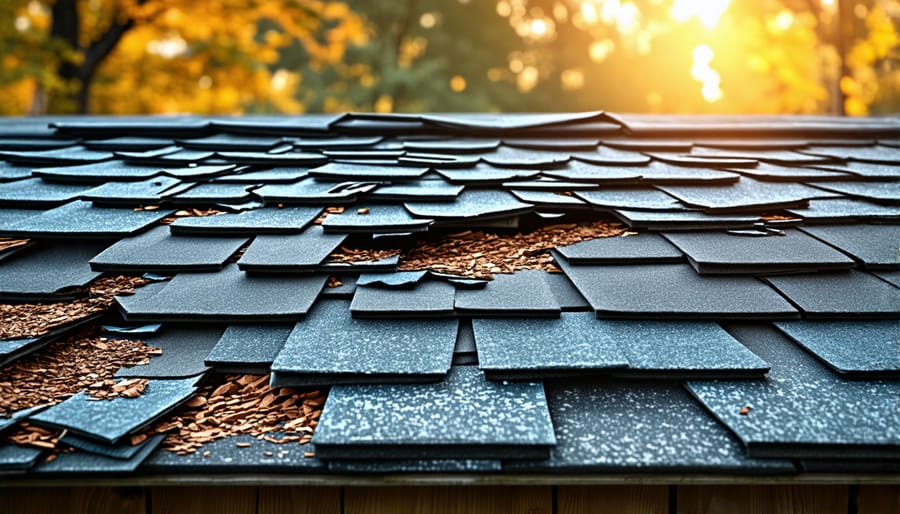
To identify roof issues on your shed, start by visually inspecting the roof from the ground. Look for any sagging, uneven areas, or holes. Warped or curling shingles can indicate water damage or aging. Check for missing, cracked, or loose shingles that may allow water to seep through. Rust on metal roofs can lead to leaks if left untreated. Examine the roof’s edges and joints for signs of rot or deterioration. Don’t forget to check the underside of the roof from inside the shed for water stains, mold, or light coming through, which can reveal hidden leaks or damage.
Fixing Minor and Major Roof Damage
For minor roof damage like small holes or cracks, apply roofing cement or sealant to the affected area. Cut a patch from spare roofing material, place it over the cement, and press firmly. For larger holes, replace the damaged section entirely. Remove the old roofing around the hole, cut a new piece to size, and nail it in place, overlapping the surrounding material. Apply sealant around the edges for a watertight seal. If your roof is severely damaged or sagging, consider replacing it altogether. Choose a durable material like metal or asphalt shingles, and follow the manufacturer’s instructions for installation. Regularly inspect your shed roof for signs of wear and tear, and address any issues promptly to prevent further damage. With a little elbow grease and the right materials, you can keep your shed’s roof in top shape for years to come.
Caulk and Seal Gaps
Caulking is a crucial step in weatherproofing your shed, as it helps prevent water infiltration through gaps and cracks. Start by inspecting the areas around windows, doors, and joints for any openings. Use a high-quality, exterior-grade caulk that is suitable for the materials of your shed, such as wood, metal, or plastic. Before applying the caulk, clean the surfaces thoroughly and allow them to dry completely. Cut the tip of the caulk tube at a 45-degree angle, creating an opening slightly smaller than the width of the gap you’re filling. Steadily apply the caulk along the gap, using your finger or a caulking tool to smooth it out for a neat finish. Wipe away any excess caulk with a damp cloth before it dries. Don’t forget to check for gaps where the shed meets the foundation, as these can be entry points for water. By properly caulking and sealing your shed, you’ll create a barrier against moisture, drafts, and even pests, ensuring your shed remains dry, comfortable, and well-protected from the elements.
Apply Weatherproof Coatings
Wood Sheds
For wooden sheds, applying a quality exterior wood stain or paint is crucial for weatherproofing. Choose a product specifically designed for outdoor use that offers UV protection and resistance to moisture. Before application, thoroughly clean the wood surface and allow it to dry completely. Consider adding a layer of primer for better adhesion and durability. Pay extra attention to corners, edges, and areas around doors and windows where water can easily penetrate. Regularly inspect your wooden shed for signs of wear or damage, and touch up the finish as needed to maintain its protective properties and extend the life of your shed.
Metal and Plastic Sheds
For metal and plastic sheds, applying a protective coating is key to weatherproofing. Use a rust-resistant primer and paint for metal sheds to prevent corrosion and extend their lifespan. Look for paints specifically formulated for metal surfaces. For plastic sheds, choose a UV-resistant sealant or paint to protect against sun damage and fading. These coatings also help repel water and moisture. Before applying any coating, thoroughly clean the shed’s surface and allow it to dry completely. Apply multiple thin, even coats for the best coverage and durability. Don’t forget to reapply the coating every few years to maintain optimal protection against the elements.
Application Tips
To ensure your shed weatherproofing lasts, apply coatings in thin, even layers. Multiple thin coats adhere better than one thick coat. Allow each layer to dry completely before applying the next. For best results, apply in dry conditions above 50°F (10°C).
Regularly inspect your shed’s exterior for signs of wear or damage. Promptly touch up any cracks, peeling, or blistering to maintain protection. Re-apply coatings every few years, or as needed based on climate and exposure. Proper application and upkeep will keep your shed looking great and standing strong against the elements for years to come.

Ensure Proper Drainage
Ensuring proper drainage around your shed is crucial to protect it from water damage and maintain its structural integrity. Start by examining the ground around your shed’s foundation. The soil should slope away from the structure on all sides, allowing water to naturally flow away from the base. If needed, add soil to create a gentle slope that extends at least 4 feet from the shed’s perimeter.
Consider installing a French drain system for added protection in areas with heavy rainfall or poor soil drainage. Dig a trench around the shed, line it with gravel, and place a perforated pipe to direct water away from the foundation. Cover the pipe with more gravel and top it off with soil.
To further improve drainage, make sure your shed’s gutters and downspouts are in good condition and directing water at least 4-5 feet away from the structure. Regularly clean gutters to prevent clogs and overflows. By taking these steps to ensure proper drainage, you’ll significantly reduce the risk of water damage to your shed’s foundation and interior, keeping it weatherproof for years to come.
Ventilate to Reduce Moisture
Proper ventilation is crucial for maintaining a dry, mold-free interior in your shed. Install vents on the gables, eaves, or walls to allow fresh air to circulate and prevent moisture buildup. Consider using a combination of soffit vents, ridge vents, and wall vents to create optimal airflow. For larger sheds, you may want to install a powered ventilation system with fans to boost air circulation. Ensure that the vents are screened to keep out insects and small animals. Regularly inspect the vents for any blockages or damage, and clean them as needed to maintain their effectiveness. In addition to ventilation, consider using a dehumidifier or moisture absorbers to further control humidity levels inside the shed. By taking these proactive steps, you can protect your shed’s contents from dampness and prevent rust on your tools and equipment. Remember, a well-ventilated shed is a key component of an effective weatherproofing strategy that will keep your storage space in top condition for years to come.

Maintain Your Weatherproofing
To ensure your shed stays weatherproof, conduct regular inspections and maintenance tasks. At least twice a year, carefully examine the roof, walls, and foundation for any signs of damage or wear. Check for loose or missing shingles, cracks in the siding, or gaps around windows and doors. If you spot any issues, address them promptly to prevent further deterioration. Keep the area around your shed clean and free of debris, as this can attract moisture and pests. Trim back any overhanging branches that could fall and damage the structure during storms. Regularly clean out gutters and downspouts to ensure proper drainage away from the shed’s foundation. Reapply weatherproofing treatments, such as sealants, stains, or paints, as needed to maintain their protective properties. Don’t forget to inspect the interior for signs of leaks, moisture, or pest infiltration. By staying vigilant and proactive with your weatherproofing tips maintenance routine, you can keep your shed in top condition and extend its lifespan, ensuring it remains a reliable storage solution for years to come.
By weatherproofing your shed, you protect your valuable tools, equipment, and belongings from the damaging effects of the elements. A well-maintained, weatherproof shed not only extends its lifespan but also ensures that your stored items remain in top condition. Following the steps outlined in this guide, you can effectively seal your shed against moisture, pests, and extreme temperatures. From inspecting and repairing the exterior to applying weatherproof coatings and installing proper ventilation, these measures will help you create a secure and long-lasting storage solution. Don’t wait until it’s too late – take action now to safeguard your shed and enjoy peace of mind knowing that your belongings are protected from the weather.

