
Beautiful She Shed Flooring That Lasts (And Feels Like Home)

Transform your she shed into a personal sanctuary starting with the perfect flooring. Strategic proper foundation preparation ensures your chosen flooring withstands seasonal changes while complementing your retreat’s aesthetic. From rustic wood planks that add warmth and character to moisture-resistant luxury vinyl that combines elegance with practicality, today’s she shed flooring options blend style with functionality. Whether you’re creating a cozy creative studio, a tranquil reading nook, or a sophisticated home office, selecting the right flooring sets the foundation for your perfect escape space. Discover innovative flooring solutions that not only enhance your she shed’s charm but also provide lasting durability for years of enjoyment.
Elegant Yet Durable Flooring Options
Engineered Hardwood: The Perfect Balance
Engineered hardwood offers the perfect compromise between luxury and practicality for your she shed flooring. This innovative material combines a genuine hardwood top layer with a sturdy plywood core, delivering the warmth and beauty of solid wood while providing enhanced stability and moisture resistance – crucial features for an outdoor structure.
Available in countless styles, from rustic oak to sleek maple, engineered hardwood lets you achieve that high-end look without breaking the bank. Its layered construction makes it less susceptible to warping and expansion than traditional hardwood, ideal for spaces that experience temperature fluctuations throughout the seasons.
Installation is relatively straightforward, with many options featuring click-lock systems perfect for DIY enthusiasts. The boards can be installed as a floating floor or glued down, depending on your preference and subfloor conditions. While slightly more expensive than laminate, engineered hardwood’s durability and potential to be refinished make it a smart long-term investment for your she shed.
For best results, consider adding a moisture barrier beneath your flooring and maintaining consistent ventilation in your shed to protect your investment.
Luxury Vinyl: Style Meets Practicality
For the perfect blend of beauty and practicality, luxury vinyl flooring stands out as an exceptional choice for your she shed. Available in both planks and tiles, this versatile material recreates the look of hardwood, stone, or ceramic with remarkable authenticity. What makes it particularly suitable for she sheds is its outstanding water resistance and durability – essential features for a space that may experience varying humidity levels and frequent foot traffic.
Today’s luxury vinyl options come in an impressive array of styles, from rustic barn wood to elegant marble patterns. The planks can be installed in various patterns, including herringbone or diagonal layouts, adding visual interest to your retreat. The cushioned backing provides comfort underfoot while also helping to insulate against cold floors.
Installation is typically straightforward, making it an excellent choice for DIY enthusiasts. The click-and-lock systems used in many luxury vinyl products create a floating floor that can be installed over most existing surfaces. Plus, maintenance is a breeze – regular sweeping and occasional damp mopping are all you need to keep your floor looking pristine for years to come.
Treated Plywood with Decorative Finishes
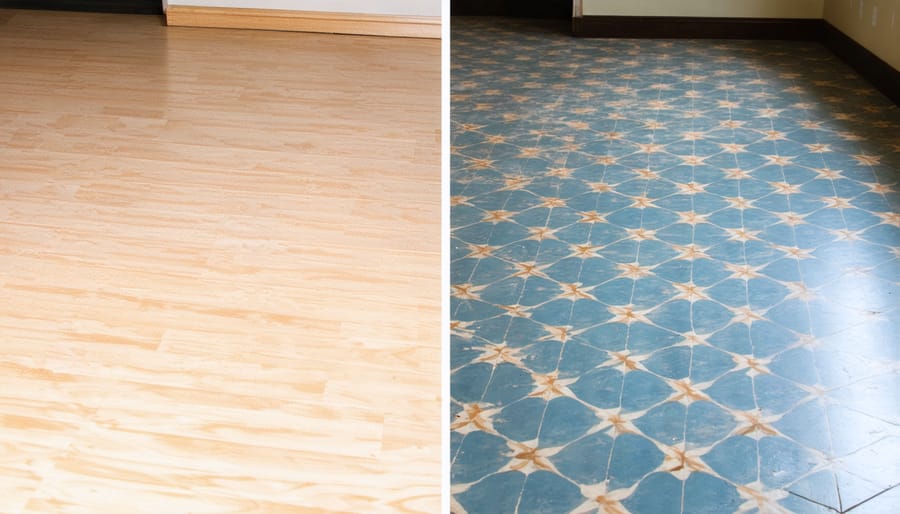
Transform ordinary plywood into an elegant flooring solution with creative finishes that won’t break the bank. Start by selecting premium-grade plywood and learning how to waterproof your plywood flooring properly. Consider painting it in a charming farmhouse white or sophisticated gray, then seal with multiple clear coats for durability. For a more upscale look, try stenciling geometric patterns or using decorative paint techniques like whitewashing. Another stunning option is to create a faux wood plank effect by scoring lines into the plywood and staining in different tones. Add character with distressing techniques or embrace the coastal vibe with a weathered driftwood finish. These treatments not only protect your floor but also elevate your she shed’s overall aesthetic while maintaining a budget-friendly approach.
Cozy Comfort Solutions
Area Rugs and Layering
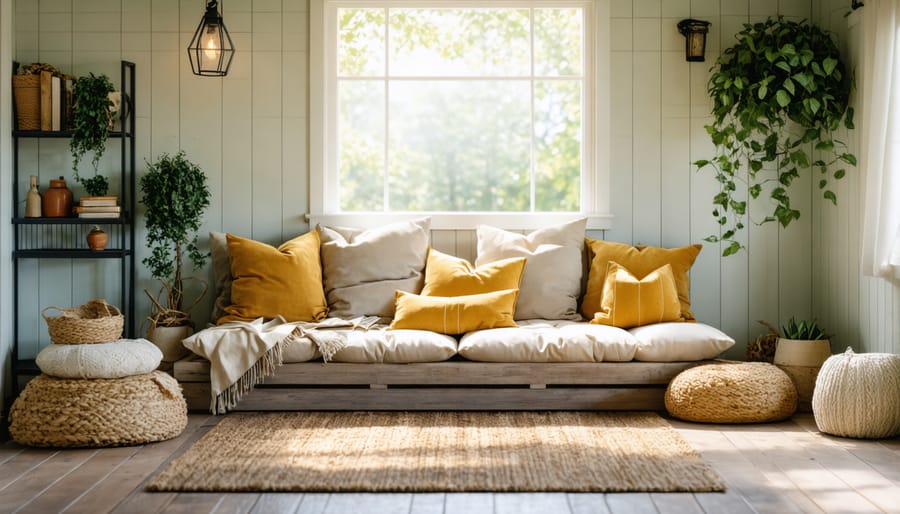
Area rugs are a game-changer for she shed flooring, offering both practical benefits and endless decorative possibilities. Layering rugs can transform your space from basic to boutique-worthy while providing extra comfort underfoot. Start with a large, neutral base rug that covers most of the floor area, then add smaller, more decorative rugs on top to create visual interest and define different zones within your retreat.
For ultimate coziness, consider placing a plush shag rug near your reading nook or crafting station. Weather-resistant indoor/outdoor rugs work beautifully in areas near the entrance, protecting your main flooring while adding style. When layering, play with textures and patterns – try combining a sisal or jute base rug with a vintage Persian-style piece on top for an eclectic, bohemian feel.
Remember to secure your rugs with non-slip pads to prevent shifting and tripping hazards. This is especially important in she sheds, where rugs might be placed on smooth surfaces like concrete or vinyl. Choose rugs that complement your shed’s color scheme and overall aesthetic, but don’t be afraid to make a bold statement with an unexpected pattern or vibrant hue – after all, this is your personal sanctuary!
Insulation Options
Keeping your she shed comfortable throughout the seasons starts from the ground up, and proper insulation is key to maintaining the perfect temperature. Start with a vapor barrier between the ground and floor joists to prevent moisture from seeping upward. A 6-mil polyethylene sheet works wonderfully for this purpose and is both affordable and effective.
For the floor itself, rigid foam insulation boards between the joists provide excellent thermal protection. These boards come in various thicknesses, with R-values typically ranging from R-3 to R-6 per inch. For most climates, a minimum R-13 rating is recommended for floor insulation.
Consider adding an extra layer of comfort with insulated underlayment beneath your chosen flooring material. Cork underlayment is particularly effective, offering natural insulation properties while dampening sound. For those in colder climates, installing electric radiant floor heating mats before laying your final flooring can transform your she shed into a cozy retreat even during winter months.
Don’t forget to seal any gaps around the edges of your floor with expanding foam insulation to prevent drafts. This simple step can significantly improve the overall efficiency of your insulation system and keep your space comfortable year-round.
Protection and Maintenance
Moisture Protection
Keeping your she shed floor dry and well-protected is essential for its longevity and your comfort. To protect your she shed floor, start with a proper vapor barrier beneath the flooring material. A 6-mil polyethylene sheet creates an effective moisture barrier between the ground and your floor structure.
Consider installing a moisture-resistant subfloor using pressure-treated plywood or oriented strand board (OSB). These materials naturally resist water damage and provide an extra layer of protection. For added security, apply a waterproof sealant to both the top and bottom surfaces of your subfloor before installation.
Proper ventilation plays a crucial role in moisture control. Install vents near the floor level to promote air circulation and prevent dampness from accumulating. Adding small gap spacers between your floor and walls allows air to flow freely while preventing moisture from getting trapped.
Don’t forget about external factors. Ensure proper drainage around your she shed by grading the surrounding ground away from the structure. Installing gutters and downspouts will direct rainwater away from the foundation, while raising the shed floor several inches above ground level creates an additional barrier against ground moisture.
Regular maintenance, including checking for leaks and addressing them promptly, will help keep your floor dry and beautiful for years to come. Consider applying a fresh coat of sealant annually to maintain optimal protection.
Seasonal Care Tips
Keeping your she shed flooring in top condition requires different care approaches throughout the year. In spring, focus on deep cleaning to remove any winter debris and moisture buildup. Use a gentle cleaner appropriate for your flooring material, and ensure proper ventilation to prevent mold growth as temperatures rise.
Summer maintenance calls for regular cleaning to prevent tracked-in dirt from scratching your floors. Place outdoor mats at the entrance to catch debris, and consider adding UV-protective window treatments to prevent sun damage to wooden or vinyl floors. For concrete floors, watch for expansion during hot weather and ensure proper sealing.
Fall preparation is crucial for winter protection. Check for any gaps or cracks that need sealing, especially in wooden flooring. Clear gutters and ensure proper drainage around your she shed to prevent water from seeping under the floor. If you have area rugs, clean and treat them with fabric protector before the wet season.
Winter requires extra attention to moisture control. Use dehumidifiers during damp periods, and quickly clean up any water or snow tracked inside. For wooden floors, maintain consistent indoor temperature to prevent expansion and contraction. Consider adding extra insulation under raised floors to keep your space cozy and protect the flooring from extreme temperature fluctuations.
Remember to adjust your cleaning routine based on how frequently you use your she shed in each season, and always address any issues promptly to prevent larger problems from developing.
Design Tips and Inspiration
Color and Pattern Ideas
The color and pattern choices for your she shed floor can dramatically transform the entire space. Light, neutral tones like beige, soft gray, or whitewashed finishes can make your retreat feel more spacious and airy. These choices work particularly well in smaller sheds, creating an illusion of extra square footage while providing a versatile backdrop for your decor.
For a bold statement, consider dark wood tones or patterned vinyl flooring. Herringbone layouts using luxury vinyl planks or traditional hardwood can add sophistication, while checkerboard patterns in black and white or subtle two-tone combinations create vintage charm. Nature-inspired patterns, such as stone-look tiles or wood-grain textures, help bring the outdoors in and create a seamless transition from your garden.
Don’t shy away from incorporating area rugs to add layers of color and texture. A vibrant Persian-style rug can anchor a reading nook, while a soft, plush option in pastel shades can define a crafting area. For creative spaces, consider painted wooden floors with stenciled designs or geometric patterns that reflect your personality.
Remember that your flooring color should complement your shed’s natural lighting. Darker floors work best in well-lit spaces with plenty of windows, while lighter tones can help brighten rooms with limited natural light. Whatever pattern you choose, ensure it aligns with your intended use of the space and creates the atmosphere you’re seeking in your personal retreat.
Layout and Installation Tips
When planning your she shed floor layout, start by measuring the space accurately and adding an extra 10% to your materials calculation for waste and mistakes. For optimal results, ensure your subfloor is completely level before installation – even minor irregularities can cause problems later. If you’re working with tile or hardwood, plan the layout to minimize awkward cuts around edges and corners.
Consider traffic patterns when designing your layout. Place more durable flooring near the entrance where foot traffic will be heaviest. For budget-friendly flooring solutions, consider installing materials in a way that maximizes coverage while minimizing waste – for example, laying vinyl planks parallel to the longest wall.
Always acclimate your flooring materials to the shed environment for at least 48 hours before installation. This is particularly important for wood and laminate products, which can expand or contract with temperature and humidity changes. Install a proper moisture barrier beneath your flooring to prevent water damage from ground moisture.
For DIY installation, work from the far corner toward the door to avoid walking on newly laid flooring. Take extra care with transitions between different flooring types or at doorways, using appropriate threshold strips to create seamless connections and prevent tripping hazards. Remember to leave small expansion gaps around the perimeter when installing floating floors, hiding them later with baseboards or quarter round molding.
Real She Shed Stories
Sarah Thompson from Colorado transformed her basic garden shed into a cozy art studio by installing reclaimed barn wood flooring. “The weathered planks add so much character, and they were surprisingly affordable,” she shares. “Every scratch and mark tells a story, making my creative space even more inspiring.”
In Michigan, retired teacher Linda Martinez chose luxury vinyl planks for her reading retreat. “I wanted something that could handle the temperature swings and still look elegant,” she explains. “The wood-look vinyl is perfect – it’s warm underfoot in winter and stays beautiful year-round.”
Professional photographer Jessica Chen opted for painted plywood in her photography studio shed. “I went with a clean white finish that reflects light beautifully,” she says. “It’s durable enough for my equipment, and the bright surface makes the space feel larger.”
Master gardener Beth Williams installed rubber tiles in her potting shed. “They’re cushiony for long hours of standing, and so easy to clean after repotting plants,” she notes. “Plus, they came in beautiful earth tones that complement my garden theme perfectly.”
Your she shed flooring journey is an exciting opportunity to create a truly personal sanctuary that reflects your style while meeting your practical needs. Whether you’ve chosen the timeless appeal of hardwood, the durability of concrete, the coziness of carpet, or the versatility of vinyl, each option brings its own unique benefits to your special space. Remember that the perfect flooring solution balances durability, maintenance requirements, and aesthetic appeal while staying within your budget.
Don’t be afraid to get creative with your flooring choices – consider mixing materials or adding personal touches like decorative paint or area rugs to make the space uniquely yours. With proper installation and regular maintenance, your she shed flooring will provide years of enjoyment and function.
Ready to start your she shed flooring project? Begin by assessing your space, determining your primary activities, and selecting materials that align with your lifestyle. Your perfect she shed retreat awaits, and it all starts from the ground up!