
Build a Rock-Solid Tuff Shed Foundation That Lasts (Using Eco-Friendly Methods)
Choose the perfect foundation site by measuring your Tuff shed’s footprint plus an extra 24 inches on all sides, ensuring the area is level and receives minimal water runoff. Grade the soil with a 1-inch slope per 8 feet for optimal drainage, implementing sustainable foundation methods like recycled concrete aggregate or permeable pavers. Install a 4-inch layer of compacted gravel base, followed by concrete blocks or pier footings positioned precisely at load-bearing points.\n\nCreate a stable, lasting foundation by removing all organic material, roots, and debris from the site before beginning construction. Position support beams every 4-6 feet along the perimeter and internal spans, using pressure-treated lumber rated for ground contact. Check local building codes and pull necessary permits before starting your project – many jurisdictions require specific foundation requirements for structures over 120 square feet.\n\nThis critical preparation phase determines your shed’s longevity, structural integrity, and resistance to seasonal changes. A properly prepared foundation prevents settling, moisture damage, and costly repairs while ensuring your investment maintains its value for decades.\n\n\n
Site Assessment and Planning
\n\n
Ground Analysis and Drainage
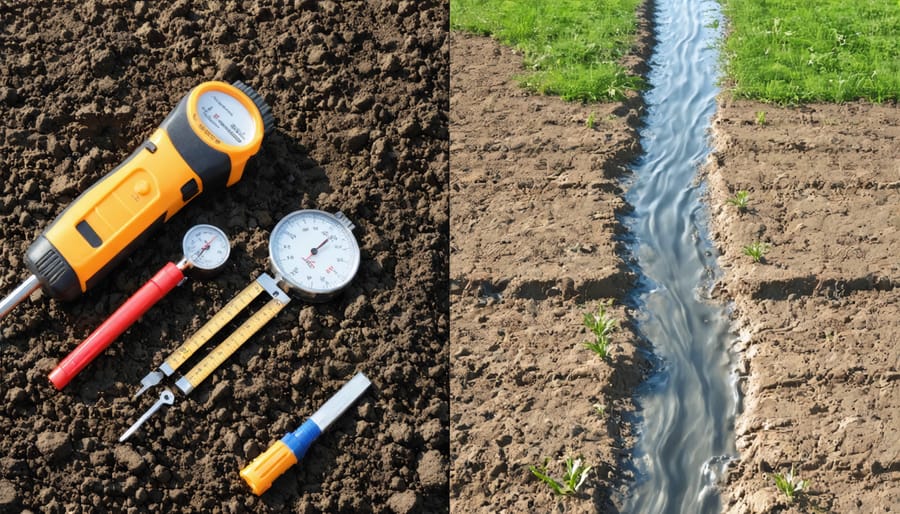
\n\nBefore laying your Tuff shed foundation, proper ground analysis and drainage planning are essential for long-term stability. Start by examining your soil type – clay, sandy, or loamy soil will each require different preparation approaches. Dig a test hole about 2 feet deep and observe how water drains; if it takes more than 24 hours to drain, you’ll need additional drainage solutions.\n\nFor optimal sustainable water management, create a slight grade around your intended foundation area, ensuring water flows away from the shed. A slope of about 1 inch per foot is ideal. Consider installing a French drain if you’re in an area with heavy rainfall or have naturally poor drainage.\n\nThe ground beneath your foundation should be thoroughly compacted to prevent settling. Remove all organic material, including grass and roots, and add a layer of crushed stone or gravel. This creates a stable base while promoting proper drainage. If your soil is particularly unstable, you might need to bring in additional fill material or consult with a local contractor for specialized solutions.\n\n
 \n
\n\n\n
Sustainable Material Selection
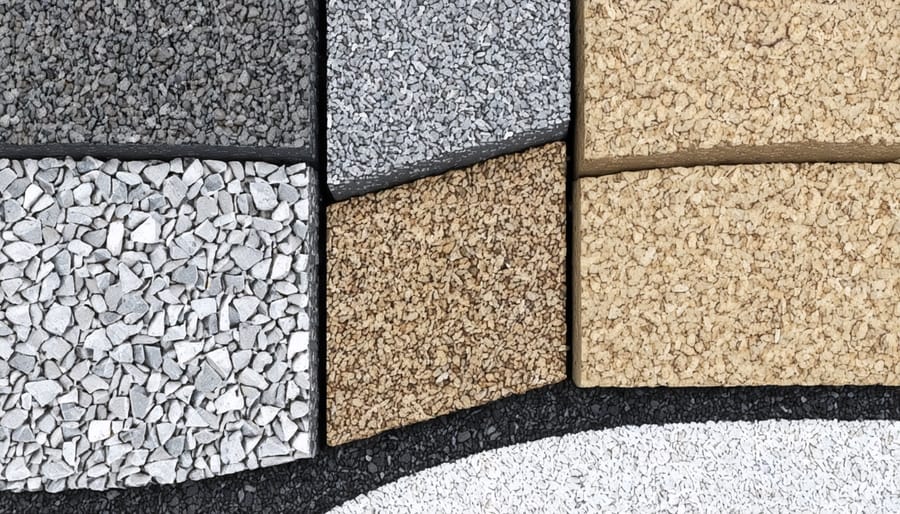
\n\nWhen selecting materials for your Tuff shed foundation, choosing eco-friendly building materials not only benefits the environment but also ensures long-term durability. Recycled concrete aggregate (RCA) offers an excellent sustainable alternative to traditional gravel, providing the same stability while reducing landfill waste. Pervious concrete, which allows water to filter through naturally, helps manage rainwater runoff and promotes better ground hydration.\n\nFor the base material, consider using locally sourced crushed stone or recycled glass aggregate. These materials minimize transportation emissions while providing excellent drainage properties. Permeable pavers made from recycled materials offer another green option, creating a solid foundation while allowing natural water flow.\n\nWhen using pressure-treated lumber for the frame, look for FSC-certified wood that’s been responsibly harvested. Composite materials made from recycled plastic and wood fibers provide an even more sustainable option, offering superior moisture resistance and longer lifespan without requiring chemical treatments.\n\nThese sustainable choices not only support environmental conservation but often result in better performance and reduced maintenance needs over time.\n\n\n
 \n
\n\n\n
Foundation Options for Tuff Sheds
\n\n
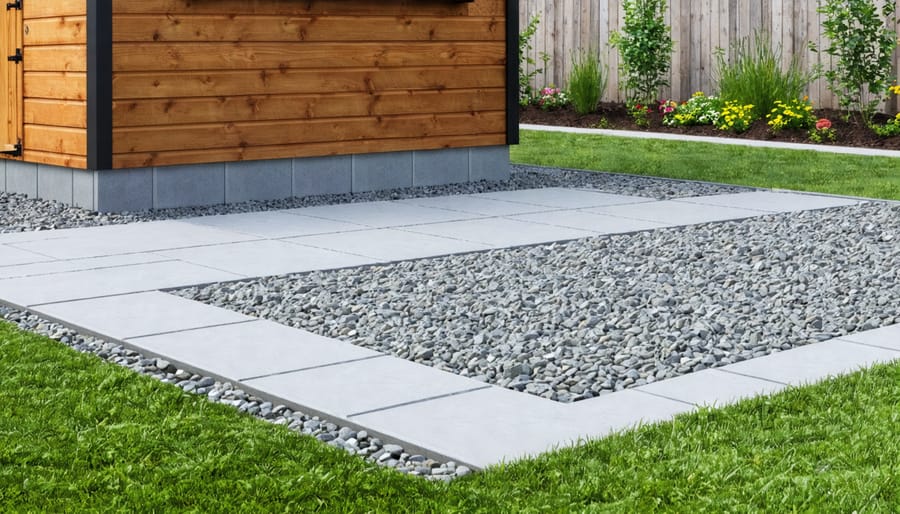
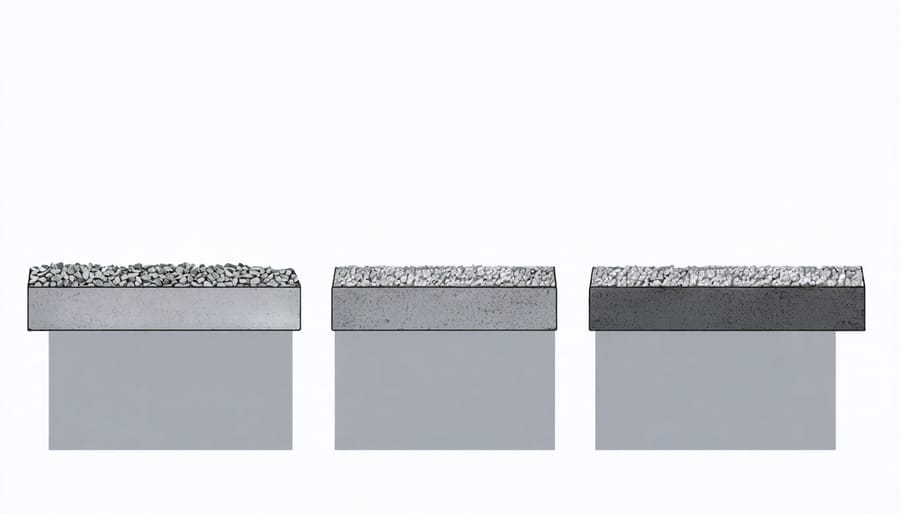
Gravel Pad Foundations
\n\nCreating a permeable gravel foundation for your Tuff shed is an excellent way to ensure proper drainage and long-term stability. Start by marking your shed’s footprint, adding an extra 12 inches on all sides for adequate support. Remove all grass, roots, and topsoil to a depth of 4-6 inches, ensuring the ground is level.\n\nInstall landscape fabric across the excavated area, overlapping edges by 6 inches to prevent weed growth and maintain soil separation. For the first layer, spread 2-3 inches of large crushed stone (typically 1-1/2 inch), tamping it down firmly with a plate compactor.\n\nNext, add a 2-inch layer of medium-sized gravel (3/4 inch), compacting thoroughly after spreading. Finally, top with a 1-inch layer of fine gravel or stone dust, creating a smooth, level surface. Use a level tool to check for any low spots or slopes, adjusting as needed.\n\nFor areas with poor drainage, consider creating a slight crown in the center (about 1 inch higher) to encourage water runoff. The finished pad should be at least 4 inches above the surrounding ground level to prevent water pooling.\n\nRemember to check local building codes, as some areas require specific gravel types or additional preparation steps. This foundation type offers excellent drainage while providing a stable base for your shed.\n\n
 \n
\n\n\n
Recycled Concrete Block Foundations
\n\nUsing recycled concrete blocks for your shed foundation offers an eco-friendly and cost-effective alternative to traditional materials. These blocks, often sourced from demolition sites or construction recycling centers, provide excellent stability while reducing environmental impact. Before starting, ensure your recycled blocks are uniform in size and free from significant damage or deterioration.\n\nBegin by laying out your foundation perimeter, just as you would with new blocks. Place a thick layer of gravel as your base, ensuring it’s properly compacted and level. When selecting recycled blocks, look for those with intact corners and edges, as these will create the most stable foundation. Clean each block thoroughly before use, removing any loose debris or old mortar.\n\nPosition the blocks along your marked perimeter, starting from the corners. Use a level to ensure each block sits perfectly flat, adding or removing gravel underneath as needed. For additional stability, consider using construction adhesive between blocks, especially in areas with frequent ground movement.\n\nRemember to check local building codes, as some areas have specific requirements for using recycled materials. While recycled blocks can save money and help the environment, they should still meet basic structural requirements. If you notice any blocks with significant cracks or crumbling sections, set these aside and use them for non-structural landscaping projects instead.\n\nFor best results, incorporate a moisture barrier between the blocks and your shed floor to prevent water damage over time.\n\n
Pier Block Systems
\n\nFor an environmentally conscious approach to shed foundations, pier block systems offer an excellent elevated solution that combines durability with eco-friendly benefits. These systems typically consist of precast concrete blocks with integrated brackets that support your shed’s floor joists, keeping the structure safely above ground level.\n\nThe beauty of pier blocks lies in their minimal environmental impact. Unlike traditional concrete slabs, they require less material and disturb less soil during installation. This system allows for better airflow beneath your shed, reducing moisture-related issues and extending the life of your floor structure.\n\nTo install pier blocks, start by marking your shed’s footprint and determining block placement – typically every 4-6 feet along the perimeter and interior support lines. Each block should rest on a bed of compacted gravel for proper drainage and stability. Using a laser level or string line ensures all blocks are perfectly aligned and level with each other.\n\nOne significant advantage of pier blocks is their adaptability to sloped terrain. By selecting blocks of different heights or adding adjustable post brackets, you can achieve a level foundation even on challenging sites. This flexibility eliminates the need for extensive grading or soil disruption.\n\nFor areas with frequent ground freeze-thaw cycles, pier blocks can be installed below the frost line to prevent seasonal movement. Remember to check local building codes for specific depth requirements in your area.\n\n\n
Site Preparation Steps
\n\n
Ground Leveling Techniques
\n\nProper ground leveling is essential for your Tuff shed’s longevity, and you can achieve excellent results while being environmentally conscious. Start by removing vegetation and organic matter, which you can compost for your garden rather than sending to landfill. For small irregularities, use a rake to distribute existing soil, creating a gentle slope away from the intended shed location for proper drainage.\n\nFor eco-friendly leveling, consider using recycled crushed concrete instead of traditional gravel. This material provides excellent drainage while giving construction waste a second life. When dealing with significant elevation differences, opt for terracing with reclaimed wooden boards or natural stone rather than extensive excavation.\n\nA laser level or water level helps ensure precise measurements while minimizing waste from over-excavation. For soil compaction, use a hand tamper for smaller areas or rent an electric plate compactor for larger spaces, avoiding gas-powered alternatives where possible.\n\nAdd a layer of permeable landscape fabric to prevent weed growth naturally, reducing the need for chemical herbicides later. Top this with your chosen eco-friendly aggregate, spreading it evenly to a depth of 4-6 inches. Remember to check your levels frequently during this process using a long straight board and level tool.\n\nFor areas with poor drainage, consider incorporating rain garden principles around your shed’s perimeter, using native plants to help manage water flow naturally.\n\n
Natural Erosion Control
\n\nProtecting your shed’s foundation from erosion doesn’t have to involve harsh chemicals or expensive materials. Natural methods can be both effective and environmentally friendly. Start by planting native groundcover around your foundation’s perimeter – these plants’ root systems naturally hold soil in place while adding visual appeal to your shed area.\n\nCreating a natural barrier with river rocks or locally sourced gravel helps direct water away from your foundation while allowing proper drainage. Position these materials in a gentle slope, extending at least 12 inches from your shed’s foundation. For steeper terrain, consider installing terraced gardens using sustainable materials like reclaimed wood or natural stone.\n\nMulch is another excellent erosion control option. Apply a 2-3 inch layer of organic mulch, such as wood chips or pine straw, around your foundation. This natural solution not only prevents soil erosion but also helps retain moisture and suppress weed growth.\n\nFor areas with heavy rainfall, consider installing a rain garden filled with moisture-loving native plants. Position it slightly downhill from your shed to catch runoff and prevent soil washing away. You can enhance its effectiveness by adding compost to improve soil structure and water absorption.\n\nRemember to maintain these natural solutions by refreshing mulch annually and trimming plants as needed. These sustainable approaches not only protect your foundation but also contribute to a healthier local ecosystem.\n\n\n
Maintenance and Long-Term Sustainability
\n\nRegular maintenance of your Tuff shed foundation is crucial for ensuring its longevity and protecting your investment. Start by inspecting the foundation perimeter quarterly for signs of settling, cracking, or water pooling. Clear away any debris, leaves, or vegetation that could trap moisture against the foundation.\n\nTo maintain proper drainage, clean your gutters and downspouts regularly if your shed has them installed. Consider adding extensions to downspouts to direct water at least 3 feet away from the foundation. During heavy rains, observe how water flows around your shed and make adjustments to grading if necessary.\n\nFor gravel foundations, rake the surface annually to maintain evenness and replace any displaced stones. If you’ve used concrete blocks or piers, check their level annually and adjust as needed using shims. For concrete slab foundations, seal any small cracks promptly to prevent water infiltration and further damage.\n\nEnvironmentally conscious maintenance practices include using eco-friendly sealants and cleaning products, installing rain barrels to collect roof runoff, and incorporating native plants around your shed for natural erosion control. These plants can help manage water flow while creating a beautiful, low-maintenance landscape.\n\nRemember to document all maintenance activities and take photos during inspections. This record-keeping helps track changes over time and identifies potential issues before they become serious problems. With proper care, your Tuff shed foundation can remain stable and functional for decades while minimizing its environmental impact.\n\n\nProper foundation preparation is essential for the longevity and stability of your Tuff shed. By following the recommended site evaluation, leveling, and material selection guidelines, you’ll create a solid base that protects your investment for years to come. Remember that sustainable practices, such as using recycled materials and proper drainage solutions, not only benefit the environment but also enhance your shed’s durability. Taking time to prepare your foundation correctly will prevent future issues like settling, water damage, and structural instability. Whether you choose a concrete slab, gravel bed, or block foundation, ensure all measurements are precise and materials meet local building codes. Your careful preparation today will result in a reliable, eco-friendly storage solution that serves you well into the future.