
Keep Your Shed Dry Forever: Pro Secrets for Waterproofing Basement Walls
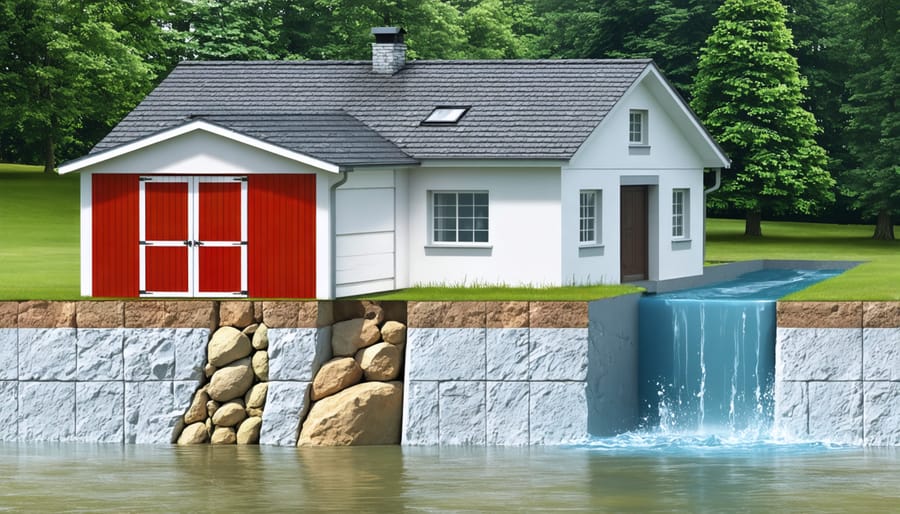
Protect your basement from devastating water damage with professional-grade exterior waterproofing techniques that create a lasting moisture barrier. Modern waterproofing systems combine excavation, membrane application, and proper drainage to effectively keep water out of your shed and basement walls. Unlike interior solutions that merely manage water after it enters, exterior waterproofing stops moisture at its source, preventing structural damage, mold growth, and decreased property value. This comprehensive approach addresses hydrostatic pressure – the primary culprit behind basement leaks – while simultaneously protecting your foundation from frost damage and soil erosion. Whether you’re dealing with minor seepage or chronic flooding, exterior waterproofing represents the gold standard in basement protection, offering a permanent solution that typically lasts 25+ years with proper maintenance.
Why Exterior Waterproofing Matters for Your Shed

Signs Your Shed Needs Exterior Waterproofing
Don’t wait until water damage becomes severe – knowing the early warning signs can save you time and money. The most obvious indicator is visible water stains or damp patches on your shed’s interior walls, particularly after rainfall. Keep an eye out for a musty odor, which often signals the presence of moisture and potential mold growth.
Peeling paint or bubbling wallpaper on interior walls can indicate water seeping through from the outside. Check your shed’s exterior for efflorescence – those white, chalky deposits that appear when water moves through concrete or masonry. If you notice warped wooden panels or rusting metal components, especially near the base of your shed, that’s another red flag.
Watch for pooling water around your shed’s foundation after rain. This could mean your drainage isn’t adequate and water is collecting where it shouldn’t. Small cracks in the foundation or walls might seem minor, but they can allow water to penetrate and worsen over time. Also, be alert to any changes in door or window operation – sticking frames could indicate water-related structural movement.
Essential Materials and Tools

Choosing the Right Waterproofing Products
Selecting the right waterproofing product for your basement walls depends largely on your wall material and local climate conditions. For concrete walls, crystalline waterproofing compounds work exceptionally well by penetrating deep into the concrete’s pores. If you have block walls, polymer-modified asphalt membranes offer excellent protection and flexibility to accommodate minor wall movement.
For optimal results, consider a two-step approach: first applying a waterproof coating, followed by a drainage membrane. This combination, along with proper foundation drainage, creates a robust moisture barrier that stands the test of time.
When shopping for waterproofing products, look for:
– Long-term warranty coverage
– UV resistance for exposed areas
– Flexibility to handle temperature changes
– Easy application methods
– Environmental safety certifications
For DIY applications, water-based products are generally easier to work with and safer to handle. However, if you’re dealing with severe water issues or complex wall conditions, consider professional-grade solutions that might require expert installation.
Step-by-Step Waterproofing Process
Surface Preparation
Start by thoroughly cleaning the basement walls using a wire brush to remove loose debris, dirt, and old waterproofing materials. Pay special attention to cracks, gaps, and areas showing efflorescence (white, powdery deposits). Use a pressure washer on a medium setting to clean stubborn areas, working from top to bottom. Let the walls dry completely for 24-48 hours, depending on weather conditions.
Fill any cracks wider than 1/8 inch with hydraulic cement, following the manufacturer’s instructions. Smaller cracks can be addressed during the waterproofing application. If you notice any protruding concrete or rough spots, smooth them with a grinding wheel to ensure an even surface. Finally, check that all drain pipes and window wells are properly positioned and secured before proceeding with waterproofing application.
Application Techniques
Start by thoroughly cleaning the wall surface, removing any loose debris or old coatings. Apply a primer if recommended by your waterproofing product manufacturer. Using a roller or brush, apply the first coat of waterproofing membrane from bottom to top in even strokes. Allow this layer to dry completely according to product instructions. Follow with a second coat, working in the opposite direction to ensure complete coverage. Pay special attention to corners, joints, and areas around pipes or utilities. For spray-on products, maintain a consistent distance and speed while applying. Remember to extend the coating a few inches above ground level for maximum protection. Allow the final coat to cure fully before backfilling – typically 24-48 hours, depending on weather conditions and product specifications.
Maintenance and Prevention Tips
Regular maintenance is key to ensuring your exterior waterproofed basement walls continue to provide reliable waterproof protection for years to come. Start by inspecting your basement walls each spring and fall, looking for any signs of damage or wear in the waterproofing membrane. Keep your gutters and downspouts clean and properly directed away from your foundation, ensuring water drains at least 6 feet from your home.
Maintain proper grading around your foundation by adding soil as needed to create a slope that directs water away from your walls. Regularly trim bushes and plants near your foundation, keeping them at least 2 feet away to prevent root damage to the waterproofing system.
Check your basement interior for any signs of moisture or water stains, as these can be early indicators of potential exterior waterproofing issues. If you notice any problems, address them promptly to prevent more serious damage. Consider installing a dehumidifier in your basement to help maintain optimal moisture levels and protect your waterproofing investment.
Clear snow away from your foundation during winter months and ensure your property’s drainage systems remain unobstructed year-round.
Protecting your basement walls from water damage is a crucial investment in your home’s longevity and your family’s comfort. By following proper exterior waterproofing techniques, you can prevent costly repairs and maintain a dry, healthy basement environment. Remember to assess your specific situation, choose appropriate materials, and consider professional help for complex problems. Don’t wait for water damage to occur – take action now by inspecting your basement walls and implementing these waterproofing solutions. Regular maintenance and prompt attention to any signs of water infiltration will help ensure your basement stays dry for years to come. With the right approach and materials, you can create a reliable barrier against moisture and protect your home’s foundation from water-related issues.