
Keep Your Shed Safe: Wind Anchors That Actually Work

Protect your valuable storage investment with robust wind anchors – the essential safeguard that keeps your shed firmly grounded during severe weather. Beyond basic security, proper shed anchoring prevents costly structural damage, maintains your property’s safety standards, and can even satisfy local building codes. Whether you’re dealing with occasional gusts or living in a high-wind zone, choosing the right anchor system makes the difference between a secure shed and an expensive accident waiting to happen. From ground anchors and concrete footings to auger-style systems and post foundations, today’s wind anchor solutions offer multiple ways to match your specific soil type, shed size, and local weather conditions. This guide explores the most effective anchoring methods, installation techniques, and maintenance practices to ensure your shed stays exactly where you put it – no matter what Mother Nature throws your way.
Why Wind Anchors Are Essential for Your Shed
Understanding Wind Forces on Sheds
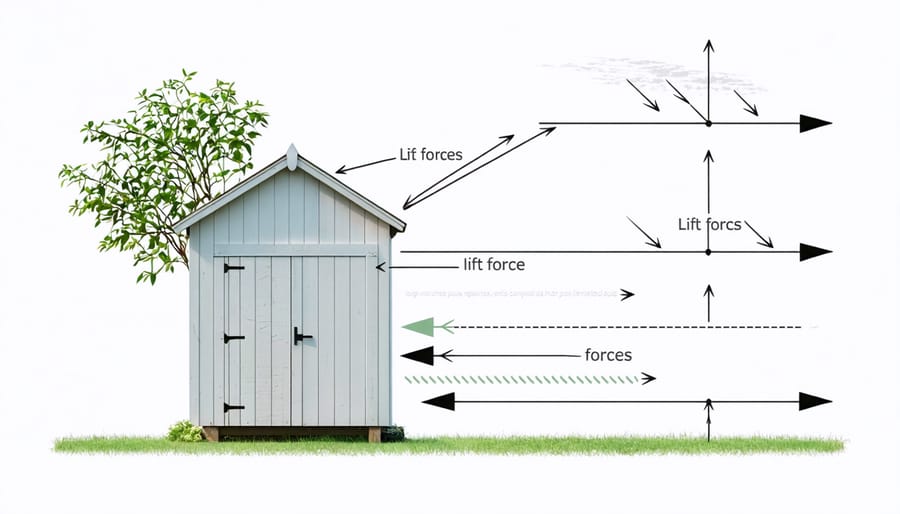
Wind affects sheds in different ways depending on their size, shape, and location. Larger sheds present a bigger surface area for wind to push against, making them more vulnerable to uplift forces. Think of your shed as a sail – the taller and wider it is, the more wind it can catch.
The roof style also plays a crucial role. Barn-style sheds with steep pitches tend to handle wind better than flat-roofed structures, as they allow air to flow more smoothly over the top. However, they may experience more uplift force during strong gusts. Peak winds can create pressure points at corners and edges, potentially causing your shed to shift or lift.
Location matters too. Sheds placed in open areas or on hilltops face stronger wind forces than those protected by buildings or natural barriers. Understanding these wind patterns helps you choose the right anchoring system for your specific situation.
Local Building Codes and Requirements
Before installing wind anchors for your shed, it’s essential to check your local building codes and requirements. Many municipalities have specific regulations about shed anchoring, especially in areas prone to high winds or severe weather. These codes typically specify minimum anchor requirements based on your shed’s size and local wind conditions.
Most jurisdictions require building permits for sheds over a certain size (usually 100-200 square feet), and proper anchoring is often a key requirement for approval. Your local building department may require professional installation or inspection of anchoring systems for larger structures.
Common requirements include minimum anchor depth, spacing between anchor points, and specific types of approved anchoring systems. Some areas may also require additional reinforcement in hurricane-prone regions. Always consult your local building department or a licensed contractor before installation to ensure your shed meets all necessary safety requirements and building codes.
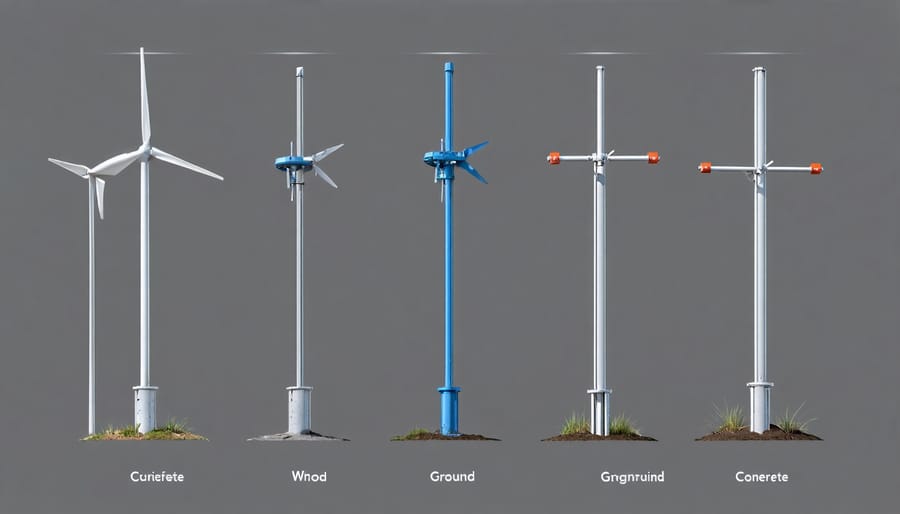
Types of Wind Anchors for Different Shed Foundations
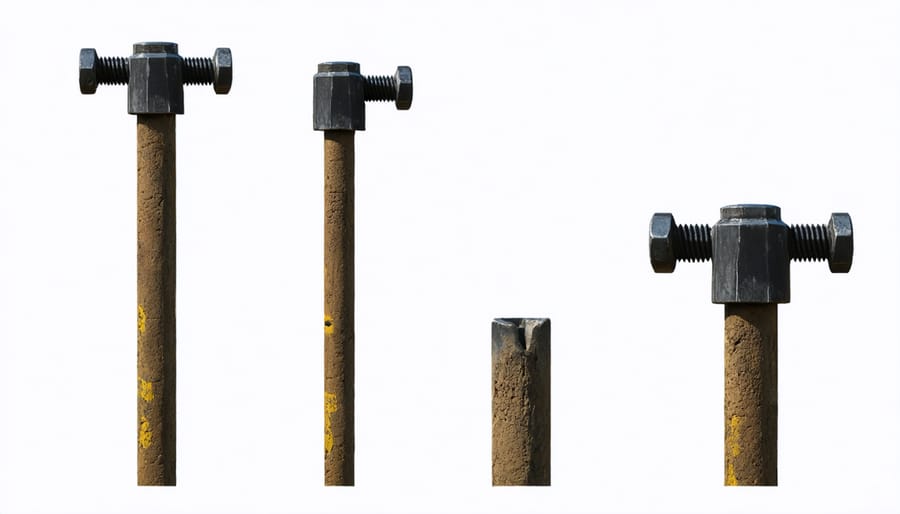
Concrete Foundation Anchors
When installing your shed on a concrete foundation, you’ll need specialized anchors designed specifically for masonry applications. The most common options include wedge anchors, sleeve anchors, and concrete screws, each offering unique benefits depending on your best foundation for your shed.
Wedge anchors provide exceptional holding power and are ideal for permanent installations. These anchors expand as you tighten them, creating a secure grip within the concrete. For most residential sheds, 1/2-inch diameter wedge anchors spaced every 4-6 feet along the perimeter will provide ample stability.
Sleeve anchors offer similar security but are easier to remove if needed. They’re particularly useful for regions with building codes that require specific anchor types. Meanwhile, concrete screws (also known as Tapcons) provide a simpler installation process and work well for lighter shed structures.
When installing any concrete anchor, always pre-drill holes according to manufacturer specifications and ensure proper depth for maximum holding strength. Remember to position anchors at least 6 inches from the edge of your concrete slab to prevent cracking.
Ground Anchors for Dirt and Gravel Bases
For sheds sitting on dirt or gravel, securing your structure requires specialized ground anchors designed for these softer surfaces. While a weather-resistant foundation is ideal, many homeowners work with what they have. Earth auger anchors, which look like giant corkscrews, are particularly effective in these conditions. Simply drill these anchors into the ground at a 45-degree angle, ensuring they extend at least 30 inches deep for maximum holding power.
Another excellent option is the drive rod anchor system, featuring steel rods with expandable wings that lock into place underground. These provide exceptional stability and can be installed with basic tools. For added security, consider using cross-bracing between anchors on opposite corners of your shed.
Remember to position anchors at each corner and along the sides if your shed exceeds 8 feet in length. It’s also smart to check and tighten your anchors seasonally, especially after heavy rains when the ground may have shifted.
Specialized Anchors for Wood Platforms
For elevated wooden platforms or skid foundations, specialized anchors provide crucial stability against wind forces. Ground anchors with adjustable turnbuckles work exceptionally well, allowing you to secure the platform while accommodating natural ground movement. Auger-style anchors, which screw deep into the soil, offer excellent holding power when installed at 45-degree angles away from the platform corners.
Mobile home anchors can be adapted for wooden platforms, using heavy-duty straps that connect the anchor to the platform’s frame. For best results, install at least one anchor at each corner and additional anchors along the sides for platforms larger than 100 square feet. Remember to check the tension of your anchor straps seasonally, adjusting them as needed to maintain proper security.
Consider using galvanized hardware for all connections to prevent rust and extend the life of your anchor system. This small investment in quality materials will ensure long-term protection for your shed.
Installing Wind Anchors: Step-by-Step Process
Tools and Materials Needed
Here’s what you’ll need to properly install wind anchors for your shed:
Essential Tools:
– Post hole digger or auger
– Shovel
– Level
– Hammer or sledgehammer
– Tape measure
– Wrench set
– Power drill with masonry bits
– Safety glasses
– Work gloves
– Marking pencil or chalk
Required Materials:
– Wind anchor kit or individual anchors
– Concrete mix (if using ground anchors)
– Galvanized lag screws or bolts
– Washers and nuts
– Gravel for drainage
– Pressure-treated lumber (if building a frame)
– Concrete screws (for slab installation)
Pro tip: Always purchase extra hardware to account for any lost pieces or unexpected needs during installation. Having spare materials on hand can save you an extra trip to the hardware store.
Installation Steps and Tips
Start by ensuring proper site preparation, then follow these straightforward steps to install your wind anchors:
1. Mark your anchor points at each corner of the shed and at 4-6 foot intervals along the sides.
2. Dig holes at each marked location, approximately 2 feet deep or according to your local building codes. The holes should be slightly wider at the bottom than at the top.
3. Position your anchors in the holes, ensuring they’re perfectly vertical using a level. For auger-style anchors, twist them into the ground until secure.
4. Pour concrete around ground-based anchors, following the manufacturer’s recommended mix ratio. Allow 24-48 hours for proper curing.
5. Attach the anchor straps or cables to your shed’s frame using appropriate hardware, maintaining equal tension on all sides.
Pro Tips:
– Check your local weather patterns to determine optimal anchor spacing
– Use galvanized or rust-resistant hardware for longer life
– Install additional anchors in high-wind areas
– Keep straps taught but not overtightened
– Consider installing corner braces for extra stability
Remember to inspect your anchors annually, especially before storm season, and tighten any loose connections. If you notice any rust or wear, replace affected parts immediately to maintain your shed’s security.
Common Installation Mistakes to Avoid
When installing wind anchors, avoid placing them too close to the shed’s edges, as this can weaken the structure. A common mistake is using the wrong type of anchors for your soil type – always check ground conditions first. Don’t skip the crucial step of measuring anchor depths, which should typically be at least 2 feet deep for optimal stability.
Many DIY enthusiasts make the error of not checking local building codes before installation, leading to potential violations. Another frequent oversight is failing to install enough anchors – remember, each corner needs secure anchoring, plus additional supports for larger sheds.
Watch out for uneven spacing between anchors and ensure they’re properly aligned with your shed’s frame. Lastly, don’t forget to regularly check and tighten your anchors, as many homeowners mistakenly assume it’s a one-and-done installation.
Maintenance and Inspection of Wind Anchors
Regular maintenance and inspection of your shed’s wind anchors are crucial for ensuring long-term protection of your storage structure. We recommend checking your anchors at least twice a year, particularly before and after severe weather seasons.
Start by visually inspecting all anchor points for signs of rust, corrosion, or wear. Pay special attention to areas where the anchors meet the ground or connect to your shed’s base. If you notice any rust forming, clean the affected areas with a wire brush and apply a rust-resistant coating to prevent further deterioration.
Check that all bolts and fasteners remain tight and secure. Over time, natural ground movement and temperature changes can cause these to loosen. Use appropriate tools to tighten any loose connections, being careful not to over-tighten and potentially damage the hardware or shed structure.
For ground anchors, ensure they haven’t started to pull up or shift position. The soil around anchor points should be firm and level. After heavy rains, check that water hasn’t eroded the surrounding ground, which could compromise anchor stability. Add or compact soil as needed to maintain proper support.
Keep anchor points clear of debris, vegetation, and standing water. Trim any grass or weeds growing near ground anchors, as these can trap moisture and accelerate corrosion. During winter months, remove any ice buildup that could stress the anchor system.
Properly anchoring your shed is not just a recommended practice – it’s an essential step in protecting your investment and ensuring the safety of your property. Throughout this guide, we’ve explored various wind anchor options, from ground anchors to concrete foundations, and discussed the crucial factors that influence your choice. Remember that your local climate, soil conditions, and shed size all play vital roles in determining the most effective anchoring solution. By taking the time to select and properly install the right wind anchors, you’re safeguarding your shed against strong winds and severe weather while maintaining its structural integrity for years to come. Don’t compromise on this critical aspect of shed installation – your peace of mind and property protection are worth the extra effort and investment in quality anchoring systems.