
Load-Bearing Masonry: The Secret to a Rock-Solid Storage Shed
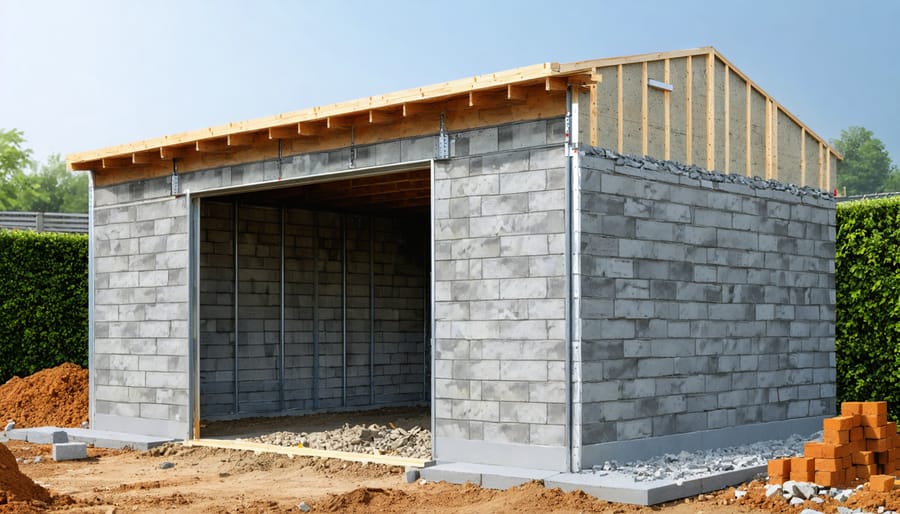
Load-bearing masonry forms the essential structural backbone of any durable storage shed, supporting walls, roof systems, and stored contents through precisely calculated weight distribution. Building with load-bearing masonry requires establishing a proper foundation, selecting appropriate materials like concrete blocks or structural brick, and following local building codes for wall thickness and reinforcement specifications. This time-tested construction method creates robust, long-lasting structures that can withstand decades of use while providing superior insulation and fire resistance compared to wood-frame alternatives.
When planned and executed correctly, load-bearing masonry delivers exceptional structural integrity, minimal maintenance requirements, and outstanding durability – key factors that make it an ideal choice for homeowners seeking permanent storage solutions. Understanding the fundamentals of load distribution, material selection, and proper construction techniques ensures your masonry shed project succeeds from the ground up.
Understanding Load-Bearing Masonry Basics
Types of Load-Bearing Materials
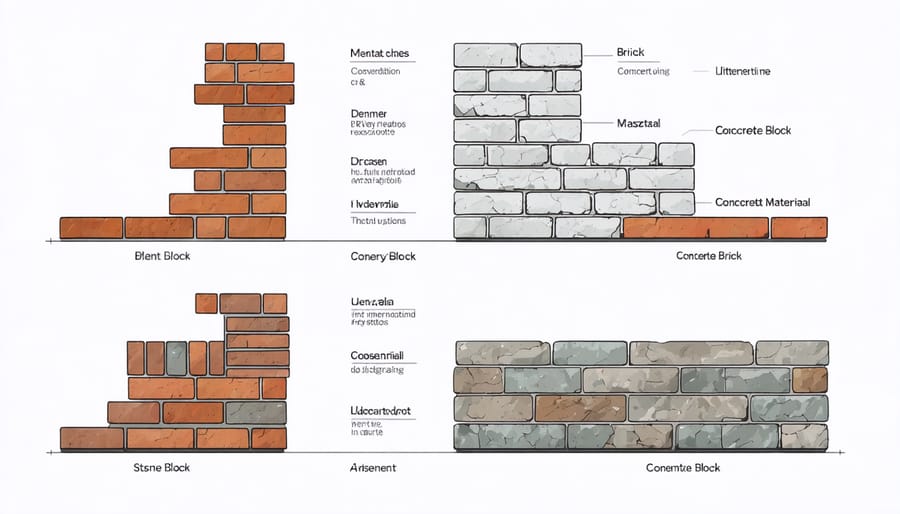
When building a storage shed, selecting the right load-bearing materials is crucial for structural integrity and longevity. While non-load bearing walls offer flexibility in design, your main walls need robust materials that can handle weight and pressure effectively.
Concrete blocks are a popular choice, offering excellent durability and moisture resistance. Their uniform size and stackable nature make them ideal for DIY projects. Clay bricks, while more traditional, provide both strength and aesthetic appeal, with their natural reddish tones adding character to your shed’s exterior.
Natural stone masonry, though more expensive, delivers unmatched durability and a timeless appearance. It’s particularly suitable for regions with harsh weather conditions. For a more modern approach, reinforced concrete masonry units (CMUs) combine strength with cost-effectiveness, featuring hollow cores that can accommodate additional reinforcement when needed.
Remember to consider your local climate and building codes when selecting materials, as some options may be better suited to specific environmental conditions than others.
Weight Distribution Fundamentals
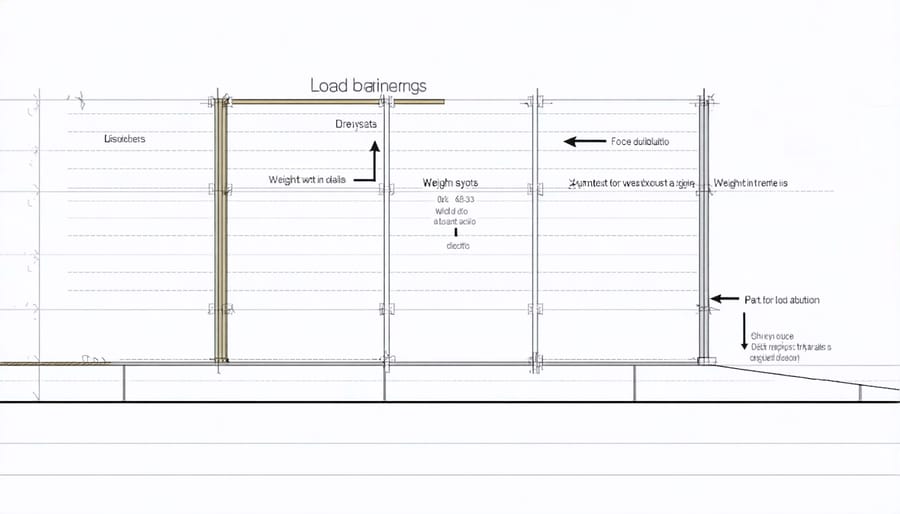
In load-bearing masonry, weight distribution follows a simple but crucial principle: forces travel downward through the structure to the foundation. Think of it like a stack of building blocks – each block supports the weight of everything above it. The walls in your shed need to carry both their own weight and any additional loads from the roof, stored items, and environmental factors like snow.
Proper weight distribution starts with a solid foundation that spreads the load evenly across the ground. The walls themselves act like columns, transferring weight straight down. This is why it’s essential to align openings like doors and windows, ensuring there’s always a clear path for forces to travel to the foundation. Corner joints are particularly important as they help tie the structure together and prevent any single wall from bearing too much weight.
Remember: uneven weight distribution can lead to cracks, settling, or even structural failure. That’s why following proper building techniques is crucial for long-term stability.
Planning Your Shed’s Load-Bearing Walls
Wall Thickness Requirements
The thickness of load-bearing masonry walls plays a crucial role in ensuring your shed’s structural integrity. For single-story structures like garden sheds, a minimum wall thickness of 6 inches is typically recommended when using concrete blocks or bricks. However, if you’re planning to store heavy equipment or create a workshop space, consider increasing the thickness to 8 inches for added stability.
For natural stone walls, which are less uniform in shape, aim for a thickness of 12 inches to ensure proper load distribution and stability. Keep in mind that wall thickness should increase by roughly 4 inches for each additional story, though this rarely applies to typical shed construction.
A good rule of thumb is to maintain a height-to-thickness ratio of no more than 20:1 for solid masonry walls. This means a 6-inch thick wall shouldn’t exceed 10 feet in height. When installing windows or doors, the surrounding masonry should be at least 8 inches thick to maintain structural integrity.
Remember that local building codes may have specific requirements for wall thickness, so always check with your municipal authorities before starting construction.
Support Point Placement
Proper placement of support points is crucial for creating a stable and durable masonry structure. The key is to distribute the load evenly across your foundation while ensuring strong structural corners. Start by establishing support points at each corner of your shed, as these areas bear significant weight and help maintain structural integrity.
For optimal stability, place additional support points every 4-6 feet along the walls, depending on your shed’s size. Remember to incorporate extra support beneath areas that will carry heavy items like workbenches or storage shelves. When installing doors or windows, double up on support points around these openings to compensate for the break in the wall’s continuous structure.
A helpful tip is to think of your support points as creating a grid pattern. This approach ensures even weight distribution and prevents sagging or settling over time. For sheds larger than 10×12 feet, consider adding central support points to provide additional stability to the structure’s core.
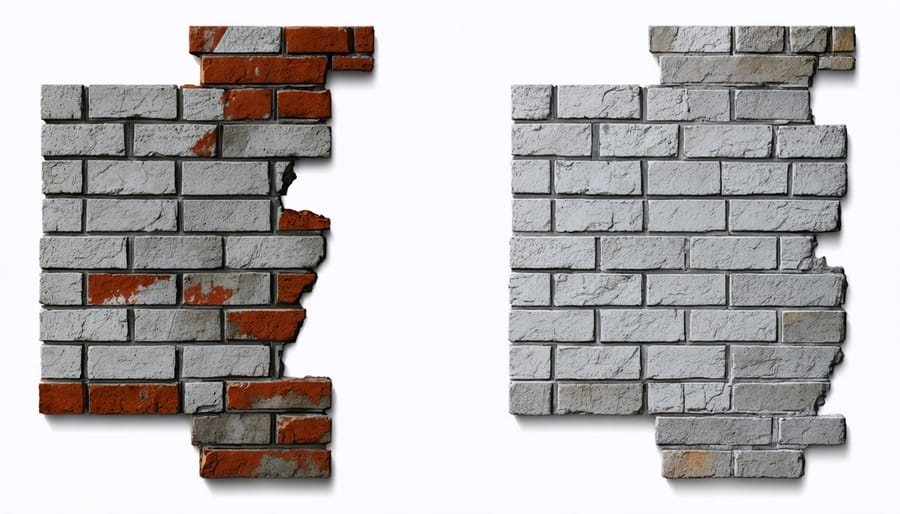
Common Load-Bearing Mistakes to Avoid
When it comes to load-bearing masonry, even small mistakes can lead to significant structural issues down the line. One of the most common errors is improper foundation preparation. Always ensure your foundation is level, well-compacted, and appropriate for your soil type. Skipping this crucial step can result in uneven settling and cracking.
Another frequent mistake is using the wrong mortar mix ratio. Too much water makes the mortar weak, while too little affects workability and proper bonding. Remember to follow manufacturer specifications and maintain consistent mixing throughout your project.
Poor vertical alignment is a critical error that many DIY enthusiasts make. Your walls must be perfectly plumb (vertical), as any lean can compromise the structure’s integrity. Use a level frequently and check your work from multiple angles.
Inadequate spacing between expansion joints is another oversight that can lead to cracking. These joints allow for natural movement and thermal expansion. Generally, they should be placed every 20-25 feet in straight walls and near corners or openings.
Watch out for insufficient overlap in your masonry units. Proper overlap (typically one-third to one-half of the unit length) ensures structural stability and load distribution. Also, avoid stacking joints vertically, as this creates weak points in your wall.
Lastly, don’t rush the curing process. Proper curing is essential for achieving maximum strength. Keep your masonry work moist for at least three days after completion, and protect it from extreme temperatures during this period. Taking time to avoid these common mistakes will save you from costly repairs and ensure your structure stands the test of time.
Load-bearing masonry construction is a time-tested method that continues to prove its worth in modern shed building. By following proper construction techniques and understanding the fundamental principles we’ve discussed, you can create a sturdy, long-lasting storage solution that will serve you well for decades to come.
Remember that successful load-bearing masonry starts with thorough planning and a solid foundation. The careful selection of materials, proper mortar mixing, and precise block placement are essential elements that can’t be overlooked. Taking the time to ensure level courses and maintaining consistent joint thickness will pay dividends in the structural integrity of your shed.
While the initial investment in materials and time might be higher compared to some alternatives, the durability and low maintenance requirements of load-bearing masonry make it a cost-effective choice in the long run. Plus, the natural insulation properties and fire resistance add significant value to your property.
Whether you’re tackling this project yourself or working with a professional, understanding these principles helps ensure your shed will stand strong against the elements while providing the secure storage space you need.