
Power Your Shed Like a Pro: A Complete Solar Installation Blueprint
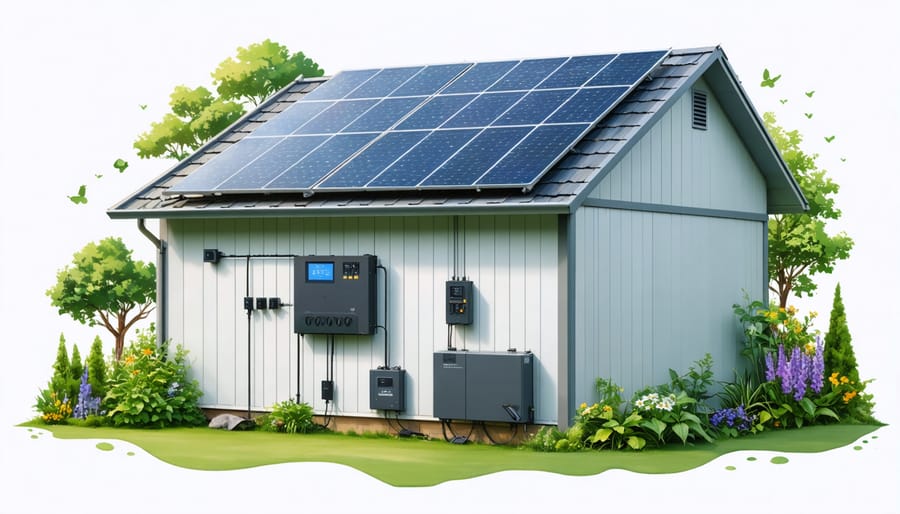
Transform your outdoor storage space into a self-sustaining powerhouse by powering your shed with solar energy. Calculate your shed’s daily power requirements by listing essential devices and their wattage consumption before investing in equipment. Mount solar panels on the south-facing roof at a 30-45 degree angle to maximize sun exposure, ensuring proper clearance from trees and obstacles. Install a complete solar system including deep-cycle batteries, charge controller, and inverter to create a reliable off-grid power source that powers everything from basic lighting to power tools. Connect components using properly sized marine-grade wiring and weatherproof junction boxes to protect against moisture and ensure safety compliance. This sustainable upgrade not only reduces utility costs but transforms your basic storage shed into a functional workspace that operates independently from the grid, perfect for workshops, garden stations, or emergency backup power.
Planning Your Shed Solar System
Calculate Your Power Needs
Before installing solar panels on your shed, you’ll need to calculate your power requirements accurately. Start by listing all the electrical devices you plan to use, including shed lighting options, power tools, or small appliances. For each item, check the wattage rating (usually found on the device or in its manual) and estimate how many hours per day you’ll use it.
Create a simple chart with three columns: device name, wattage, and daily hours of use. Multiply the wattage by hours for each item to get daily watt-hours. Add these numbers together for your total daily power needs. For example, if you have:
– LED lights (20W × 4 hours = 80Wh)
– Phone charger (5W × 2 hours = 10Wh)
– Small fan (40W × 6 hours = 240Wh)
Your total would be 330 watt-hours per day. Add 20% as a safety buffer for unexpected usage. Remember that seasonal changes affect solar panel efficiency, so plan for winter months when daylight is limited. This calculation helps determine the right size for your solar panel system and battery storage capacity.
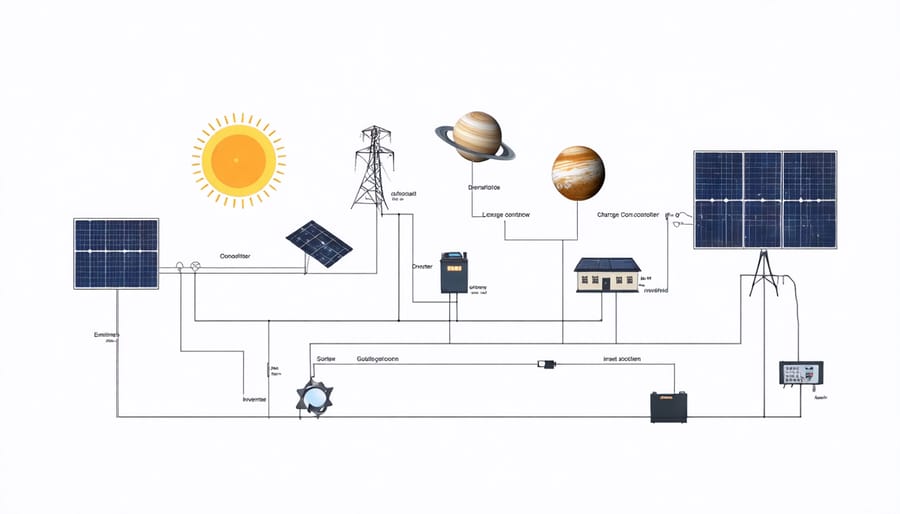
Choose Your Components
Selecting the right components for your solar shed setup is crucial for optimal performance. Start with solar panels – for most storage sheds, 100-400 watts of panel capacity should suffice. Look for panels with high efficiency ratings and weather resistance, as they’ll be exposed to the elements year-round.
For energy storage, deep-cycle batteries are your best bet. Two 12-volt batteries connected in series will create a 24-volt system, ideal for most shed setups. Consider lithium batteries if budget allows – they last longer and require less maintenance than traditional lead-acid alternatives.
Your inverter choice depends on what you’ll power in the shed. A 1000-2000 watt pure sine wave inverter works well for basic tools and lighting. Don’t forget the charge controller – a MPPT (Maximum Power Point Tracking) controller is worth the investment, as it increases charging efficiency by up to 30%.
Remember to include safety components like circuit breakers and proper cables. A monitoring system, while optional, helps track your energy production and consumption, making it easier to adjust your usage patterns.
Installation Basics
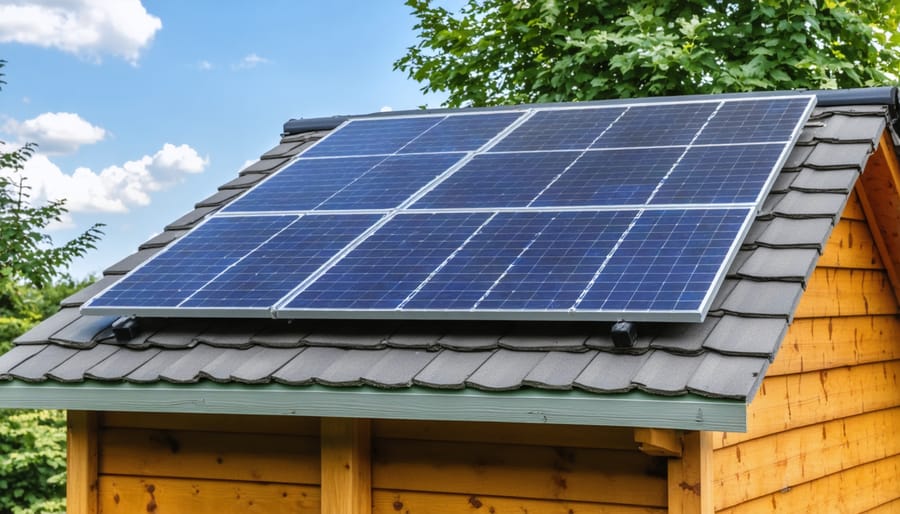
Mounting Options
When it comes to mounting solar panels on your shed, you have several reliable options depending on your shed’s structure and roofing material. The most common approach is direct roof mounting, where panels are attached to your shed’s roof using specialized mounting brackets and rails. This method works particularly well for sheds with asphalt shingles or metal roofing.
For flat-roofed sheds, tilt mounts offer an excellent solution. These adjustable frames allow you to position your panels at the optimal angle for maximum sun exposure, typically between 30-45 degrees. You can even adjust the tilt seasonally to capture more sunlight throughout the year.
Wall mounting is another practical option, especially if your shed’s roof isn’t ideally oriented toward the sun. Using sturdy wall brackets, you can install panels vertically or at an angle on any exterior wall that receives good sunlight. This method also makes cleaning and maintenance easier since the panels are more accessible.
For those concerned about roof integrity, pole mounting provides an alternative solution. By installing poles in the ground near your shed, you can mount solar panels independently of the structure. This method allows for perfect positioning and doesn’t require any modifications to your shed’s roof.
Remember to consider your local weather conditions when choosing a mounting system. Areas with high winds or heavy snow loads may require additional reinforcement or specialized mounting hardware to ensure safety and longevity.
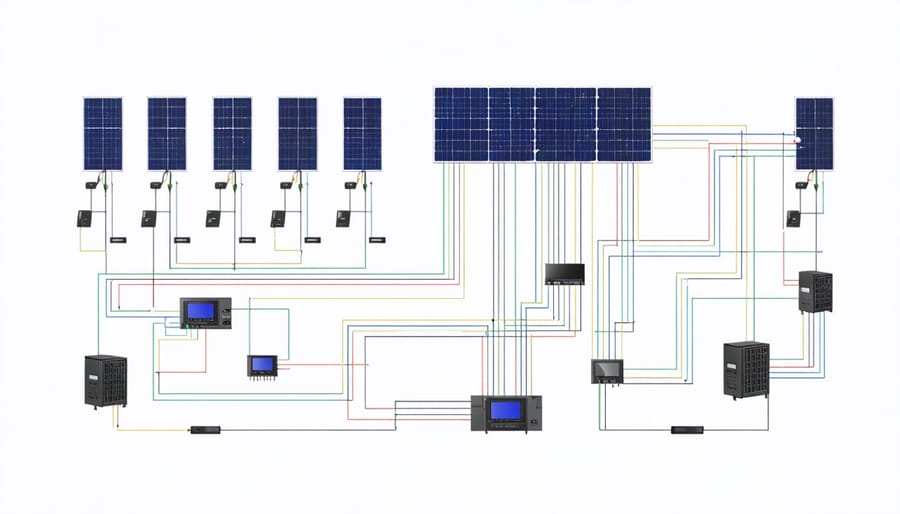
Wiring and Connection
Proper wiring and connections are crucial for a safe and efficient solar shed setup. Before starting the electrical wiring installation, ensure you have all the necessary components, including MC4 connectors, proper gauge wiring, and junction boxes.
Begin by connecting your solar panels in series or parallel, depending on your system’s voltage requirements. Use weatherproof MC4 connectors to join the panels, making sure connections are tight and secure. Run the main cable through UV-resistant conduit to protect it from the elements and route it to your charge controller location.
When connecting to the charge controller, maintain proper polarity (positive to positive, negative to negative) and use appropriately sized wire terminals. From there, connect to your battery bank using heavy-gauge cables to handle the current flow safely. Install a battery disconnect switch for safety and maintenance purposes.
All connections should be made in weatherproof junction boxes to prevent moisture damage. Double-check each connection point and use cable ties to secure loose wires. Install proper grounding equipment to protect against electrical surges and lightning strikes.
Remember to follow local electrical codes and consider having a licensed electrician review your work if you’re unsure about any connections. This ensures your solar setup meets safety standards and functions reliably for years to come.
Battery Storage Setup
Proper battery storage is crucial for your solar shed’s reliability and longevity. Start by selecting a dedicated battery storage area that’s well-ventilated, dry, and protected from extreme temperatures. Install your batteries on a sturdy, elevated platform to prevent ground contact and potential moisture damage.
When connecting batteries, use high-quality battery cables and ensure all terminals are clean and properly tightened. Apply a thin layer of anti-corrosion gel to the terminals to prevent oxidation. For safety, install battery boxes or covers to protect against accidental shorts and environmental factors.
Maintain your batteries by regularly checking fluid levels in flooded lead-acid batteries (if used) and topping up with distilled water when needed. Clean any corrosion promptly with a mixture of baking soda and water. Monitor battery temperature and voltage regularly using a multimeter.
For optimal performance, avoid deeply discharging your batteries below 50% capacity. Install a battery monitor to track charge levels and usage patterns. Consider adding automatic temperature compensation to your charge controller for climate-adjusted charging.
Remember to label all battery connections clearly and keep a maintenance log. Place safety equipment nearby, including protective gloves, safety goggles, and an emergency spill kit. With proper installation and regular maintenance, your battery bank should provide reliable power storage for years to come.
Always follow manufacturer guidelines and local safety regulations when handling and maintaining your battery system.
Maintenance and Optimization
Regular Maintenance Checklist
Keeping your solar shed system running smoothly requires regular maintenance checks throughout the year. Create a monthly schedule to inspect solar panels for dust, leaves, or bird droppings, and clean them using plain water and a soft brush. During winter months, ensure panels are free from snow buildup, which can significantly reduce power generation.
Every three months, check all electrical connections for signs of corrosion or loose wiring. Inspect the battery bank’s fluid levels if you’re using flooded lead-acid batteries, and clean any corrosion from terminal connections using a mixture of baking soda and water. Remember to wear protective gloves during these checks.
Twice yearly, verify that your charge controller settings are optimal and that all system monitoring displays are functioning correctly. Examine the shed roof and mounting hardware for any signs of water damage or loose bolts. This is also a good time to trim back any overhanging branches that might shade your panels.
Annual maintenance should include a thorough system performance review. Compare current power generation with previous years’ data to identify any efficiency losses. Have a qualified professional inspect the entire system if you notice significant changes in performance.
Keep a maintenance log to track cleaning dates, repairs, and system performance. This record will help you spot patterns and address potential issues before they become serious problems.
Troubleshooting Common Issues
Even the best-planned solar shed setups can encounter occasional issues. Here are solutions to common problems you might face and tips to maximize shed functionality with your solar system.
If your batteries aren’t charging properly, first check for dust or debris on the solar panels. A simple cleaning with water and a soft brush can restore optimal performance. Also, ensure your panels aren’t shaded by nearby trees or structures during peak sunlight hours.
When experiencing reduced power output, verify all connections are tight and corrosion-free. Loose or corroded connections are often the culprits behind power issues. If your system includes an inverter, check its display for error codes that might indicate specific problems.
Battery performance issues typically stem from extreme temperatures. Consider installing additional ventilation or insulation to maintain optimal battery temperature. Also, regular battery water level checks (for flooded lead-acid batteries) can prevent premature failure.
For flickering lights or inconsistent power, inspect your charge controller settings. Incorrect settings can lead to inefficient charging and power distribution. If your system suddenly stops working, check your circuit breakers and fuses first – they’re often the simplest fix.
Remember to monitor your system’s performance regularly through your charge controller or monitoring system. This helps identify potential issues before they become major problems and ensures your solar shed continues operating efficiently.
Safety and Regulations
Safety Guidelines
Safety should always be your top priority when setting up a solar-powered shed system. Before starting any installation, ensure you’re wearing appropriate protective gear, including safety glasses, work gloves, and non-slip footwear. Never work alone on electrical components – having a buddy system can be lifesaving in case of emergencies.
When installing solar panels on your shed roof, make sure the structure can support the additional weight. If you’re unsure, consult a structural engineer. Use proper fall protection equipment when working at height, such as a safety harness and secure ladder.
Keep all electrical connections waterproof and elevated off the ground. Install proper grounding systems to protect against lightning strikes and electrical surges. Always use appropriate gauge wiring for your system’s capacity to prevent fire hazards.
Never attempt to modify your solar system’s electrical components unless you’re qualified. If you’re not confident about any aspect of the installation, hire a certified solar installer. It’s better to invest in professional help than risk injury or damage to your property.
Store batteries in a well-ventilated area away from direct sunlight and heat sources. Keep a fire extinguisher rated for electrical fires nearby, and ensure your shed has working smoke detectors. Post emergency contact numbers and basic safety procedures in a visible location.
Remember to regularly inspect all components for wear, damage, or loose connections. Maintain clear documentation of your system’s layout and specifications for future reference or maintenance needs.
Permits and Codes
Before installing your solar shed setup, obtaining the necessary permits and following local electrical codes is crucial for safety and legal compliance. Most municipalities require both building and electrical permits for solar installations, even on auxiliary structures like sheds. Contact your local building department to understand specific requirements, as these vary by location.
Typically, you’ll need to submit detailed plans showing your solar panel layout, wiring diagrams, and equipment specifications. The National Electrical Code (NEC) requirements must be followed, particularly Article 690, which specifically addresses solar photovoltaic systems. Key compliance points include proper grounding, appropriate wire sizing, and using outdoor-rated components.
Many jurisdictions also require professional installation or inspection by a licensed electrician. Even if DIY installation is permitted, having a professional review your work is highly recommended. Important code considerations include:
– Proper disconnect switches for emergency shutoff
– Weather-resistant enclosures for all electrical components
– Appropriate setbacks from property lines and other structures
– Clear labeling of solar equipment and safety warnings
– Adequate structural support for panel weight
Remember that while permit costs and requirements might seem burdensome, they exist to ensure your installation is safe and reliable. Non-compliance can result in fines, insurance issues, or having to remove the system entirely.
Setting up a solar-powered shed is an achievable and rewarding project that can transform your outdoor storage space into an eco-friendly, functional area. By following the guidelines we’ve discussed, you’ll be well-equipped to create a sustainable power solution that meets your specific needs. Remember to start with a thorough assessment of your power requirements, choose appropriately sized components, and prioritize proper installation and safety measures.
Whether you’re looking to power basic lighting, small tools, or create a fully functional workshop, solar power offers a flexible and cost-effective solution. The initial investment in quality components will pay off through reduced energy bills and increased property value. Plus, you’ll have the satisfaction of knowing you’re making a positive environmental impact.
Don’t let the technical aspects intimidate you – with careful planning and attention to detail, this is a project well within reach of most DIY enthusiasts. Take action today by starting with your energy audit and system design. Your solar-powered shed awaits!