
Shield Your Shed: Weather-Resistant Barriers That Actually Work
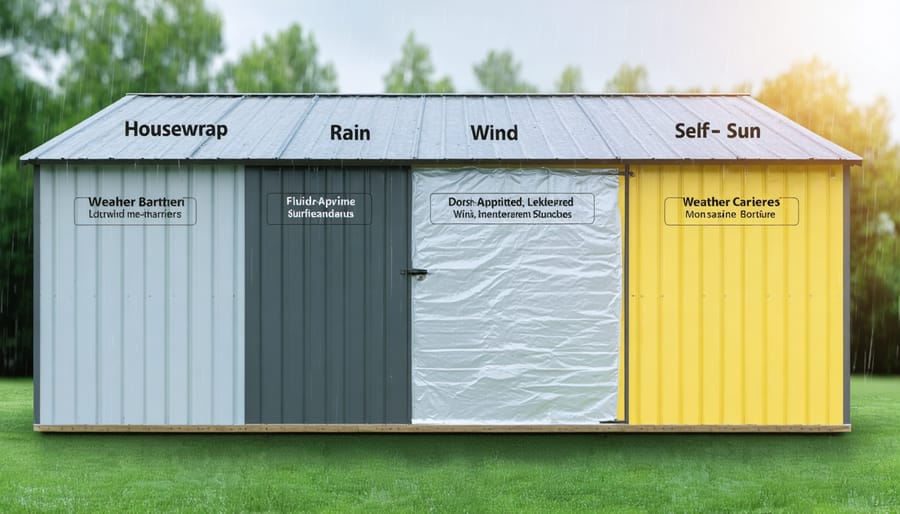
Protect your shed investment with proven weather-tight protection by selecting the right weather-resistant barrier. Modern weather barriers combine advanced materials like synthetic housewraps, self-adhering membranes, and fluid-applied barriers to create an impenetrable shield against moisture, wind, and UV damage. Each barrier type serves a specific purpose: housewraps excel at moisture control while allowing walls to breathe, fluid-applied membranes provide seamless protection for complex architectural details, and sheet membranes offer superior waterproofing for critical areas. Understanding these options empowers homeowners to make informed decisions based on their climate, building design, and budget constraints. The right barrier system not only preserves structural integrity but also maintains energy efficiency and indoor air quality, making it a crucial component of any durable storage solution.\n\n\n
Traditional Weather-Resistant Barriers
\n\n
House Wrap Barriers
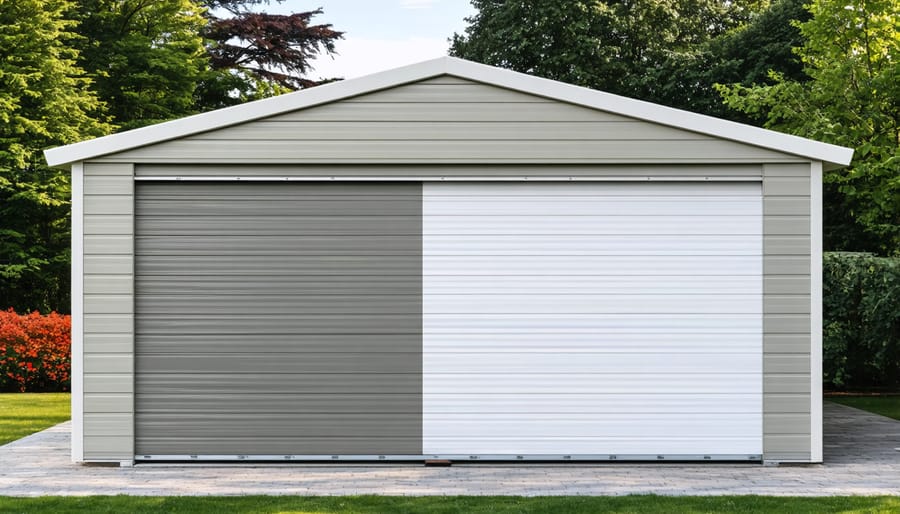
\n\nHouse wrap barriers are among the most popular weather-resistant solutions for protecting storage buildings. These lightweight, synthetic materials act like a protective skin around your structure, allowing moisture to escape while preventing water from entering. Think of it as a breathable raincoat for your shed!\n\nMost house wraps are made from high-density polyethylene fibers or similar materials that create a strong yet flexible barrier. When properly installed, they provide excellent protection against wind-driven rain and help maintain consistent internal temperatures. The material’s microporous structure is key to its effectiveness – it’s designed to let water vapor pass through while blocking liquid water from the outside.\n\nInstallation is straightforward but requires attention to detail. Start at the bottom and work your way up, overlapping each row by at least 6 inches. Be sure to tape all seams and wrap corners carefully. Many homeowners appreciate that house wrap is relatively budget-friendly and can last for decades when installed correctly.\n\nFor best results, combine house wrap with proper flashing around windows, doors, and other openings. This creates a complete protective system that significantly enhances your shed’s weather resistance.\n\n
 \n
\n\n\n
Building Paper Barriers
\n\nBuilding paper has been a trusted weather barrier choice for generations of homeowners. Also known as tar paper or felt paper, this traditional material comes in two main types: #15 and #30, with the numbers indicating relative thickness and durability. The thicker #30 paper offers enhanced protection but comes at a higher cost.\n\nThese papers work by creating a water-resistant layer that prevents moisture from seeping into your shed’s structure while allowing internal moisture to escape. When properly installed with appropriate overlapping and fastening, building paper can effectively protect your shed for 10-15 years.\n\nOne of the main advantages of building paper is its affordability and widespread availability. It’s also relatively easy to work with, making it a popular choice for DIY projects. However, it’s important to note that building paper can be prone to tearing during installation and may degrade faster than modern synthetic alternatives when exposed to prolonged UV rays.\n\nFor best results, ensure proper installation with a minimum 2-inch overlap on horizontal seams and 6-inch overlap on vertical seams. This creates a reliable moisture barrier while maintaining proper drainage patterns.\n\n\n
Modern Synthetic Barriers
\n\n
Fluid-Applied Membranes
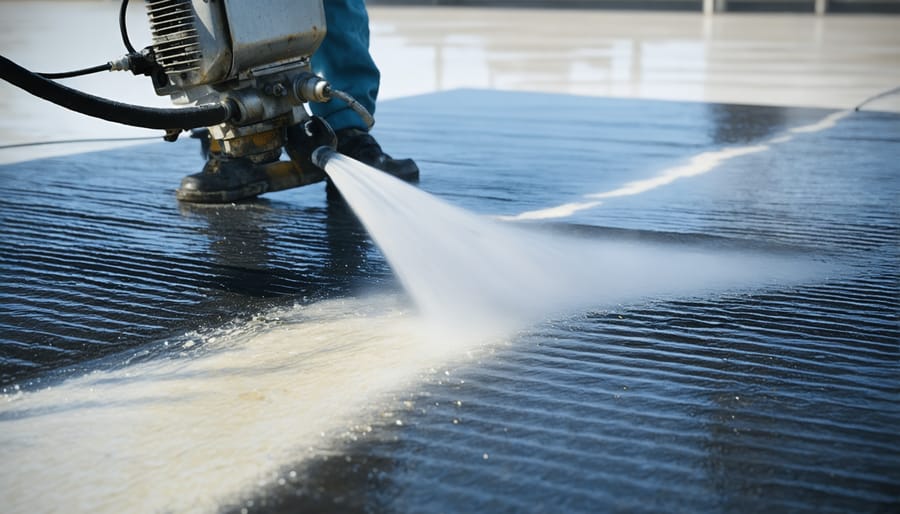
\n\nFluid-applied membranes offer a modern and highly effective approach to weather protection for your shed. These liquid barriers are applied using rollers, brushes, or spray equipment, creating a seamless protective layer that adheres directly to your shed’s exterior surface.\n\nOne of the biggest advantages of fluid-applied membranes is their ability to form a continuous barrier without seams or joints, which are often weak points where water can penetrate. They excel at covering irregular surfaces and complicated architectural details, making them perfect for sheds with unique features or multiple corners.\n\nThese membranes are particularly effective in areas with high rainfall or strong winds, as they create an exceptionally tight seal against moisture. Many fluid-applied products also offer excellent vapor permeability, allowing your shed to “breathe” while keeping water out. This balance helps prevent moisture-related issues like mold and rot.\n\nWhile the initial cost might be higher than traditional barriers, fluid-applied membranes often prove more cost-effective in the long run due to their durability and reduced maintenance needs. They typically last 15-20 years when properly applied and maintained. The application process does require careful attention to detail and specific weather conditions for optimal results, so some homeowners opt for professional installation to ensure the best outcome.\n\nFor best results, choose a product specifically rated for exterior use and follow the manufacturer’s instructions regarding temperature and humidity conditions during application.\n\n
 \n
\n\n\n
Self-Adhered Membranes
\n\nSelf-adhered membranes, often called peel-and-stick barriers, are one of the most reliable ways to protect your shed from moisture and weather damage. These barriers consist of a waterproof material with a sticky backing that adheres directly to your shed’s exterior walls, creating a seamless protective layer.\n\nWhat makes these membranes particularly effective is their ability to seal around nails, screws, and other fasteners, preventing water from sneaking through those tiny openings. The adhesive backing forms a strong bond with most building materials, including wood, metal, and concrete, making them versatile for different shed types.\n\nInstallation is straightforward but requires attention to detail. Start at the bottom of your wall and work your way up, overlapping each piece by about 6 inches to ensure complete coverage. For best results, apply these membranes when temperatures are above 50°F (10°C), as the adhesive bonds better in warmer conditions.\n\nWhile slightly more expensive than some other barrier options, self-adhered membranes offer excellent long-term protection. They’re particularly valuable in areas with heavy rainfall or where wind-driven rain is common. Many homeowners appreciate that these barriers can last 20-25 years when properly installed, making them a worthwhile investment for protecting your storage space.\n\nRemember to smooth out any air bubbles during installation to prevent weak spots where moisture could potentially collect.\n\n\n
Choosing the Right Barrier
\n\n
Climate Considerations
\n\nYour local climate plays a crucial role in choosing the right weather-resistant barrier for your shed. In regions with heavy rainfall, you’ll want to prioritize barriers with superior water-resistance and proper drainage capabilities. For areas with extreme temperature fluctuations, look for barriers that offer good insulation properties and can help with climate control for sheds.\n\nCoastal areas require barriers that can withstand salt spray and high humidity, while desert regions need materials that won’t deteriorate under intense UV exposure. In snowy climates, choose barriers that can handle freeze-thaw cycles and won’t crack under the weight of snow accumulation.\n\nWind exposure is another important factor to consider. If your area experiences frequent high winds, select barriers with strong wind resistance ratings and ensure they’re properly secured during installation. Some regions may also face specific challenges like extreme humidity or frequent storms, which might require additional protective measures.\n\nRemember that your local building codes may have specific requirements for weather barriers based on your climate zone. It’s always worth checking these regulations before making your final selection to ensure compliance and optimal protection for your shed.\n\n
 \n
\n\n\n
Installation Requirements
\n\nWhen it comes to installing weather-resistant barriers, some options are more DIY-friendly than others. Sheet barriers like house wrap can be managed by experienced DIY enthusiasts, requiring basic tools like a utility knife, staple gun, and tape. However, proper installation is crucial to prevent moisture issues, so careful attention to overlap, sealing, and fastening is essential.\n\nLiquid-applied barriers typically need professional installation due to their specific application requirements and the expertise needed for even coverage. These barriers require specialized equipment and precise temperature conditions during application, making them less suitable for DIY projects.\n\nFor building paper installation, while it’s relatively straightforward, working at heights and ensuring proper layering can be challenging. If you’re considering a DIY approach, start with smaller, ground-level projects to gain experience.\n\nProfessional installation is strongly recommended for:\n- Multi-story applications\n- Complex architectural features\n- Areas requiring detailed flashing work\n- Liquid-applied barriers\n- Commercial projects\n\nRemember that improper installation can lead to moisture problems and void manufacturer warranties. When in doubt, consulting with or hiring a professional installer can save time and prevent costly mistakes in the long run. Many manufacturers also offer installation training programs for contractors, ensuring proper application of their products.\n\n\n
Maintenance and Long-Term Protection
\n\nRegular maintenance is key to ensuring your weather-resistant barrier continues to protect your shed effectively. Start by performing quarterly visual inspections, checking for any tears, gaps, or areas where the barrier might have come loose. Following essential shed maintenance guidelines will help extend the life of your weather barrier significantly.\n\nKeep vegetation trimmed away from your shed walls to prevent moisture buildup and potential damage to the barrier. Clean the exterior periodically with a soft brush and mild soap solution to remove dirt and debris that could trap moisture. Pay special attention to the corners and seams, as these areas are most vulnerable to wear and tear.\n\nIf you notice any small tears or holes, address them immediately using manufacturer-approved repair tape or patches. For larger damage, consult a professional to assess whether a section needs replacement. Remember to check your roof barrier annually, preferably before the rainy season begins.\n\nTo maximize protection, ensure proper ventilation inside your shed. Good airflow helps prevent condensation, which can compromise the barrier’s effectiveness from the inside. Consider installing soffit vents or a small solar-powered vent if your shed feels stuffy.\n\nWith proper care and regular maintenance, most weather-resistant barriers can provide reliable protection for 15-20 years, making them a worthwhile investment for your storage shed.\n\n\nChoosing the right weather-resistant barrier is crucial for protecting your shed and its contents from moisture damage and weather-related issues. By understanding the different types available – from traditional tar paper to modern synthetic barriers – you can make an informed decision that suits your climate and budget. Remember to consider factors like durability, breathability, and ease of installation when making your choice. Regular inspections and proper maintenance will help extend the life of your barrier and shed. Whether you opt for a basic asphalt-saturated felt or a premium synthetic membrane, ensuring proper installation and sealing around openings is key to maximum protection. With the right weather-resistant barrier in place, you can enjoy peace of mind knowing your shed is well-protected against the elements for years to come.