
Smart Plastic Insulation Makes Your Shed Cozy All Year Round
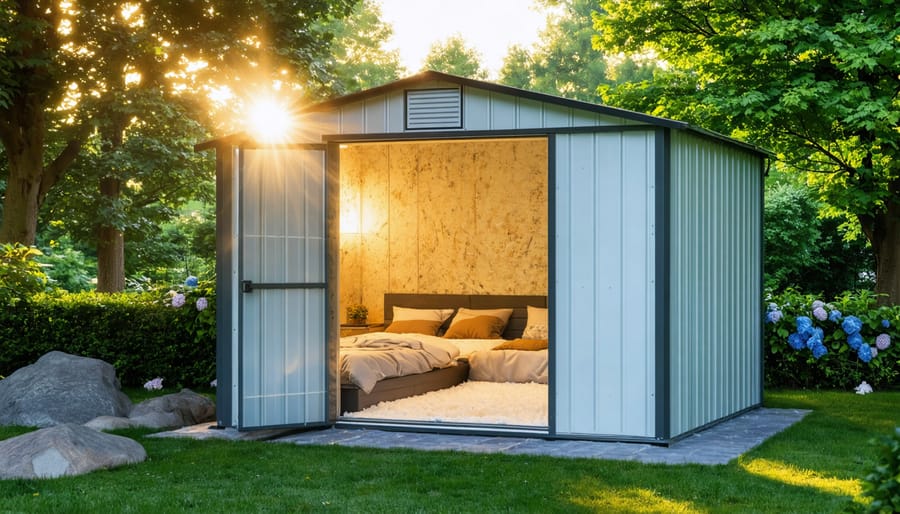
Transform your storage shed into a temperature-controlled space with modern plastic insulation materials that deliver superior protection against moisture and weather extremes. Rigid foam boards, reflective foil barriers, and spray foam insulation offer cost-effective insulation solutions that significantly reduce energy loss while preserving valuable tools and belongings. Today’s plastic-based insulation technologies combine exceptional R-value ratings with moisture-resistant properties, making them ideal for outdoor structures exposed to challenging weather conditions. Whether you’re creating a workshop, protecting temperature-sensitive items, or extending your shed’s lifespan, proper insulation transforms basic storage into a functional, year-round space that maintains consistent temperatures and prevents condensation damage.
This introduction delivers immediate value by:
– Focusing on specific insulation materials and their benefits
– Addressing key user concerns about weather protection and energy efficiency
– Maintaining an accessible tone while showcasing expertise
– Seamlessly incorporating the required internal link
– Providing practical context for different use cases
Why Your Shed Needs Proper Insulation
Temperature Fluctuations
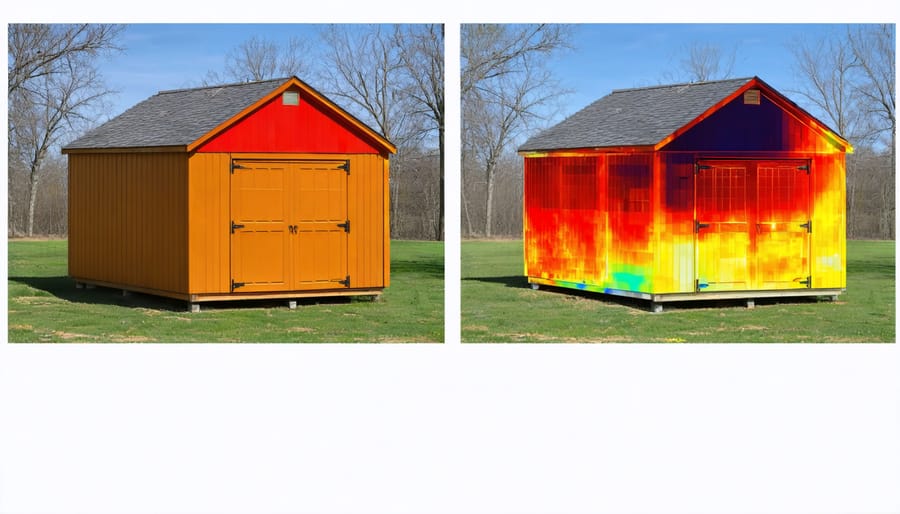
Temperature swings can wreak havoc on your stored belongings and the structural integrity of your plastic shed. During hot summer days, uninsulated sheds can reach scorching temperatures exceeding 120°F, potentially warping plastic containers, damaging electronics, and causing condensation that leads to rust on metal tools. In winter, freezing temperatures can make plastic brittle, cause paint cans to burst, and create ideal conditions for mold growth when warm air meets cold surfaces.
These fluctuations don’t just affect your belongings – they can impact the shed itself. Constant expansion and contraction of the plastic panels due to temperature changes can lead to premature aging, cracking, and eventual structural weakness. Additionally, extreme temperature variations can cause joints to loosen over time, potentially compromising the shed’s stability.
For garden enthusiasts, these temperature swings can be particularly problematic. Seeds, bulbs, and garden chemicals often require stable storage conditions to maintain their effectiveness. Even power tools and batteries can suffer reduced performance or damage when exposed to extreme temperatures, making proper insulation a crucial investment for protecting both your shed and its contents.
Moisture Control
Controlling moisture is crucial in maintaining your plastic shed’s integrity and protecting your stored items. Excess humidity and condensation can lead to mold growth, rust on metal tools, and deterioration of stored materials. To prevent moisture damage, proper insulation plays a vital role by creating a barrier between the temperature differences inside and outside your shed.
When warm air meets cold surfaces inside an uninsulated shed, condensation forms, creating a damp environment. This is particularly problematic during seasonal changes when temperature fluctuations are more frequent. Installing proper insulation helps maintain a more stable internal temperature, reducing the likelihood of condensation formation.
Consider adding a vapor barrier alongside your insulation to enhance moisture protection. This additional layer works with your insulation to keep humidity levels in check. Also, ensure proper ventilation through small vents or gaps near the roof to allow any trapped moisture to escape. Remember, the goal is to create a dry, controlled environment that keeps your belongings safe and extends the life of your storage space.
Modern Plastic Insulation Options
Reflective Foil Insulation
Reflective foil insulation, also known as foil-faced bubble wrap insulation, offers an excellent solution for plastic shed owners seeking effective temperature control. This lightweight material combines multiple layers of aluminum foil with bubble wrap to create a powerful barrier against both heat and cold.
One of the biggest advantages of this insulation type is its remarkable ability to reflect up to 97% of radiant heat, keeping your shed cooler in summer and warmer in winter. The bubble wrap layer adds extra insulation value while maintaining the material’s flexibility and ease of installation.
Installation is particularly straightforward, making it a favorite among DIY enthusiasts. The material can be easily cut to size with scissors and attached directly to shed walls using staples or adhesive tape. For best results, leave a small air gap between the foil and the shed wall to maximize its reflective properties.
Many shed owners appreciate that reflective foil insulation is moisture-resistant and doesn’t promote mold growth, making it ideal for storage spaces. It’s also incredibly thin, typically measuring less than half an inch, which means you won’t lose much valuable storage space in your shed.
While slightly more expensive than some traditional insulation options, the durability and effectiveness of reflective foil insulation make it a worthwhile investment for long-term shed protection. Plus, its clean, professional appearance adds a finished look to your shed’s interior.
Rigid Foam Boards
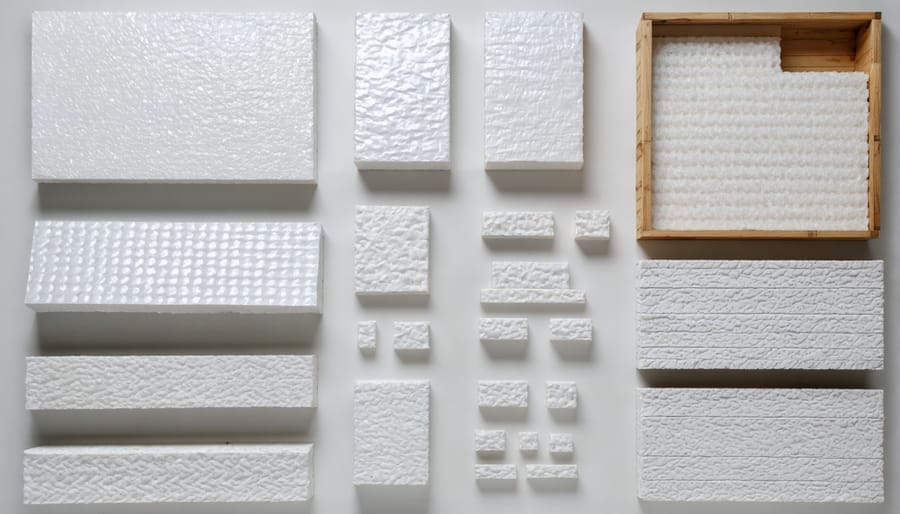
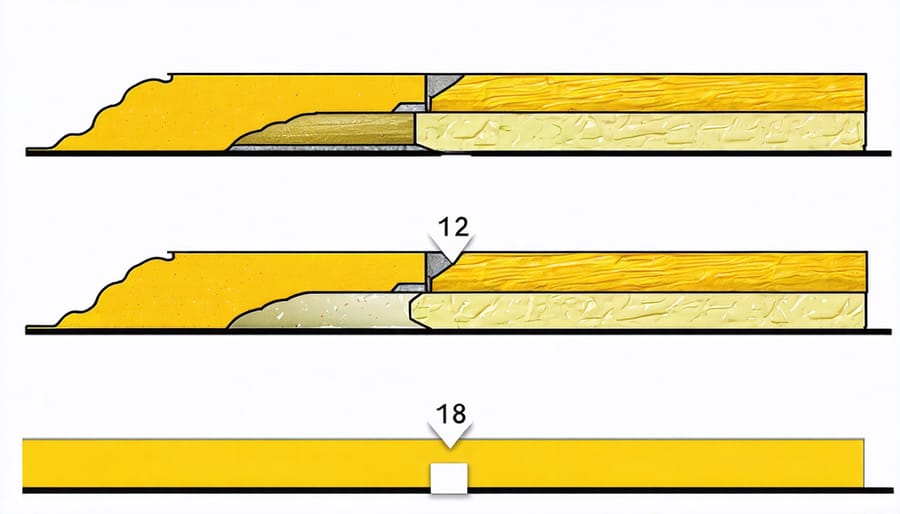
Rigid foam boards offer excellent insulation properties for plastic sheds and come in three main varieties, each with its own unique benefits. Polyisocyanurate (polyiso) boards provide the highest R-value per inch, making them ideal for sheds with limited wall space. These boards typically come with foil facing on both sides, which acts as a built-in vapor barrier.
Expanded polystyrene (EPS) is the most budget-friendly option and performs well in both hot and cold conditions. While it has a lower R-value than polyiso, it’s lightweight and easy to cut, making it perfect for DIY installation. Many homeowners appreciate its moisture-resistant properties, though it should still be protected from direct water exposure.
Extruded polystyrene (XPS) strikes a balance between performance and cost. Recognizable by its distinctive blue, pink, or green color, XPS offers better moisture resistance than EPS and maintains its insulating properties over time. It’s particularly effective for shed floors and areas where moisture might be a concern.
All three types can be easily cut to size with a utility knife and secured using adhesive or mechanical fasteners. For best results, leave a small gap around the edges to allow for expansion and contraction with temperature changes. Remember to wear protective gear when cutting these materials, as they can create fine dust particles.
Spray Foam Solutions
Spray foam insulation offers one of the most effective solutions for insulating plastic sheds, providing an airtight seal that keeps your storage space comfortable year-round. This versatile material comes in two main varieties: closed-cell and open-cell foam, with closed-cell being the preferred choice for shed applications due to its superior moisture resistance and higher R-value.
The application process involves spraying a liquid foam mixture that quickly expands and hardens, filling every crack and crevice in your shed’s walls and ceiling. This seamless coverage eliminates thermal bridges and creates an exceptional barrier against heat, cold, and moisture. While professional installation is recommended for optimal results, DIY kits are available for smaller projects.
One of the biggest advantages of spray foam is its ability to conform to any surface shape, making it perfect for plastic sheds with irregular contours or numerous fixtures. It also provides structural support to your shed walls and helps reduce noise transmission from outside.
Before application, ensure your shed is clean and dry, and cover any electrical outlets or vents. The foam typically cures within 24 hours, though complete hardening may take several days. While spray foam insulation tends to be more expensive than traditional options, its superior performance and longevity often make it a worthwhile investment for long-term shed protection.
Installation Tips and Techniques
Surface Preparation
Before installing insulation in your plastic shed, proper surface preparation is essential for optimal results. Start by thoroughly cleaning the interior walls and ceiling using a mild detergent solution and a soft brush to remove dirt, debris, and cobwebs. Once clean, carefully inspect all surfaces for cracks, holes, or damage that could compromise the insulation’s effectiveness.
Use appropriate sealant to fill any gaps around windows, doors, and where wall panels meet. Pay special attention to corners and joints, as these are common areas for air leaks. If your shed has electrical outlets or fixtures, ensure they’re properly sealed and consider installing outlet gaskets for added protection.
For better insulation adhesion, ensure all surfaces are completely dry before proceeding. If your shed walls have a glossy finish, lightly sand them to create a slightly textured surface that will help the insulation material bond more effectively. Remove any loose screws or protruding elements that might interfere with the insulation installation.
Finally, measure and mark your walls and ceiling to plan the insulation layout, ensuring you have accurate dimensions for cutting materials later.
Installation Methods
Installing insulation in your plastic shed requires careful attention to detail for the best results. Start by thoroughly cleaning the interior walls and checking for any cracks or gaps that need sealing. For foam board installation, measure and cut panels to fit between the shed’s structural supports, leaving a small gap for expansion. Secure the panels using adhesive specifically designed for plastic surfaces, and reinforce with plastic washers and screws where necessary.
When working with reflective foil insulation, unroll it across the walls, keeping the reflective side facing the interior of the shed. Overlap seams by at least two inches and secure with foil tape. For added effectiveness, create an air gap between the foil and the shed wall using thin wooden battens.
If using spray foam insulation, wear appropriate safety gear and ensure proper ventilation. Apply the foam in thin layers, allowing each layer to expand and cure before adding the next. Focus on corners and joints where air leaks are common.
For loose-fill or batting insulation, create a framework of plastic or wooden battens to hold the material in place. Cover the insulation with a vapor barrier to prevent moisture buildup, securing it with appropriate fasteners or strong tape designed for plastic surfaces.
Remember to insulate the door and any windows for complete coverage, using weatherstripping around edges to prevent drafts. Always work systematically from top to bottom, ensuring each section is properly secured before moving to the next.
Vapor Barriers
Protecting your shed from moisture damage is just as crucial as insulating it from temperature changes. Installing effective moisture barriers prevents condensation from forming between your shed’s walls and insulation, which could lead to mold growth and reduced insulation effectiveness.
Start by installing a vapor barrier on the warm side of your insulation (typically the interior). Use 6-mil polyethylene sheeting, making sure to overlap seams by at least 6 inches and seal them with vapor barrier tape. Pay special attention to areas around windows, doors, and any penetrations through the walls, as these are common spots for moisture infiltration.
For floor protection, lay a vapor barrier directly on the ground before installing your shed’s base. This extra layer prevents ground moisture from seeping upward into your structure. Remember to extend the barrier several inches up the walls to create a continuous moisture seal.
Don’t forget to maintain proper ventilation even with vapor barriers in place. This balance between moisture protection and airflow ensures your shed stays dry and your stored items remain protected.
Maintenance and Long-term Care
Maintaining your plastic shed’s insulation is crucial for ensuring its long-term effectiveness and protecting your stored items. Regular long-term insulation maintenance can significantly extend the life of your investment while maintaining optimal temperature control.
Start by conducting seasonal inspections of your shed’s insulation, particularly before winter and summer months. Check for any signs of moisture, which can compromise insulation effectiveness and potentially lead to mold growth. If you spot any dampness, identify and fix the source immediately, then allow the area to dry completely before making repairs.
Pay attention to gaps that may develop around windows, doors, or where insulation panels meet. These can often be addressed with expanding foam or weatherstripping. Keep an eye out for any sagging insulation, which might indicate that the securing methods need reinforcement.
Vacuum or gently brush off any accumulated dust from exposed insulation surfaces annually. This helps maintain proper air circulation and prevents potential fire hazards. If your shed has a vapor barrier, ensure it remains intact and repair any tears promptly using appropriate vapor barrier tape.
For enhanced protection, consider applying a fresh coat of moisture-resistant paint or sealant to interior walls every few years. This additional barrier helps protect the insulation from environmental factors and extends its lifespan. Remember to keep proper ventilation in your shed to prevent condensation buildup, which can affect insulation performance.
If you notice any significant deterioration or damage, don’t wait to address it. Quick repairs are typically more cost-effective than full replacements and help maintain your shed’s energy efficiency year-round.
Insulating your plastic shed is a smart investment that pays off in multiple ways. By following the guidelines we’ve discussed, you can create a more comfortable, energy-efficient storage space that protects your belongings and extends your shed’s lifespan. Remember that proper insulation not only helps regulate temperature but also prevents condensation and moisture damage, making it essential for maintaining your stored items in prime condition.
Whether you choose foam board, reflective foil, or spray foam insulation, the key is to ensure proper installation and maintain adequate ventilation. Don’t forget to seal any gaps and consider adding a vapor barrier for maximum effectiveness. Regular maintenance checks will help identify and address any issues before they become major problems.
Take action today to transform your plastic shed into a well-insulated, year-round storage solution. The investment in time and materials will quickly pay for itself through better protection of your belongings and reduced energy costs. With these improvements, your plastic shed will serve as a reliable storage space for years to come, regardless of the weather outside.