
Smart Ways to Insulate Your Shed Without Breaking the Bank
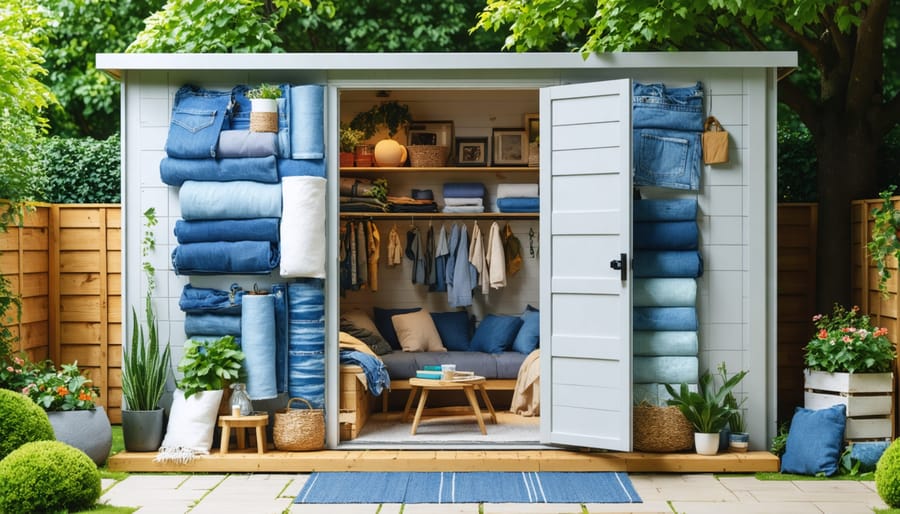
Transform your drafty shed into a weather-resistant workspace using cost-effective insulation methods that won’t break the bank. Repurpose cardboard boxes as wall insulation by flattening and stacking them between studs, creating a surprisingly effective thermal barrier. Salvage bubble wrap from packaging materials to line shed walls, combining multiple layers for enhanced insulation properties. Install old carpeting or moving blankets along interior walls, securing them with a staple gun for immediate temperature regulation. These practical solutions leverage readily available materials to create a comfortable storage environment while minimizing expenses. Whether protecting valuable tools or creating a year-round workspace, proper insulation extends your shed’s functionality and preserves stored items from extreme temperatures and moisture damage.\n\n\n
 \n
\n\n\n
Natural and Recycled Insulation Materials
\n\n
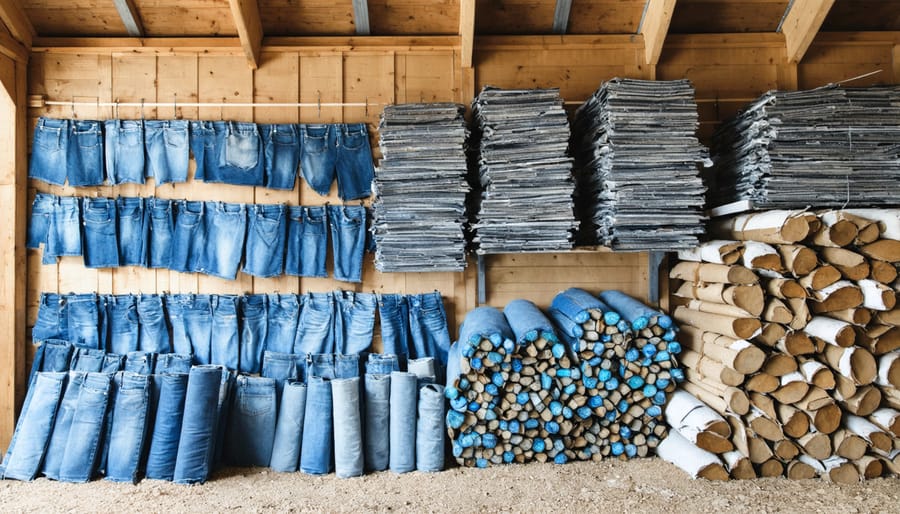
Recycled Denim and Cotton
\n\nTransform old denim jeans and cotton clothing into effective eco-friendly insulation materials for your shed. Simply shred the fabric into small pieces or use whole sections of material to create insulating layers. The natural fibers in denim and cotton trap air effectively, providing decent thermal protection while keeping costs minimal. Layer the fabric between vapor barriers or staple directly to your shed walls, ensuring the material is packed tightly to maximize insulation value. This method not only saves money but also gives new life to old clothes that might otherwise end up in landfills. For best results, use clean, dry fabrics and consider treating them with a fire-retardant spray before installation.\n\n
Cardboard and Paper Products
\n\nCardboard and paper products offer a surprisingly effective and budget-friendly insulation solution for your shed. Start by collecting clean, dry cardboard boxes and newspapers. Flatten the cardboard and layer it against your shed walls, securing it with a staple gun or adhesive. For added insulation, crumple newspapers to fill gaps between wall studs before covering them with cardboard sheets. Be sure to treat all paper materials with a fire-retardant spray before installation.\n\nTo prevent moisture issues, create a vapor barrier by covering the cardboard with plastic sheeting. While this method isn’t permanent, it can last several seasons when properly maintained. Remember to check periodically for any signs of dampness or pest activity. This eco-friendly approach not only saves money but also gives new life to materials that might otherwise end up in landfills.\n\n
Straw and Natural Fibers
\n\nStraw and natural fibers offer an age-old solution for budget-conscious shed owners. These materials have been used for centuries and remain effective today. Straw bales can create thick, insulating walls when properly stacked and protected from moisture, while loose straw can be packed between wall cavities. Other natural options include hemp, cotton, and sheep’s wool, which provide excellent thermal properties at a fraction of the cost of synthetic materials. When using natural fibers, ensure they’re treated with natural fire retardants and properly sealed to prevent pest intrusion. Consider layering these materials with a vapor barrier to maintain their effectiveness over time. The best part? Many of these materials can be sourced locally, sometimes even for free from nearby farms or agricultural operations.\n\n\n
DIY Insulation Techniques
\n\n
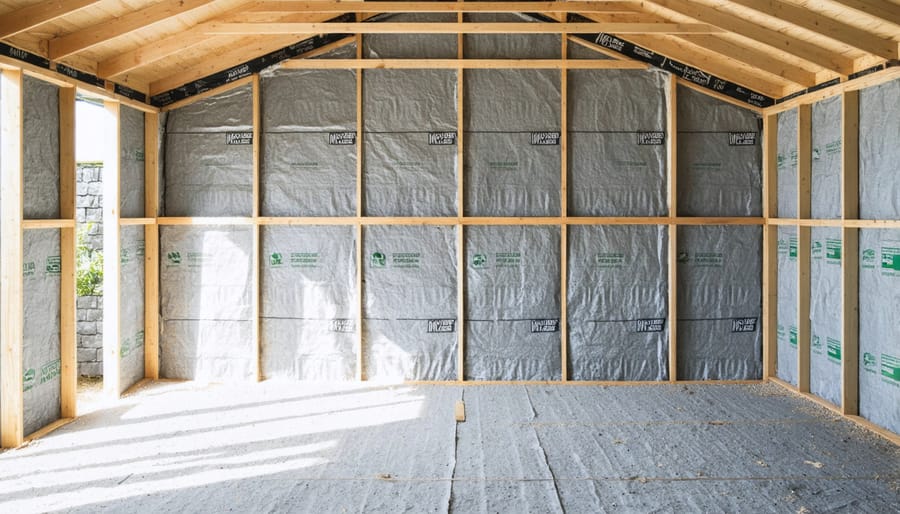
Wall Cavity Filling Methods
\n\nWhen it comes to filling your shed’s wall cavities, several eco-friendly and budget-conscious options can provide excellent insulation. Natural wool is an outstanding choice, offering superior thermal properties while being sustainable. Simply stuff the wool between wall studs, ensuring even distribution for maximum effectiveness.\n\nRecycled denim insulation has gained popularity among DIY enthusiasts. This material is made from post-consumer blue jeans and provides excellent sound dampening alongside thermal insulation. It’s safe to handle and doesn’t require protective gear during installation.\n\nCellulose, made from recycled newspaper treated with fire-retardant, is another cost-effective option. You’ll need a blower to install it properly, but many hardware stores rent these tools at reasonable rates. When installing cellulose, work from top to bottom and ensure even filling to prevent settling.\n\nFor a truly budget-friendly solution, consider shredded paper or cardboard. While not as efficient as commercial options, these materials can still provide decent insulation when properly packed and sealed against moisture. Just be sure to treat them with borax first for fire resistance.\n\nRemember to create a vapor barrier using plastic sheeting before sealing up your walls, regardless of which filling material you choose. This prevents moisture buildup that could compromise your insulation’s effectiveness and your shed’s structure. Always check that your chosen material is completely dry before installation to prevent mold growth.\n\n
 \n
\n\n\n
Roof and Floor Insulation Tips
\n\nThe roof and floor are critical areas where heat loss occurs in your shed, but fortunately, there are several budget-friendly ways to insulate them effectively. For the roof, start by checking for any leaks or gaps and seal them with weatherproof caulk. Layer recycled fiberglass batts between roof joists, or use foam board insulation cut to size. A reflective foil barrier installed beneath the roofing material can provide additional protection against heat loss and gain.\n\nFor floor insulation, begin by ensuring your shed has adequate ground clearance to prevent moisture buildup. A vapor barrier made from heavy-duty plastic sheeting is an inexpensive first layer of protection. Place it directly on the ground beneath your shed, extending a few inches up the walls. For the actual floor, rigid foam boards provide excellent insulation at a reasonable cost. Alternatively, recycled carpet padding or old blankets can serve as budget-friendly floor insulators when properly sealed.\n\nConsider creating a false floor with pressure-treated plywood raised slightly off the ground, filling the gap with natural materials like straw or recycled denim insulation. This creates an additional air pocket that helps regulate temperature. Remember to seal any gaps around the floor’s perimeter with expanding foam or weather stripping to prevent drafts.\n\nThese solutions can be mixed and matched based on your budget and local climate conditions, providing effective insulation without breaking the bank.\n\n\n
Budget-Friendly Weatherproofing
\n\n
Sealing Gaps and Cracks
\n\nOne of the most cost-effective ways to improve your shed’s insulation is by sealing gaps and cracks using natural materials. Start by inspecting your shed on a sunny day – the light streaming through will help identify problematic areas. For an eco-friendly solution, try using natural caulk made from linseed oil and sawdust, which creates a durable, weather-resistant seal perfect for wooden sheds.\n\nOld newspapers mixed with flour paste make an excellent, biodegradable filler for smaller gaps. For larger openings around windows and doors, consider using hemp rope soaked in beeswax – it’s both sustainable and effective at blocking drafts. Natural wool stuffing is another excellent option, especially for irregular-shaped gaps, as it’s resistant to moisture and naturally fire-retardant.\n\nDon’t forget to check the shed’s corners and joints where walls meet the roof. Here, you can apply a mixture of clay and straw, a traditional technique that’s still effective today. For temporary solutions, pressing moss into gaps provides decent insulation during colder months.\n\nRemember to recheck your sealing work every season, as natural materials may need occasional maintenance. These eco-friendly solutions not only help maintain your shed’s temperature but also reduce your environmental impact while keeping costs minimal.\n\n
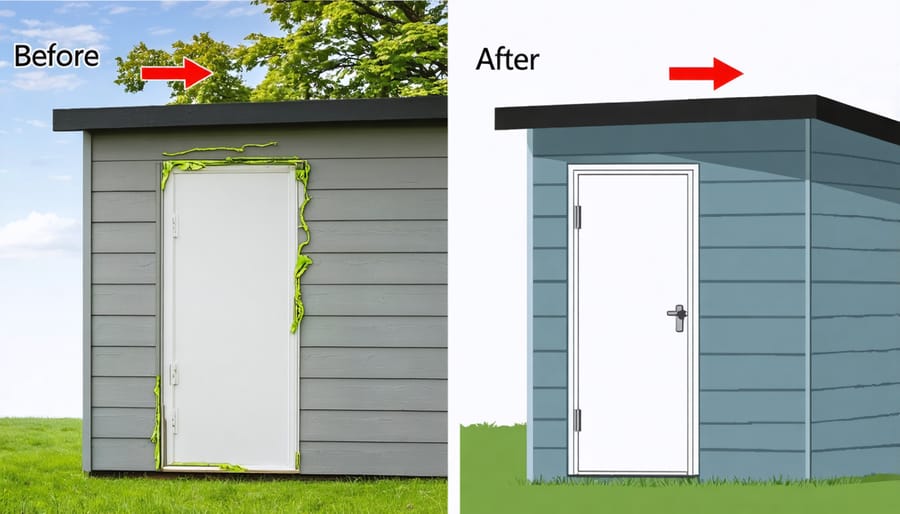
Door and Window Solutions
\n\nDoors and windows are common culprits for heat loss in sheds, but several budget-friendly solutions can help seal these vulnerable spots. Start by applying weatherstripping tape around door frames and window edges – this self-adhesive foam tape costs just a few dollars and creates an effective barrier against drafts.\n\nFor doors, install a door sweep at the bottom to prevent cold air from seeping in. You can find inexpensive rubber or brush-style sweeps that easily screw into place. Another practical solution is using a draft excluder – make your own by filling an old sock or fabric tube with rice or dried beans.\n\nWindows can be quickly insulated using bubble wrap, which provides surprising insulation value for pennies per square foot. Simply spray a light mist of water on the window and press the bubble wrap against it, bubble side facing the glass. For a more polished look, consider installing clear plastic window insulation kits, which create an air barrier when heated with a hairdryer.\n\nDon’t forget to check for gaps around pipe entries and electrical outlets. These can be easily sealed with expanding foam or caulk, both affordable options available at any hardware store. For temporary solutions during extreme weather, old blankets or thick curtains can be hung over doors and windows.\n\n
 \n
\n\n\n\n
Maintenance and Long-Term Care
\n\nRegular maintenance is key to ensuring your shed’s insulation remains effective over time. Start by conducting seasonal inspections to check for any signs of wear, tear, or potential issues. Pay special attention to corners and joints where insulation might have shifted or compressed.\n\nTo prevent moisture damage, maintain proper ventilation in your shed. Consider installing a small battery-operated humidity monitor to keep track of moisture levels. During particularly damp seasons, use moisture-absorbing products like silica gel packets or dehumidifiers to protect your insulation.\n\nKeep an eye on your shed’s temperature throughout the year using a basic thermometer. This will help you gauge how well your insulation is performing and identify any areas that might need attention. If you notice specific cold spots, you may need to add extra insulation in those areas.\n\nRemember to clean your shed regularly, removing dust and debris that could compromise the insulation’s effectiveness. For natural insulation materials like straw or wool, check periodically for signs of pest activity and address any issues promptly.\n\nDocument any changes or repairs you make to the insulation system. This record-keeping will help you track the longevity of different materials and make better decisions about future maintenance or replacements. Most DIY insulation solutions should last several years with proper care and attention.\n\n\nInsulating your shed doesn’t have to break the bank or harm the environment. By using affordable materials like bubble wrap, recycled denim, or cardboard, you can create an effective thermal barrier while being budget-conscious. Remember to focus on key areas like walls, floors, and roofs, and don’t forget to seal gaps and cracks before starting any insulation project. Many of these solutions can be implemented using materials you already have or can source locally, making them both cost-effective and environmentally responsible. Whether you choose natural materials like straw or upcycled options like old carpets, maintaining proper ventilation remains crucial for preventing moisture buildup. With these budget-friendly insulation techniques, you can enjoy a more comfortable, energy-efficient shed while contributing to a more sustainable future.