Stop Mice From Taking Over Your Shed: Smart Cleaning Solutions That Work

Eliminate mouse droppings and contaminated materials from your storage shed wearing thick rubber gloves, N95 mask, and protective eyewear. Thoroughly disinfect all surfaces with a mixture of bleach and water (1:10 ratio), paying special attention to corners and dark spaces where mice frequently travel. Seal potential entry points smaller than a quarter-inch using steel wool, caulk, or metal sheeting to keep your storage space critter-free. Reorganize stored items in airtight plastic containers elevated at least 6 inches off the ground, making the environment less appealing to rodents while protecting your belongings from future infestations. Remove all food sources, including pet food, birdseed, and any organic materials that might attract mice. Regular inspection and maintenance of these preventive measures ensure long-term protection against recurring mouse problems in your storage shed.
Signs Your Shed Has Become Mouse Central
Visual and Physical Evidence
Mouse droppings are often the first sign of an infestation, appearing as dark, rice-sized pellets scattered along walls and corners. Look for greasy smudge marks on walls and baseboards, created by mice rubbing against surfaces as they travel. Fresh nesting materials, including shredded paper, fabric, or insulation, indicate active mouse presence. Common damage signs include gnawed wood edges, especially around doorframes and corners, and chewed packaging or stored items. You might also notice small holes about the size of a quarter near the base of walls or behind stored items. A distinct musty odor often accompanies these physical signs, particularly in enclosed areas where mice frequently visit. Keep an eye out for scattered seeds or food debris, which can signal feeding areas requiring immediate attention.

Hidden Problem Areas
Mice are masters at finding cozy spots in your shed, often setting up home in areas you might not think to check. Common hiding spots include the spaces behind stored boxes and containers, especially those pushed against walls. They frequently nest in old cardboard boxes, papers, or fabric items stored at ground level. The corners where walls meet the floor are particularly attractive to mice, as are the dark spaces underneath workbenches and shelving units. Pay special attention to areas around doors and windows where weather stripping may have deteriorated, creating perfect entry points. Also, check behind stored garden equipment, bags of potting soil, or seasonal decorations, as these provide excellent cover for rodent activities. Don’t forget to inspect the roof corners and any gaps around utility lines entering your shed, as mice can easily squeeze through surprisingly small openings.
Safe and Effective Cleaning Methods
Safety First: Protection Equipment
When dealing with mouse-contaminated areas, proper safety equipment isn’t just a recommendation – it’s essential for your health. Start with a quality N95 respirator mask to protect against airborne particles and potential diseases. Wear thick rubber gloves that extend past your wrists, as regular cleaning gloves won’t provide adequate protection against contaminated materials.
Don your protective eyewear to shield against dust and cleaning solutions, and put on disposable coveralls or old clothes you can wash immediately after cleaning. Make sure to tuck your pants into your socks and seal any gaps where contaminated dust might reach your skin.
Before you begin cleaning, ventilate the shed by opening doors and windows for at least 30 minutes. Keep a spray bottle filled with disinfectant solution handy, and remember to never sweep or vacuum mouse droppings, as this can release harmful particles into the air.
Have disposal bags ready and consider using disposable shoe covers to avoid tracking contaminated material elsewhere. After cleaning, carefully remove all protective gear and dispose of single-use items in sealed bags.

Step-by-Step Cleaning Process
Start by gathering your cleaning supplies: heavy-duty gloves, N95 mask, disinfectant solution (1 part bleach to 9 parts water), paper towels, garbage bags, and a vacuum cleaner with HEPA filter. Ensure proper ventilation by opening windows and doors before beginning.
First, remove all items from your shed and sort them into clean and potentially contaminated piles. Dispose of any damaged or contaminated materials in sealed garbage bags. Vacuum the entire space thoroughly, paying special attention to corners and crevices where droppings might accumulate.
Next, prepare your disinfectant solution. Using paper towels, wipe down all surfaces where you’ve spotted droppings or evidence of mouse activity. Never sweep or vacuum droppings directly, as this can release harmful particles into the air. Instead, spray the area with disinfectant first, wait 5 minutes, then wipe with paper towels.
Clean all storage containers, shelving units, and tools with the disinfectant solution. Pay extra attention to areas where food or pet supplies were stored. For wooden surfaces, ensure they’re thoroughly dried after cleaning to prevent warping.
Once all surfaces are clean, perform a second round of vacuuming to remove any remaining debris. Empty the vacuum contents into a sealed plastic bag and dispose of it immediately outside your home.
Finally, allow the shed to air dry completely before returning your cleaned and sorted items. This is also the perfect time to implement preventive measures like storing items in sealed plastic containers and installing weather stripping around doors and windows.
Remember to wash your hands thoroughly after cleaning and launder any clothing worn during the process separately from your regular laundry.
Mouse-Proofing Your Shed
Sealing Entry Points
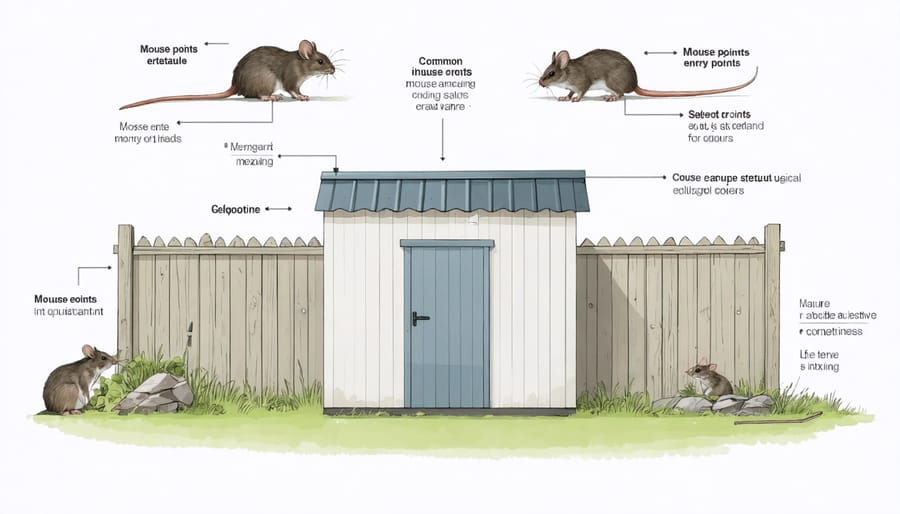
A thorough inspection of your shed’s exterior is crucial for keeping mice out. Start by examining the structure during daylight hours, paying special attention to corners, edges, and areas where different materials meet. Look for gaps as small as a quarter-inch – that’s all a mouse needs to squeeze through!
Common entry points include utility pipe openings, gaps under doors, roof vents, and spaces around windows. Use a flashlight to check these areas from both inside and outside the shed. Mark each potential entry point with bright tape or chalk for easy reference during repairs.
For sealing smaller holes, use a combination of steel wool and caulk. The steel wool prevents mice from chewing through the sealant, while the caulk keeps everything weatherproof. For larger gaps, install metal flashing or hardware cloth, securing it firmly with screws or construction adhesive.
Don’t forget about the shed door – install a sturdy metal door sweep to eliminate the gap between the door and threshold. Weather stripping around windows and doors provides an extra barrier while also improving your shed’s energy efficiency.
Remember to check your repairs every few months, especially after severe weather. Mice are persistent, and new entry points can develop over time due to natural settling or wear and tear.

Smart Storage Solutions
Smart storage is your first line of defense against unwanted rodent visitors. The way you organize your shed storage can make a significant difference in preventing mouse infestations. Start by storing all items in sealed, hard plastic containers rather than cardboard boxes, which mice can easily chew through and use for nesting materials.
Elevate storage units at least 6 inches off the ground using sturdy metal shelving or wall-mounted systems. This reduces dark, hidden spaces where mice like to nest and makes regular cleaning easier. For gardening supplies and seasonal items, use airtight containers with snap-on lids, especially for seeds, birdseed, and pet food.
Consider implementing a rotation system for stored items, regularly moving and inspecting them to prevent mice from establishing long-term nesting spots. Keep tools organized on pegboards or in metal cabinets rather than leaving them scattered on workbenches or floors.
Create clear zones for different categories of items, maintaining clean pathways between storage areas. This not only deters mice but also makes it easier to spot signs of activity. Remember to label containers clearly and maintain an inventory list, helping you quickly identify if anything has been tampered with by rodents.
Remember, clutter is a mouse’s best friend, so maintaining an organized, clean space is essential for long-term pest prevention.
Natural Deterrents That Actually Work
Nature offers several effective solutions to keep mice away from your shed while maintaining an eco-friendly environment. Peppermint is particularly powerful – mice absolutely detest its strong scent. Place cotton balls soaked in peppermint essential oil around entry points and corners, refreshing them every few weeks to maintain their effectiveness.
Cedar wood and cedar oil are equally impressive deterrents. Consider adding cedar blocks or shavings near potential entry points or storing items in cedar chests when possible. The natural oils in cedar not only repel mice but also create a pleasant aroma in your shed.
Another powerful combination involves citrus peels and vinegar. Place fresh orange or lemon peels in areas where you’ve noticed mouse activity, or create a natural spray using white vinegar and citrus essential oils. This mixture serves double duty – cleaning surfaces while deterring unwanted visitors.
Herbs like lavender, sage, and rosemary aren’t just great for your garden; they’re excellent mouse deterrents too. Plant these around your shed’s perimeter or hang dried bundles inside. For added protection, sprinkle cayenne pepper around entry points – mice can’t stand its spicy scent and will actively avoid areas where it’s present.
These natural solutions work best when used in combination and refreshed regularly. Remember, consistency is key in maintaining a mouse-free environment.
Maintaining a mouse-free shed requires consistent effort and attention to detail, but the rewards of a clean, safe storage space are well worth the investment. By following the cleaning and prevention strategies outlined in this guide, you can effectively eliminate existing mouse problems and create strong barriers against future infestations. Remember that regular shed maintenance is your best defense against unwanted rodent visitors. Make it a habit to inspect your shed monthly, seal any new entry points promptly, and maintain cleanliness both inside and around your storage structure. The combination of proper sanitation, strategic storage solutions, and preventive measures will help protect your valuable belongings while ensuring your shed remains a functional and hygienic space. By staying vigilant and implementing these practices consistently, you’ll create an environment that’s welcoming to you but uninviting to mice, preserving both the condition of your shed and its contents for years to come.

