
Supercharge Your Shed’s Airflow: Smart Ventilation Solutions That Really Work
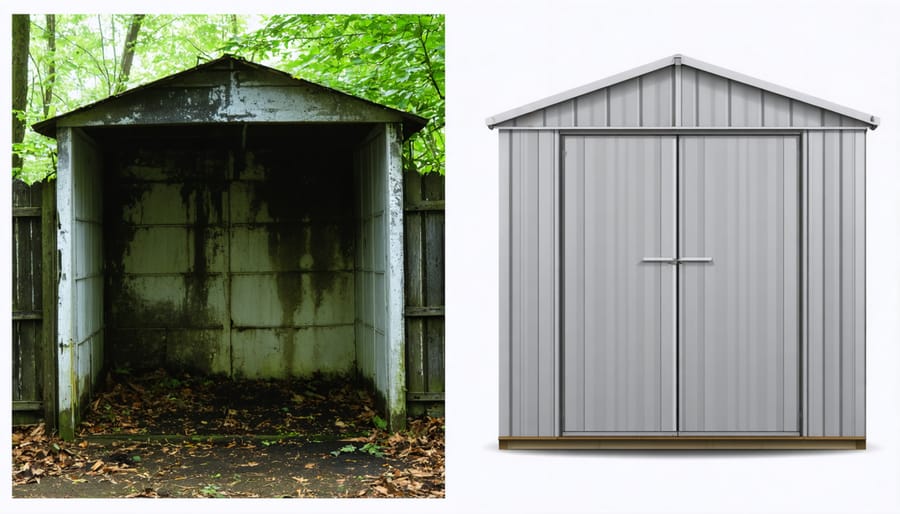
Transform your shed from a stuffy storage space into a climate-controlled workshop with a properly installed ventilation fan. Beyond simply protecting stored items, a quality shed fan regulates temperature, prevents moisture buildup, and extends the life of your tools and equipment. Modern shed ventilation systems combine powerful airflow with energy-efficient operation, offering year-round protection against humidity, mold, and extreme temperatures. Whether you’re storing sensitive equipment or creating a comfortable workspace, choosing the right ventilation fan represents a critical investment in your shed’s longevity and functionality. This guide walks you through essential considerations for selecting, installing, and maintaining the perfect ventilation solution for your specific needs, ensuring optimal airflow and protection for years to come.
Why Your Shed Needs Proper Ventilation
Moisture Control and Mold Prevention
A well-ventilated shed is crucial to combat moisture buildup and prevent the growth of harmful mold. When humid air becomes trapped in your shed, it creates the perfect environment for mold spores to thrive, potentially damaging stored items and compromising the structure itself. A quality ventilation fan works tirelessly to maintain optimal air circulation, reducing humidity levels and keeping your belongings safe.
By creating consistent airflow, these fans help remove damp air before it can settle on surfaces and in corners. This is especially important during humid seasons or after rainy weather when moisture levels tend to spike. Many shed owners notice a significant difference in air quality and reduced musty odors within days of installing a ventilation fan.
For best results, run your fan regularly and pair it with proper insulation and weather sealing. This combined approach ensures your shed stays dry and mold-free year-round.
Temperature Regulation
Proper ventilation plays a crucial role in helping maintain stable temperatures inside your storage shed throughout the year. During hot summer months, a ventilation fan prevents heat buildup by continuously circulating air and removing warm air that rises to the ceiling. This process helps protect temperature-sensitive items and makes working in your shed more comfortable. In winter, consistent airflow reduces moisture accumulation and prevents condensation from forming on your tools and stored belongings. Without proper air circulation, temperature fluctuations can lead to mold growth, rust on metal tools, and warping of wooden items. A well-placed ventilation fan creates a balanced airflow pattern that draws in cool air through lower vents while expelling hot air through the fan, creating a natural cooling effect that works year-round.
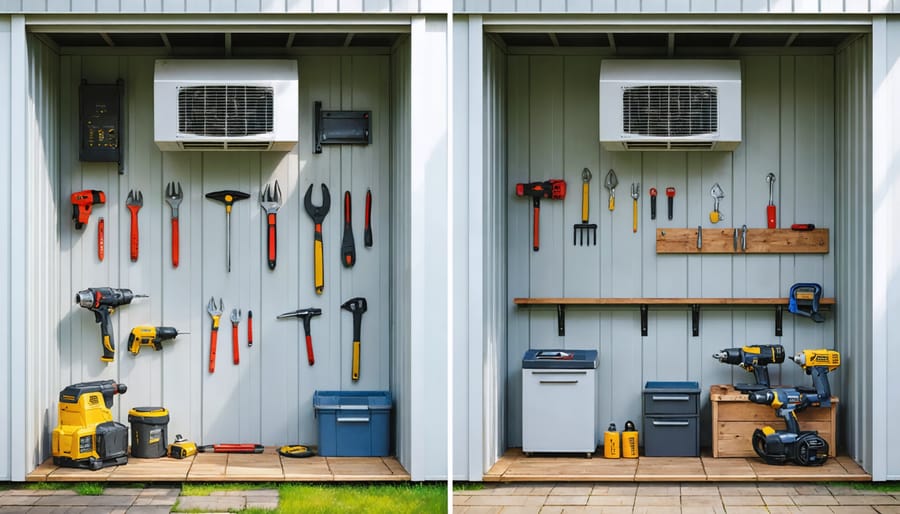
Choosing the Right Ventilation Fan for Your Shed
Types of Shed Ventilation Fans
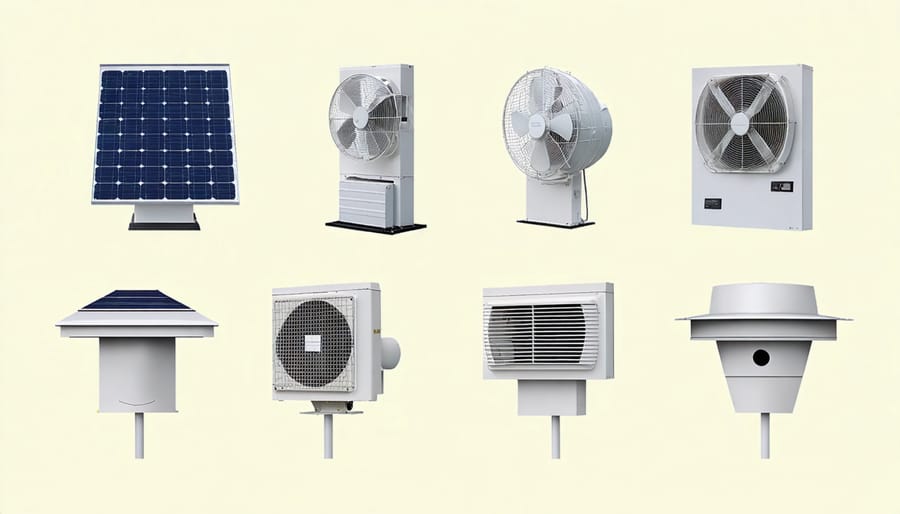
When it comes to keeping your shed comfortable and well-ventilated, you have several fan options to choose from. Electric-powered fans are the most common choice, offering reliable performance and consistent airflow. These fans come in various sizes and can be mounted on walls or ceilings, making them versatile for different shed layouts.
Solar-powered fans have become increasingly popular among eco-conscious homeowners. These fans run on free solar energy and work best during daylight hours, making them perfect for hot summer days. While they may cost more initially, they’ll save you money on energy bills in the long run. Plus, many modern solar fans come with backup batteries for cloudy days.
Passive ventilation fans, like wind-driven turbine vents, don’t require any power source. They spin naturally with the wind, creating continuous air movement without any operating costs. Though not as powerful as electric or solar options, they’re maintenance-free and work 24/7.
For maximum effectiveness, some homeowners combine different types of fans. For example, you might use a solar-powered fan during the day and rely on passive ventilation at night. Consider your shed’s size, local climate, and budget when choosing the right fan type. Remember that proper placement is just as important as the type of fan you select – position your fan where it can create optimal airflow throughout your shed.
Size and Power Considerations
Selecting the right size fan for your shed is crucial for effective ventilation. A general rule of thumb is to aim for 6-8 air changes per hour in your shed space. To calculate this, multiply your shed’s length, width, and height (in feet) to get the cubic footage, then multiply that by 6-8 to determine the required CFM (Cubic Feet per Minute) rating for your fan.
For example, a 10′ x 12′ shed with an 8′ ceiling has 960 cubic feet of space. Multiplying this by 6 gives you a minimum CFM requirement of 5,760 per hour, or approximately 100 CFM. For most residential sheds, a fan rated between 100-300 CFM will provide adequate ventilation.
Power consumption is another important factor to consider. Most shed ventilation fans run on standard 120V power and typically use between 15-50 watts, depending on their size. Solar-powered options are also available for sheds without electrical access, though they may provide less powerful airflow.
When choosing your fan size, consider these additional factors:
– Climate conditions in your area
– Types of items stored in your shed
– Number and size of windows or other passive ventilation
– Frequency of shed use
Remember that bigger isn’t always better – an oversized fan can waste energy and create unnecessary noise. Choose a size that matches your specific needs while maintaining energy efficiency.
Installation Made Simple
Tools and Materials Needed
To properly install your shed ventilation fan, gather these essential tools and materials:
Basic Tools:
– Phillips head screwdriver
– Drill with various drill bits
– Measuring tape
– Pencil for marking
– Safety glasses and work gloves
– Utility knife
– Level
– Wire strippers (for electrical fans)
Installation Materials:
– Ventilation fan unit
– Mounting screws and washers
– Weatherproof caulk or sealant
– Electrical wire (for powered fans)
– Wire connectors and electrical box
– Vent cover or louvers
– Mounting brackets (if required)
– Weather stripping
– Plywood or shims (if needed for leveling)
Optional but Recommended:
– Extension cord
– Dust mask
– Stud finder
– Voltage tester
– Ladder or sturdy step stool
Keep all materials organized and within reach before starting your installation project.
Installation Steps
Before beginning the installation, ensure you have all necessary tools and safety equipment, including gloves, safety glasses, and a dust mask. Start by choosing the optimal location for your ventilation fan, typically near the shed’s roof peak where hot air naturally collects.
First, mark the installation spot and create a cardboard template using your fan’s dimensions. Place the template on the interior wall or roof and trace the outline. Double-check your measurements before cutting.
Using a jigsaw or reciprocating saw, carefully cut along the marked lines. If you’re installing through siding, use a hole saw for the electrical conduit. Remember to wear your safety gear during this step.
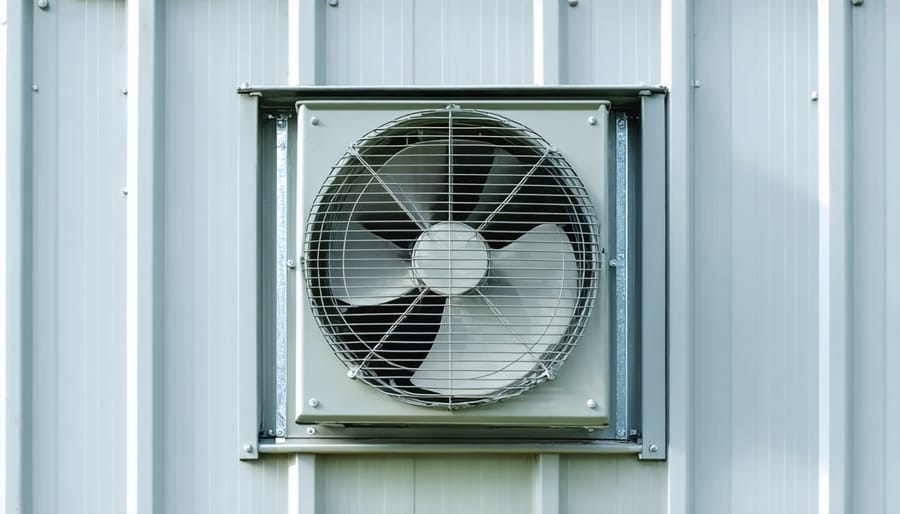
Mount the fan housing from the inside, ensuring it’s level and properly sealed. Apply weatherproof caulk around the edges to prevent water infiltration. If installing on the roof, add flashing around the fan to direct water away from the opening.
For electrical installation, we strongly recommend hiring a qualified electrician unless you have experience with electrical work. The fan should be connected to a properly grounded circuit and may require a dedicated switch or thermostat for control.
Finally, test the fan’s operation and check for any air leaks around the installation. Listen for unusual noises and ensure the fan blade spins freely. Consider adding mesh screening to prevent insects and debris from entering through the vent.
Remember to inspect the installation annually and clean the fan blades regularly to maintain optimal performance.
Maintenance Tips for Long-lasting Performance
Regular maintenance of your shed ventilation fan is crucial for ensuring its longevity and optimal performance. Start by conducting monthly visual inspections of your fan, checking for any dust buildup, debris, or signs of wear. A simple wipe-down with a damp cloth can prevent dirt from accumulating and affecting the fan’s efficiency.
Every three months, carefully clean the fan blades and housing using a soft brush or vacuum attachment. Pay special attention to the corners and crevices where dust tends to collect. For stubborn dirt, use a mild soap solution, but avoid harsh chemicals that could damage the fan’s components.
Check the fan’s mounting hardware twice a year to ensure it remains secure. Loose screws or brackets can cause unwanted vibration and noise, potentially leading to premature wear. While inspecting, listen for any unusual sounds that might indicate bearing problems or motor issues.
Lubricate moving parts annually using a light machine oil, following your manufacturer’s recommendations. This simple step can significantly extend your fan’s lifespan and maintain smooth operation. During colder months, if your fan isn’t in regular use, run it briefly every few weeks to prevent seizing.
Don’t forget to inspect the exterior vent covers and screens for damage or blockages. Clear any obstructions promptly to maintain proper airflow and prevent motor strain. By following these maintenance steps, you’ll keep your shed ventilation system running efficiently for years to come.
A properly ventilated shed creates a healthier environment for both your stored items and your time spent working inside. By installing a quality ventilation fan, you’ll prevent moisture damage, reduce heat buildup, and maintain better air quality throughout the year. Remember to consider your shed’s size, local climate, and specific ventilation needs when selecting a fan. Installation might seem daunting at first, but with the right tools and careful planning, it’s a manageable DIY project that will pay dividends in the long run. Take action today to protect your investment and create a more comfortable space – your future self will thank you for making this smart improvement to your shed’s functionality and longevity.