
Transform Your Drafty Shed Into a Cozy Workshop (DIY Insulation Made Simple)
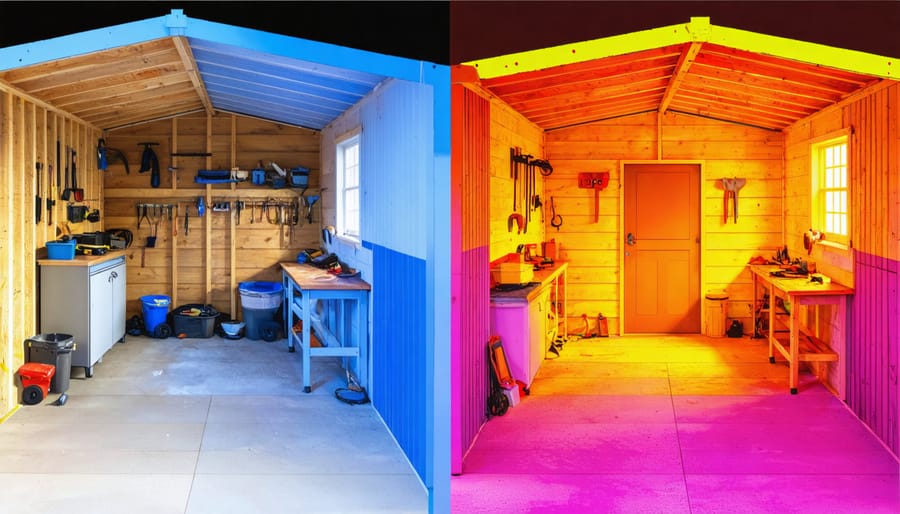
Transform your shed workshop into a comfortable, year-round workspace by properly insulating walls, ceiling, and floor. A well-insulated workshop maintains consistent temperatures, reduces energy costs, and creates the ideal environment for woodworking, crafting, or repairs. Starting with a vapor barrier prevents moisture damage, while choosing the right insulation material – whether fiberglass batts, rigid foam, or spray foam – determines long-term performance and comfort. Professional-grade insulation can increase your workshop’s usability by up to 40% during extreme weather conditions, making every project more enjoyable and productive. Consider combining multiple insulation types for optimal results: rigid foam for the floor, fiberglass for walls, and reflective barriers for the roof space. With proper planning and installation, an insulated workshop becomes a valuable extension of your home’s living space.
Why Insulate Your Workshop Shed?
Year-Round Comfort and Usability
A well-insulated workshop transforms your shed into a comfortable workspace you can enjoy throughout the year. During summer months, proper insulation helps maintain cooler temperatures, protecting both you and your tools from excessive heat. In winter, it retains warmth effectively, allowing you to continue your projects even during the coldest days.
Beyond temperature control, insulation provides additional benefits that enhance your workshop experience. It significantly reduces condensation, preventing rust on tools and protecting wooden materials from moisture damage. The insulation also acts as a sound barrier, making your workspace quieter and more pleasant, especially when using power tools.
With insulation, you’ll find yourself spending more time in your workshop regardless of the season. Early morning starts become more appealing, and you can extend your working hours into the evening without discomfort. This year-round usability means better project continuity and more opportunities to pursue your woodworking or DIY passions.
Tool Protection and Energy Efficiency
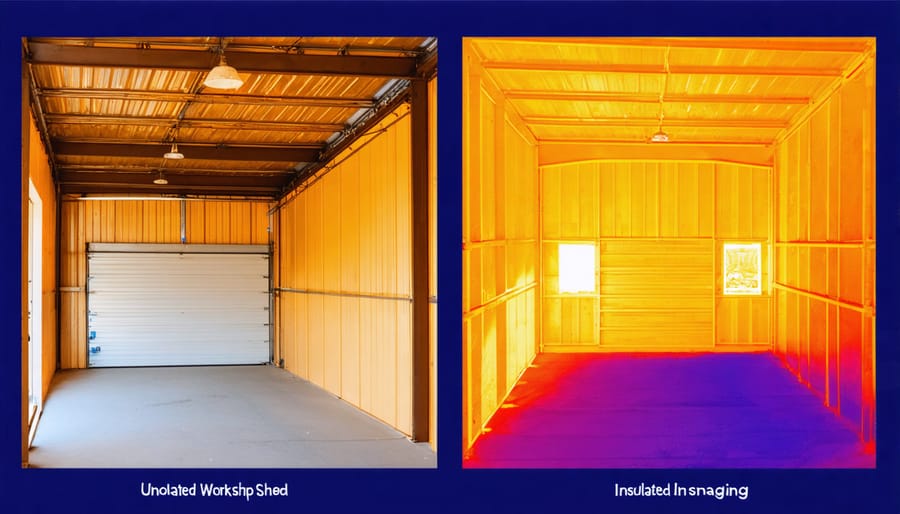
A well-insulated workshop doesn’t just keep you comfortable – it creates the perfect environment to protect against moisture damage that can rust tools and ruin expensive equipment. Proper insulation acts as a barrier against humidity, preventing condensation from forming on your valuable power tools, hand tools, and machinery. This protection is especially crucial during seasonal temperature changes when moisture issues are most likely to occur.
Beyond tool protection, insulation dramatically improves your workshop’s energy efficiency. During winter months, you’ll spend less on heating as the insulation keeps warm air from escaping. In summer, it helps maintain cooler temperatures without overtaxing your air conditioning system. Many workshop owners report seeing their energy bills drop by 15-25% after properly insulating their space, making it a smart investment that pays for itself over time while creating a more comfortable and productive environment for your projects.
Planning Your Insulation Project
Choosing the Right Insulation Materials
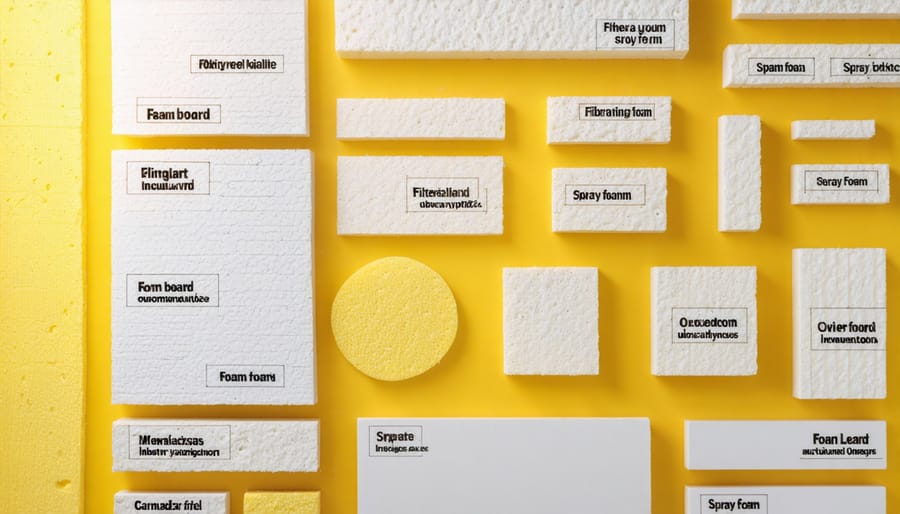
When it comes to insulating your shed workshop, choosing the right materials can significantly impact both the cost of insulating a shed and its overall effectiveness. Let’s explore the most popular options available to help you make an informed decision.
Fiberglass batts remain a favorite among DIY enthusiasts due to their affordability and ease of installation. These pink or yellow rolls fit snugly between wall studs and provide excellent thermal resistance. However, they must be kept dry to maintain effectiveness.
Rigid foam boards offer superior insulation with less thickness, making them perfect for sheds where space is at a premium. While slightly more expensive than fiberglass, they’re moisture-resistant and can add structural stability to your walls.
Spray foam insulation provides exceptional coverage and sealing properties, effectively filling gaps and creating an air-tight barrier. Though it requires professional installation and costs more upfront, it offers outstanding long-term performance and energy savings.
For eco-conscious DIYers, sheep’s wool and recycled denim insulation are excellent natural alternatives. These materials offer good insulation values and are safer to handle than traditional options, though they may be harder to source and typically cost more.
Consider combining different materials for optimal results – for example, using rigid foam boards on the walls and fiberglass in the ceiling. This approach allows you to maximize benefits while managing your budget effectively.
Essential Tools and Safety Equipment
Before starting your insulation project, gathering the right tools and safety equipment is crucial for both efficiency and protection. Here’s what you’ll need:
Essential Tools:
– Utility knife with spare blades
– Measuring tape (25ft minimum)
– Staple gun and staples
– Straight edge or level
– Pencil for marking
– Heavy-duty scissors
– Hammer
– Protective gloves
– Safety glasses
– Dust mask or respirator
– Long-sleeved work clothes
– Work boots
When working with insulation materials, particularly fiberglass, proper respiratory protection is non-negotiable. Choose a well-fitted dust mask rated for insulation work, or better yet, invest in a proper respirator. Your safety glasses should have side shields to prevent debris from entering your eyes from any angle.
Work gloves should be thick enough to protect against fiberglass irritation but flexible enough to maintain dexterity. Cotton-lined rubber gloves work well for this purpose. Wear long sleeves and full-length pants to protect your skin, and ensure they’re not too loose to avoid snagging on materials or tools.
Consider adding these optional but helpful tools:
– Headlamp or work light
– Knee pads
– Tool belt
– Extension cord
– Step ladder
– Wheelbarrow (for material transport)
Remember to inspect all tools before starting and replace any damaged equipment. Having everything ready before you begin will make the installation process smoother and safer.
Step-by-Step Installation Process
Preparing the Shed
Before diving into the insulation process, it’s essential to properly prepare your shed workshop. Start by removing all items from the shed and thoroughly sweeping the floor to eliminate dust and debris. Check the entire structure for any signs of damage, paying special attention to holes, gaps, or rotting wood that could compromise your insulation efforts.
Next, inspect the shed for water damage or leaks. A properly sealed structure is crucial for effective insulation. Check the roof, windows, and door frames, and repair any areas where moisture might enter. Apply weatherstripping around doors and windows, and use caulk to seal any visible gaps or cracks.
Remove any existing wall coverings or damaged materials that might interfere with the new insulation. If your shed has electrical wiring, ensure it’s properly secured and in good condition. This is also an excellent time to mark the locations of any outlets or junction boxes.
Give the interior walls a good cleaning with a damp cloth to remove cobwebs and dirt. Allow everything to dry completely before proceeding. If you notice any mold or mildew, treat these areas with an appropriate cleaner and ensure they’re completely dry.
Finally, measure and document the dimensions of your walls, ceiling, and floor spaces. These measurements will help you calculate the amount of insulation material needed and identify any potential challenges in the installation process.
Wall Insulation Installation
Begin by removing any existing wall coverings and checking for moisture or damage. If you find any issues, address them before proceeding with insulation. Once the walls are prepped, measure the spaces between studs carefully – most shed walls have studs 16 or 24 inches apart.
For traditional stud walls, cut your insulation batts to fit snugly between the studs. Wearing protective gear (gloves, mask, and eye protection), press the insulation into place, ensuring it fills the entire cavity without being compressed. The paper or foil vapor barrier should face the interior of your workshop.
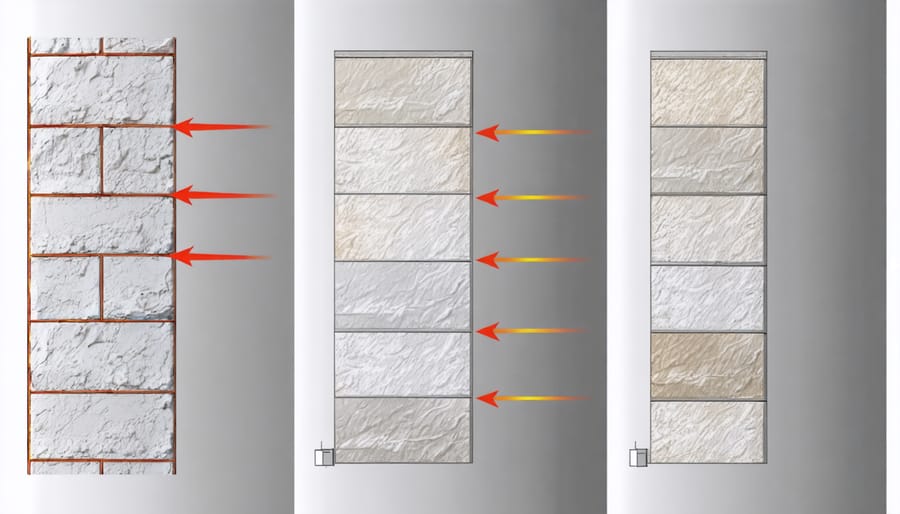
If your shed has metal walls or irregular framing, consider using rigid foam board insulation. Cut panels to size using a utility knife and straight edge. Apply construction adhesive to the wall surface and press the foam boards firmly into place. Seal the seams between panels with foil tape designed for insulation.
For added effectiveness, install a vapor barrier over the entire wall surface if your insulation doesn’t include one. Overlap the seams by at least 6 inches and seal with appropriate tape. This helps prevent moisture from compromising your insulation’s performance.
Finally, cover the insulation with your chosen wall material, such as plywood or drywall. This not only protects the insulation but also provides a finished look to your workshop. Remember to seal around any outlets, windows, or other wall penetrations to prevent air leaks.
Pro tip: Consider installing thin wooden strips (furring strips) between the insulation and wall covering to create an air gap, which can improve insulation performance and reduce condensation risks.
Ceiling and Floor Insulation
Insulating your shed’s ceiling and floor is crucial for maintaining a comfortable workspace year-round. For the ceiling, start by measuring the space between your joists and cut your insulation material to fit snugly. If using fiberglass batts, wear protective gear and install the vapor barrier facing down toward the interior space. Secure the insulation with staples every 8-12 inches to prevent sagging.
For optimal results, consider adding a layer of rigid foam board over the fiberglass insulation. This creates an additional thermal barrier and helps prevent heat loss through the ceiling joists. Once installed, cover the insulation with plywood or drywall to create a finished look and protect the insulation material.
Floor insulation requires a slightly different approach. First, ensure your shed has adequate ground clearance and proper ventilation underneath. Install a moisture barrier directly on the floor, then lay down pressure-treated sleepers (wooden strips) to create a framework. Fill the spaces between sleepers with rigid foam insulation cut to size.
Top the insulated floor with sturdy plywood to create your workshop surface. For added comfort, consider installing interlocking foam mats or rubber tiles over the plywood. This not only provides extra insulation but also creates a more comfortable standing surface for long workshop sessions.
Pro tip: Don’t forget to seal any gaps around electrical outlets or pipes passing through the ceiling or floor to prevent heat loss and moisture infiltration.
Vapor Barrier and Finishing Touches
After insulating your walls and ceiling, it’s crucial to install a vapor barrier to protect against moisture damage. Use 6-mil polyethylene sheeting, overlapping seams by at least 6 inches and securing it with staples every 12-16 inches. Pay special attention to corners and joints, using vapor barrier tape to seal any gaps. This moisture control, combined with proper ventilation, helps prevent condensation and mold growth.
For the finishing touches, install your chosen wall covering, such as plywood or drywall, being careful not to puncture the vapor barrier. Consider adding baseboards and trim for a polished look. If you’re using drywall, apply joint compound, sand smooth, and prime before painting. For plywood walls, sand any rough spots and consider applying a clear finish or paint to protect the surface and enhance the workshop’s appearance.
Don’t forget to seal around any electrical outlets, light fixtures, or other penetrations in your walls and ceiling. These final details ensure your insulated workshop remains energy-efficient and comfortable year-round.
Maintenance and Long-Term Care
Regular maintenance is key to maintain insulation effectiveness in your workshop shed. Start by conducting seasonal inspections, particularly before winter and after severe weather events. Check for signs of moisture, which can significantly impact insulation performance and potentially lead to mold growth.
Pay special attention to corners, joints, and areas around windows and doors where gaps might develop over time. If you notice any compressed or sagging insulation, address it promptly as this reduces its thermal resistance. Small gaps can be sealed with expanding foam or caulk, while larger issues might require partial replacement of insulation materials.
Keep your ventilation systems clean and unobstructed to prevent moisture buildup. Regularly clean or replace any filters in your heating or cooling systems, as these help maintain optimal air quality and temperature control. Check your vapor barrier for tears or damage, and repair as needed using appropriate tape or patches.
Monitor for pest activity, as rodents and insects can damage insulation materials. Consider installing metal mesh barriers if you notice any signs of pest intrusion. During your inspections, look for water stains on walls or ceiling, which could indicate leaks that need immediate attention.
For long-term care, maintain proper drainage around your shed’s foundation to prevent moisture from seeping up through the floor. Keep vegetation trimmed back from the walls to promote air circulation and reduce moisture accumulation. Document any repairs or replacements you make, which will help you track problem areas and plan future maintenance more effectively.
Insulating your shed workshop is a rewarding project that can transform your outdoor space into a comfortable, year-round workspace. By following the steps we’ve outlined, you can create an environment that’s protected from temperature extremes and maintains a consistent climate for your tools and projects. Remember to carefully plan your insulation strategy, choose appropriate materials for your needs and budget, and pay special attention to proper installation techniques.
Don’t forget the importance of addressing moisture control and ventilation alongside your insulation efforts. These elements work together to create a workshop that’s not only comfortable but also protects your valuable tools and equipment from damage.
Whether you’re a weekend woodworker or a serious DIY enthusiast, the time and effort invested in properly insulating your shed workshop will pay dividends in comfort and functionality. With the right preparation and materials, this is a project that most homeowners can tackle successfully over a weekend or two.
Ready to get started? Gather your materials, plan your approach, and transform your shed into the workshop you’ve always wanted. Your future self will thank you for creating a comfortable, protected space for all your projects.