
U-Anchors: The Smart Solution for Rock-Solid Shed Stability
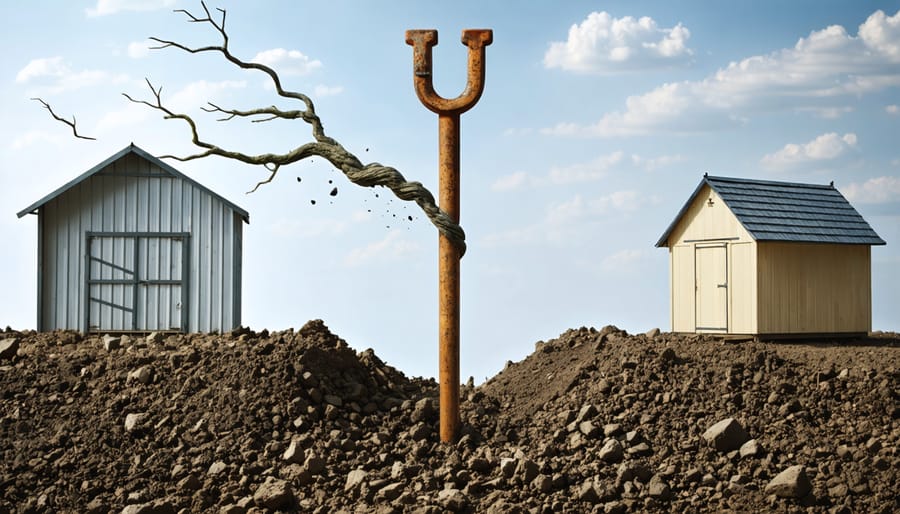
U-anchors stand as the unsung heroes of shed stability, providing crucial protection against wind damage and structural shifting that can compromise your valuable storage space. These heavy-duty fasteners, shaped like inverted U’s and driven deep into the ground, create a robust foundation system that keeps your shed firmly anchored through severe weather conditions and seasonal ground movements.
Whether you’re installing a new storage building or reinforcing an existing structure, understanding U-anchor implementation is essential for long-term shed security. These anchoring systems combine the strength of galvanized steel with strategic placement techniques to distribute force evenly across your shed’s base, preventing the lifting and twisting forces that commonly lead to structural damage.
For homeowners seeking peace of mind, U-anchors offer a cost-effective solution that significantly extends the lifespan of outdoor structures while meeting most local building codes and insurance requirements. Their straightforward installation process and minimal maintenance needs make them an ideal choice for both DIY enthusiasts and professional contractors alike.
Why Your Shed Needs U-Anchors
Weather Protection
U-anchors excel at protecting your shed from harsh weather conditions, making them an essential investment for long-term storage security. During strong winds and storms, these anchors work tirelessly to keep your shed firmly in place by distributing force evenly across multiple anchor points. This prevents the lifting and shifting that often occurs with traditional anchoring methods.
The unique design of U-anchors creates a solid connection between your shed’s foundation and the ground beneath, effectively resisting uplift forces that can occur during severe weather events. They’re particularly effective during hurricanes and tornadoes, where wind speeds can create significant pressure underneath storage structures.
What sets U-anchors apart is their ability to maintain stability in varying soil conditions. Whether your ground is soft after heavy rain or frozen during winter months, these anchors maintain their grip. They also help prevent water damage by keeping your shed level and stable, ensuring proper drainage around the structure’s perimeter.
Remember to inspect your U-anchors seasonally, especially after extreme weather events, to ensure they remain secure and effective.
Foundation Support
U-anchors play a vital role in creating reliable foundation solutions for your storage shed. These sturdy metal brackets secure your shed to its foundation, preventing unwanted movement and potential damage from wind, storms, or ground settling. By distributing weight evenly across connection points, U-anchors help maintain your shed’s structural integrity and extend its lifespan.
Think of U-anchors as your shed’s seat belt – they keep everything safely in place, even in challenging weather conditions. When properly installed, they create a secure bond between your shed’s base and the foundation, whether it’s concrete, gravel, or treated lumber. This connection is especially important in areas prone to high winds or seasonal ground movement.
For the best results, install U-anchors at regular intervals along your shed’s base rails, ensuring each corner and midpoint is properly secured. This comprehensive anchoring approach provides maximum stability and peace of mind for your investment.
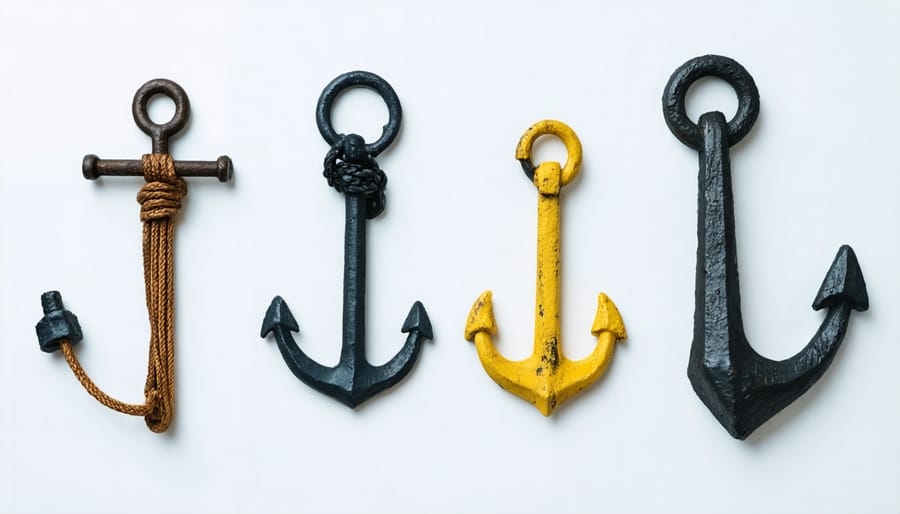
Types of U-Anchors for Different Shed Foundations
Concrete Foundation U-Anchors
When it comes to securing your shed on a concrete foundation, U-anchors provide exceptional stability and durability. These specialized anchors are designed specifically for concrete installations and are crucial for ensuring your best foundation for your shed serves its purpose effectively.
Concrete foundation U-anchors typically come in two main varieties: wedge anchors and epoxy anchors. Wedge anchors are mechanical fasteners that expand when tightened, creating a strong grip within the concrete. They’re particularly effective for areas with moderate weather conditions and are relatively easy to install with basic tools.
Epoxy anchors, on the other hand, use a chemical bonding process to secure the U-anchor to the concrete. These are ideal for regions with extreme weather conditions or where maximum hold strength is required. While they take longer to install due to curing time, they often provide superior holding power.
When installing U-anchors in concrete, it’s essential to:
– Ensure the concrete is fully cured (at least 28 days old)
– Mark anchor points accurately according to your shed’s base frame
– Use a hammer drill with the correct bit size
– Clean out holes thoroughly before installation
– Follow manufacturer-specified torque requirements
For most residential sheds, 1/2-inch diameter U-anchors spaced every 4-6 feet along the perimeter provide adequate anchoring. However, larger sheds or areas with high wind conditions may require additional anchoring points or larger diameter fasteners.
Ground U-Anchors
Ground U-anchors offer a robust solution for directly securing your shed to the earth, providing excellent stability against wind and weather. These sturdy metal anchors typically feature a U-shaped design with extended legs that drive deep into the soil, creating a reliable foundation for your storage structure.
The most common type is the auger-style ground anchor, which screws into the soil like a giant corkscrew. These anchors work particularly well in most soil types and can reach depths of 30 inches or more, offering superior hold. For rocky or particularly dense soil, straight-shaft anchors with arrow-shaped heads provide an effective alternative.
When installing ground U-anchors, it’s essential to position them at least 2 feet deep for optimal stability. Most homeowners find success with a pattern of four to six anchors spaced evenly around their shed’s perimeter. For larger structures, consider adding additional anchors at the midpoints of longer walls.
Remember to check your soil type before installation – sandy soils may require deeper anchoring, while clay soils typically provide better grip at standard depths. It’s also wise to install your anchors when the ground isn’t too dry or too wet, as this ensures proper soil compression around the anchor points.
For added security, consider using anchor plates or washers at the surface level to distribute the load more evenly and prevent the anchor from pulling through in extreme conditions.
Installing U-Anchors: Step-by-Step
Tools and Materials
To properly install U-anchors, you’ll need the following tools and materials:
Essential Tools:
– Post hole digger or shovel
– Level
– Tape measure
– Hammer
– Adjustable wrench
– Safety glasses
– Work gloves
– Marker or pencil
Required Materials:
– U-anchors (typically 4-6 depending on shed size)
– Concrete mix
– Gravel for drainage
– Galvanized lag screws
– Washers
– Water for concrete mixing
– String line for alignment
– Wooden stakes for marking
Optional but Helpful:
– Wheelbarrow for mixing concrete
– Power drill with appropriate bits
– Square for alignment
– Rubber mallet
– Concrete forms or tubes
Remember to check your local building codes, as they may require specific anchor types or installation methods.
Installation Process
Installing U-anchors properly is crucial for ensuring your shed’s long-term stability. Before beginning the installation, ensure you’ve completed proper site preparation to create a level surface for your shed.
Start by marking the anchor points around your shed’s perimeter, typically at each corner and at 4-6 foot intervals along the sides. Dig holes at these marks approximately 18-24 inches deep, depending on your local frost line and building codes.
Mix your concrete according to manufacturer specifications and pour it into each hole, filling them about halfway. Place the U-anchor into the wet concrete, ensuring the U-shaped portion extends above ground level by 2-3 inches. Use a level to verify the anchor is perfectly vertical.
Allow the concrete to cure completely, which typically takes 24-48 hours. Once cured, attach your shed’s base rails or floor frame to the anchors using appropriate lag bolts or hardware specified by your shed manufacturer.
For added protection, consider applying a rust-resistant coating to any exposed metal portions of the anchors. This simple step can significantly extend their lifespan and maintain their structural integrity.
Remember to check your local building codes, as some areas have specific requirements for anchor depth and spacing. If you’re unsure about any step, don’t hesitate to consult a professional.
Common Installation Mistakes
When installing U-anchors, avoid setting them too close to the shed’s edge, as this can weaken the foundation. A common mistake is not checking local building codes first, which might specify minimum anchor requirements. Don’t skip the pre-drilling step, as forcing the anchor into hard ground can bend or damage it. Many DIY enthusiasts make the error of installing anchors at uneven depths, leading to an unstable structure.
Make sure you’re not using anchors that are too small for your shed size – this is a frequent oversight that can compromise safety. Also, avoid installing U-anchors when the ground is overly wet or frozen, as this can affect their holding power. Remember to space your anchors evenly around the perimeter; clustering them in just a few spots won’t provide balanced support. Finally, don’t forget to regularly check and tighten the anchors after installation, especially following severe weather.
Maintenance and Long-Term Care
Regular maintenance of your U-anchors is essential for ensuring long-term shed stability and protection. Every six months, inspect your U-anchors for signs of rust, especially if you live in areas with high humidity or frequent rainfall. If you spot any rust formation, clean the affected areas with a wire brush and apply a rust-resistant coating to prevent further deterioration.
Check the tension of your U-anchor bolts annually, as they may loosen over time due to natural ground settling or seasonal temperature changes. Use a wrench to carefully tighten any loose connections, but avoid over-tightening as this could damage the anchor or your shed’s base.
Keep the area around your U-anchors clear of debris, leaves, and standing water. Accumulated moisture can accelerate corrosion and potentially compromise the anchor’s structural integrity. If your region experiences heavy snowfall, ensure snow isn’t piling up against the anchors during winter months.
For U-anchors installed in concrete, inspect the surrounding concrete regularly for cracks or signs of wear. Small cracks can be filled with appropriate concrete repair products, but significant damage may require professional assessment.
Consider applying a protective coating to exposed metal parts every two to three years to extend the life of your U-anchors. This simple maintenance step can significantly increase their durability and effectiveness in securing your shed.
Properly anchoring your shed with U-anchors is crucial for long-term stability and safety. These versatile fasteners provide excellent protection against wind damage and shifting, while maintaining your shed’s structural integrity for years to come. By following proper installation guidelines and choosing the right U-anchors for your specific needs, you can ensure your storage investment remains secure and reliable through all seasons. Remember to regularly inspect your anchors, maintain proper ground conditions around your shed, and address any issues promptly. With the right U-anchors in place, you can enjoy peace of mind knowing your shed and its contents are well-protected from environmental challenges. Whether you’re storing valuable equipment or creating a workshop space, proper anchoring is an essential step that shouldn’t be overlooked in your shed installation process.