5 Inexpensive DIY Shed Floor Ideas to Maximize Storage

Transform your shed from the ground up with these innovative, budget-friendly DIY shed floor ideas. From durable concrete and gravel to eco-friendly recycled pallets and stylish tiles, discover a variety of flooring options that cater to your unique needs and preferences. With step-by-step guidance and expert tips, you’ll be well-equipped to create a sturdy, functional, and visually appealing foundation for your shed. Whether you’re a seasoned DIY enthusiast or a beginner looking to tackle your first shed project, these practical ideas will inspire you to maximize your storage space and enhance the overall value of your property. Get ready to unleash your creativity and embark on a rewarding DIY journey that will transform your shed into a well-organized and inviting space.
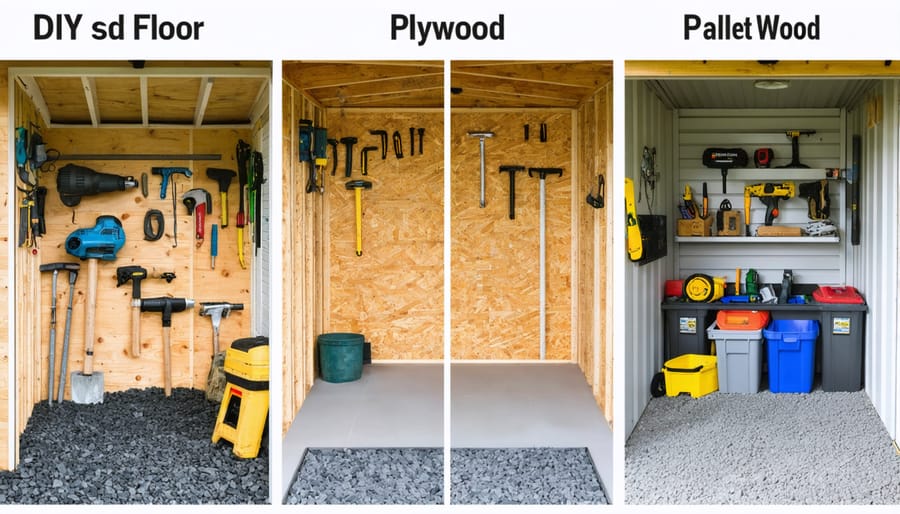
Gravel Floor
Materials Needed
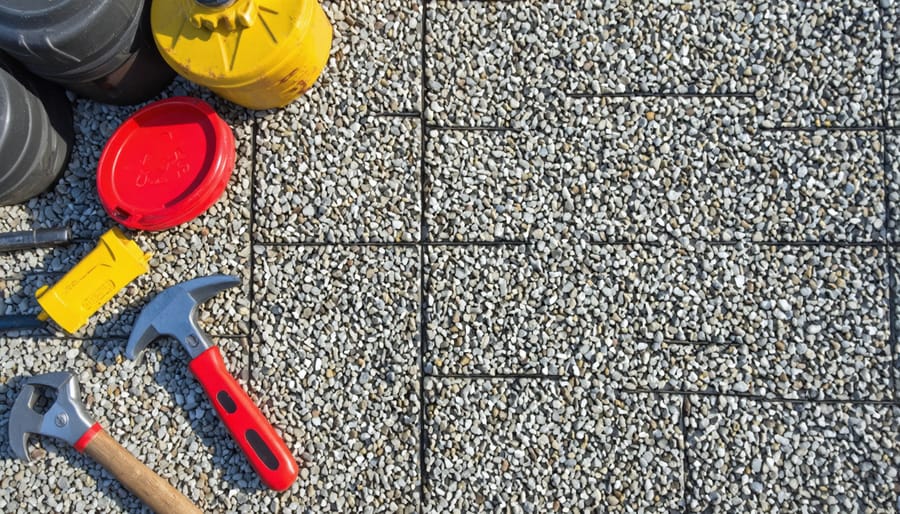
To create a gravel shed floor, you’ll need crushed stone or gravel, landscape fabric, a rake, a tamper, a level, and a shovel. Crushed stone or gravel should be 3/4-inch in size for proper drainage and stability. Landscape fabric prevents weeds and keeps the gravel in place. A rake and shovel are used for spreading and leveling the gravel, while a tamper compacts it for a solid base. A level ensures your floor is even. With these materials, you’ll be well-equipped to install a durable, low-maintenance gravel floor for your shed.
Step-by-Step Installation
Here’s a step-by-step guide to installing a gravel floor in your shed:
1. Clear the area: Remove any debris, vegetation, or existing flooring from the shed’s interior. Ensure the ground is level and free of obstacles.
2. Excavate the soil: Dig out the top layer of soil to a depth of about 4 inches. This will create space for the gravel and prevent future settling.
3. Install a weed barrier: Lay down a weed barrier or landscape fabric over the excavated area. This will help prevent weeds from growing through the gravel and maintain a clean, tidy appearance.
4. Add a base layer: Spread a 2-inch layer of coarse gravel (3/4 inch to 1 inch in size) evenly across the weed barrier. Use a rake to distribute the gravel and create a level surface.
5. Compact the base layer: Use a hand tamper or plate compactor to firmly pack down the coarse gravel. This will create a stable foundation for the next layer.
6. Install the top layer: Add a 2-inch layer of finer gravel (1/4 inch to 1/2 inch in size) over the compacted base layer. Rake the gravel to create an even surface.
7. Compact the top layer: Use the hand tamper or plate compactor again to pack down the finer gravel. This will create a solid, level surface for your shed floor.
8. Finish the edges: If desired, install edging materials along the perimeter of the gravel floor to contain the gravel and create a polished look.
With these steps, you’ll have a durable, low-maintenance gravel floor that provides excellent drainage and a stable foundation for your shed. To ensure your shed remains protected from water, consider learning about what to put around the bottom of your shed to keep water out.

Plywood Floor
Choosing the Right Plywood
When choosing plywood for your shed floor, opt for exterior-grade plywood, which is designed to withstand moisture and the elements. Thickness is key – 3/4-inch plywood is recommended for optimal durability and support. Look for plywood with a smooth, sanded surface for easier cleaning and maintenance. Pressure-treated plywood is an excellent choice for added resistance against rot, decay, and insect damage. Consider the weight of the items you’ll be storing in your shed when selecting the plywood thickness to ensure your floor can handle the load. With the right plywood, you’ll have a sturdy foundation for your shed that will last for years to come.
Waterproofing and Installation
Protecting your shed floor from moisture is essential for its longevity. Start by waterproofing plywood using a high-quality sealant or paint designed for exterior use. Apply multiple coats, allowing each to dry completely before the next application. Once your plywood is sealed, it’s time to install your shed floor.
Begin by ensuring the ground beneath your shed is level and well-drained. If necessary, add gravel or sand to create a stable base. Next, place your sealed plywood sheets on the ground, ensuring they fit snugly together. Use a circular saw to cut any pieces to size as needed.
Secure the plywood sheets to the shed’s frame using galvanized nails or screws. Start at one corner and work your way across, maintaining a consistent gap between each sheet to allow for expansion and contraction. For added stability, consider installing floor joists underneath the plywood.
After securing all plywood sheets, apply a final coat of sealant to the seams and edges for extra protection against moisture. Allow the sealant to dry completely before placing any heavy items or walking on the floor. For more tips on maintaining your shed, you might want to explore how to keep tools from rusting in a shed.
By following these waterproofing and installation tips, you’ll create a durable, long-lasting shed floor that withstands the elements and provides a solid foundation for your storage needs. With a little effort and attention to detail, your DIY shed floor will be ready to serve you for years to come.

Concrete Slab Floor
Preparing the Base
Before pouring a concrete slab for your shed floor, it’s crucial to prepare the ground properly. Start by clearing the area of grass, rocks, and debris. Next, excavate the site to a depth of about 6 inches, ensuring a level surface. Add a layer of compactible gravel and use a plate compactor to create a stable base. This step helps with drainage and prevents settling. Install a moisture barrier, such as plastic sheeting, over the gravel to minimize moisture intrusion. Finally, build a wooden frame around the perimeter to contain the concrete. Make sure the frame is level and sturdy. By taking the time to prepare the base correctly, you’ll ensure a durable and long-lasting foundation for your shed floor. To learn more about creating strong foundations, you can explore what is the best foundation for a shed.
Pouring and Finishing the Concrete
To pour and finish the concrete slab for your shed floor, begin by ensuring the formwork is level and secure. Mix the concrete according to the manufacturer’s instructions, using a wheelbarrow or concrete mixer. Pour the concrete into the formwork, starting at one corner and working your way across the slab. Use a shovel or rake to spread the concrete evenly, ensuring it fills all corners and edges.
Next, use a straight board or screed to level the surface of the concrete, moving it back and forth across the top of the formwork. This process removes excess concrete and creates a smooth, even surface. After screeding, use a bull float to further smooth the surface and remove any imperfections.
Allow the concrete to set for an hour or two, then use a hand float or power trowel to create a final smooth finish. This step helps to compact the surface and reduce the appearance of any small holes or inconsistencies.
Finally, use a broom or brush to create a slip-resistant texture on the surface of the concrete. This is especially important for shed floors, as they may become wet or slippery. Allow the concrete to cure for at least 24 hours before removing the formwork, and wait at least a week before placing heavy items or organizing your shed.
By following these steps and allowing adequate time for curing, you’ll have a strong, durable, and attractive concrete slab floor for your DIY shed project.
Pallet Wood Floor
Sourcing and Preparing Pallets
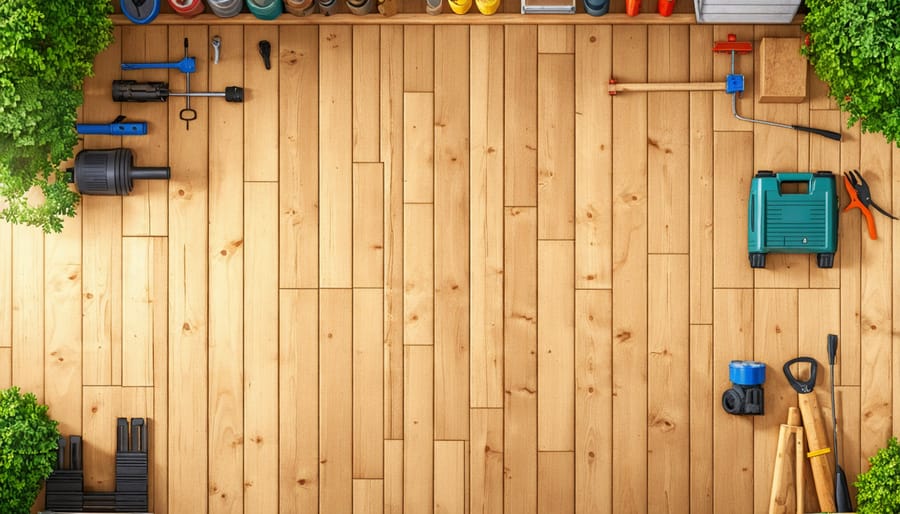
Finding pallets for your DIY shed floor project can be surprisingly easy. Start by checking with local businesses, such as hardware stores, furniture retailers, or industrial facilities, as they often have excess pallets they’re willing to give away or sell at a low cost. Once you have your pallets, inspect them for any damage, rot, or protruding nails. Choose pallets made from untreated hardwood for durability and to avoid potential chemical leaching. Before using the pallets, thoroughly clean them with a pressure washer or stiff brush and allow them to dry completely. If needed, sand down any rough spots and cut the pallets to size using a circular saw. Consider repurposing pallets that are in good condition but not suitable for flooring into other shed projects, such as shelving or storage bins, to maximize their usefulness and reduce waste.
Laying the Pallet Wood Floor
To install a pallet wood shed floor, start by gathering your materials: pallets, circular saw, hammer, pry bar, measuring tape, and nails. Measure your shed’s interior and cut the pallets to fit snugly. Remove any damaged or protruding nails and sand down rough spots. Lay the pallets in your desired pattern, ensuring they are level and secure. Use a hammer and nails to fasten the pallets together, creating a sturdy base. For added stability, consider anchoring the pallets to the shed’s frame. Fill any gaps between the pallets with smaller wood pieces or sawdust. Once complete, your pallet wood floor will add a rustic charm to your shed while providing a durable surface for storage. This budget-friendly option is perfect for DIY enthusiasts looking to repurpose materials and create a unique, functional shed floor.

Conclusion
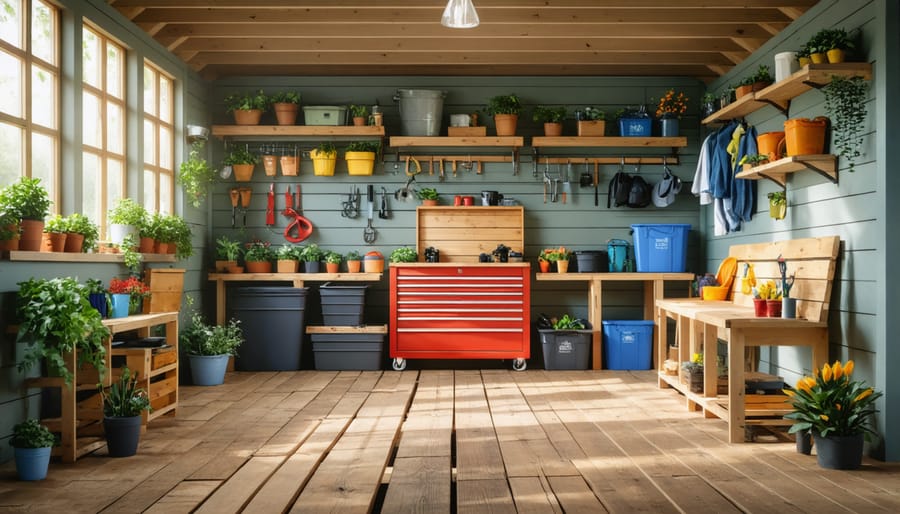
In conclusion, there are numerous DIY shed floor options to suit your specific needs, budget, and desired aesthetic. Whether you opt for the affordability and simplicity of gravel, the durability and versatility of concrete, the natural charm of wooden planks, or the eco-friendliness of recycled plastic tiles, you can create a functional and attractive shed floor. Consider factors such as your local climate, the weight of stored items, and your own DIY skills when making your decision. With the right materials and a bit of elbow grease, you can transform your shed into a well-organized and inviting space that enhances your outdoor living area.

