
Beat Wet Ground Forever: The Most Reliable Shed Foundation Solutions
Building a stable shed foundation on wet ground demands specialized solutions to prevent water damage and structural instability. Select a gravel pad foundation elevated 4-6 inches above grade level for optimal drainage, or install concrete pier blocks on compacted crushed stone to create crucial air circulation beneath the structure. The most reliable approach combines a proper site preparation strategy with a floating foundation design, keeping your shed high and dry even in challenging soil conditions. Start with a comprehensive soil drainage assessment, install a French drain system if necessary, and consider implementing a vapor barrier to protect against ground moisture. This foundation approach not only prevents water damage but also extends your shed’s lifespan while maintaining its structural integrity through seasonal weather changes.
Why Wet Ground Demands Special Foundation Considerations
Signs Your Ground Is Too Wet
Identifying overly wet ground before installing your shed foundation can save you from costly repairs down the road. Look for puddles that remain long after rainfall – this is a clear sign of poor drainage. If you notice squelching sounds while walking on your lawn or your feet sink into the soil, you’re dealing with saturated ground.
Another telltale sign is the presence of moss or algae growth, which thrives in consistently damp conditions. Watch for water stains or dampness on existing concrete surfaces nearby, as this indicates a high water table. You might also spot water-loving weeds like sedges or rushes, which naturally grow in wet areas.
Test your soil by digging a hole about 2 feet deep and checking after 24 hours. If water has collected in the hole or the sides appear wet, you have drainage issues to address. During construction season, look for contractors or neighbors working on similar projects – if they’re struggling with water accumulation in their foundation holes, you likely will too.
Remember that seasonal changes can affect ground moisture, so monitor your intended shed location through different weather conditions before making final foundation decisions.
Common Foundation Failures in Wet Conditions
Water damage can wreak havoc on improperly built shed foundations, as many homeowners have discovered the hard way. A common issue is concrete slab cracking, which often occurs when water pools underneath and freezes during winter months. One homeowner in Seattle found their shed tilting dramatically after just two years because their gravel base wasn’t properly compacted, allowing water to erode the soil beneath.
Wood foundations are particularly vulnerable in wet conditions. Many people have reported rotting floor joists and skids, especially when using untreated lumber or when the wood comes in direct contact with damp soil. A classic example is when wooden foundations are placed directly on concrete blocks without proper moisture barriers, leading to premature deterioration.
Floating foundations can also fail when the ground becomes saturated. In Florida, a homeowner’s shed actually shifted several inches during heavy rains because the foundation wasn’t anchored deeply enough to resist soil movement. Even concrete foundations can suffer from water damage, with many cases of surface spalling and deterioration when proper drainage isn’t installed around the perimeter.
Top Foundation Options for Wet Ground
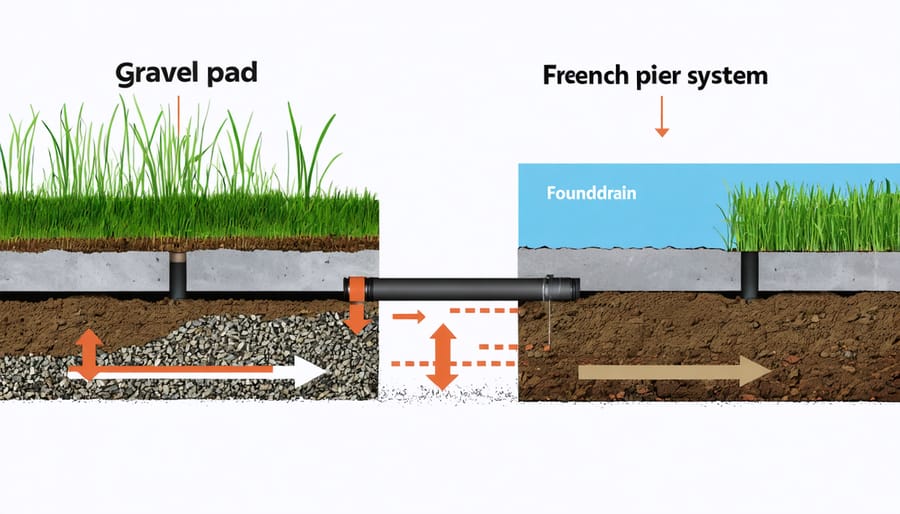
Gravel Pad with French Drain System
A gravel pad with a French drain system is one of the most effective foundations for sheds in wet areas, combining excellent drainage with lasting stability. Start by excavating the area to a depth of 6-8 inches, making sure to slope the ground slightly away from where the shed will sit. Line the excavated area with landscape fabric to prevent weed growth and soil mixing with the gravel.
Install a perforated drain pipe around the perimeter, sloping it toward a drainage point away from the shed. The pipe should be surrounded by crushed stone or gravel, creating a path for water to flow away from your structure. Layer the base with larger crushed stone (about 2-3 inches in diameter), tamping it down thoroughly as you go.
Add progressively smaller gravel layers, working your way up to pea gravel on top. Each layer should be compacted before adding the next to ensure maximum stability. The final surface should sit about 4 inches above the surrounding ground level to prevent water pooling.
For extra protection, consider adding a layer of compactable gravel or stone dust as the final surface. This creates an ultra-stable base while maintaining excellent drainage properties. Remember to check local building codes, as some areas require specific gravel types or installation methods for shed foundations.
Concrete Block Foundation
Concrete block foundations offer an excellent solution for wet ground conditions, combining durability with excellent moisture resistance. These foundations consist of solid concrete blocks arranged in a perimeter pattern, creating a robust base that elevates your shed above ground level, allowing for crucial air circulation underneath.
One of the biggest advantages of concrete block foundations is their ability to withstand heavy loads while providing superior drainage. The spaces between blocks can be fitted with vents or left open for additional airflow, helping prevent moisture buildup beneath your shed. This foundation type also offers easy leveling capabilities, as individual blocks can be adjusted using shims or gravel beds.
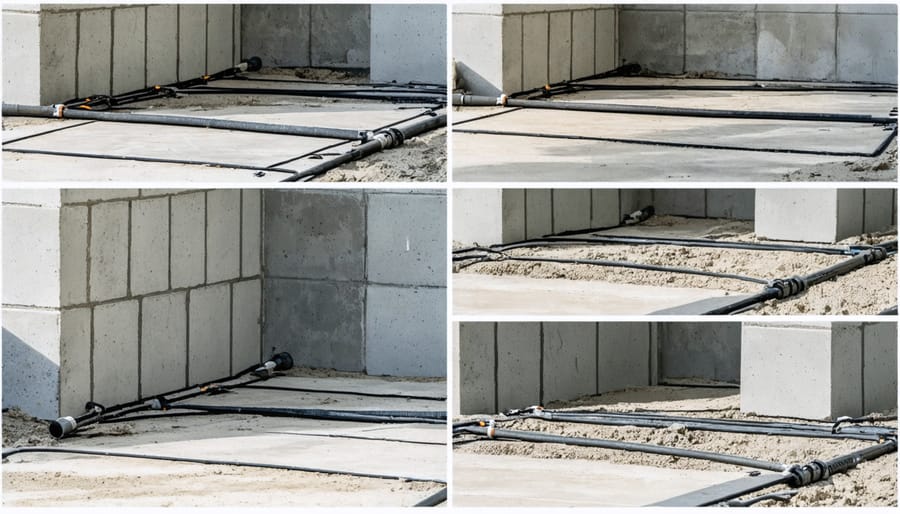
Installation begins with excavating the site and creating a level base using compacted gravel. The blocks are then placed at strategic points, typically at corners and at 4-6 foot intervals along the shed’s perimeter. For extra stability in wet conditions, consider laying a bed of crushed stone beneath the blocks and installing French drains around the foundation’s perimeter.
While concrete block foundations require more initial setup work compared to some alternatives, they provide outstanding long-term value. Their durability and moisture-resistant properties make them particularly well-suited for areas with frequent rainfall or high groundwater levels. Plus, they’re readily available at most hardware stores and can be installed as a DIY project with proper planning and basic tools.
Elevated Post Foundation
Elevating your shed on posts is one of the most effective solutions for wet ground conditions, creating an air gap between your shed floor and the damp soil below. This design allows moisture to freely evaporate and water to flow underneath without affecting your structure.
The key to a successful post foundation lies in proper installation. Start by digging holes at least below the frost line in your area, typically 2-4 feet deep. Fill the bottom with gravel for drainage, then install concrete footings. Pressure-treated posts, usually 4×4 or 6×6, are then secured to these footings using post anchors.
For added protection, consider using post protectors or wrapping the bottom portion of the posts with moisture barrier material. The posts should extend at least 6 inches above ground level, though in areas prone to flooding, you might want to go higher.
Cross-bracing between posts adds stability and prevents wobbling, while proper beam installation across the tops of the posts creates a solid base for your shed floor. When selecting materials, opt for pressure-treated lumber rated for ground contact to ensure longevity.
A major advantage of post foundations is their adaptability to uneven terrain. By varying post heights, you can create a level platform even on sloping ground while maintaining proper drainage underneath.
Essential Moisture Control Features
Proper Drainage Solutions
Effective drainage is your first line of defense against water damage in wet ground conditions. Start by grading the soil around your shed site, ensuring it slopes away from the foundation at a rate of about 1 inch per foot. This natural drainage helps direct water away from your structure.
French drains are particularly effective for wet areas. Create a trench around your shed’s perimeter, line it with landscape fabric, and fill it with gravel and a perforated pipe. This system captures and redirects groundwater before it can impact your foundation.
For added protection, install gutters and downspouts on your shed. Direct the downspouts at least 6 feet away from the foundation, using extension pipes if necessary. Consider adding splash blocks at the end of downspouts to prevent soil erosion.
Creating a swale – a shallow, landscaped depression – can help manage surface water by directing it away from your shed. Plant water-loving vegetation along the swale to help absorb excess moisture and add visual appeal to your yard.
For severely wet areas, consider installing a dry well. This underground structure collects water from your drainage systems and allows it to slowly seep into the surrounding soil. Remember to place the dry well at least 10 feet from your shed’s foundation to prevent any moisture issues.
Regular maintenance of these drainage solutions is crucial. Clean gutters seasonally and check drainage pipes for clogs or damage to ensure long-lasting protection for your shed foundation.
Vapor Barriers and Waterproofing
A critical step in creating a solid foundation for your wet-ground shed is implementing proper moisture barriers and waterproofing measures. To effectively protect your shed from water damage, start with a high-quality 6-mil polyethylene vapor barrier beneath your foundation. This creates an essential moisture barrier between the damp ground and your shed’s base.
For concrete foundations, apply a waterproof membrane or coating before pouring the concrete. Look for products specifically designed for below-grade applications, which offer superior resistance to ground moisture. If you’re using a gravel base, consider adding multiple layers of protection: start with geotextile fabric to prevent soil mixing, followed by your gravel layer, then add another vapor barrier before installing your shed floor.
Don’t forget about the perimeter! Install a water-resistant barrier around the foundation’s edges, extending it at least 6 inches above ground level. This helps prevent splash-back from rain and protects against rising damp. For added protection, consider using rubber membrane flashing where the foundation meets the shed walls.
Remember to maintain proper drainage around your foundation by sloping the ground away from the shed. This simple but effective measure works alongside your vapor barriers to keep your shed dry and stable for years to come.
Installation Tips and Best Practices
Now that you’ve chosen your foundation type, let’s walk through the essential steps for a successful waterproof foundation installation. Start by marking your installation area and removing all vegetation, roots, and organic matter. Create a slight slope away from the planned shed location, aiming for a 1-inch drop for every 8 feet of distance.
Begin by excavating 6-8 inches deeper than your planned foundation height. Line the excavated area with heavy-duty landscape fabric, extending it 12 inches beyond your foundation’s perimeter. This crucial step prevents weed growth and provides additional moisture control.
Pour a 4-inch layer of coarse gravel or crushed stone as your base layer, compacting it thoroughly with a plate compactor. For areas with severe drainage issues, consider installing a French drain system around the perimeter before adding the gravel.
If you’re using concrete blocks or pavers, create a level bed of sand approximately 1 inch thick. Use a long level and string lines to ensure perfect alignment. Place your foundation materials, checking for level as you go. For gravel pad foundations, continue adding and compacting 2-inch layers until you reach the desired height.
Remember to maintain a minimum 6-inch clearance between the ground and your shed’s bottom frame to prevent moisture damage. Install metal hardware cloth around the perimeter to deter pests from nesting underneath.
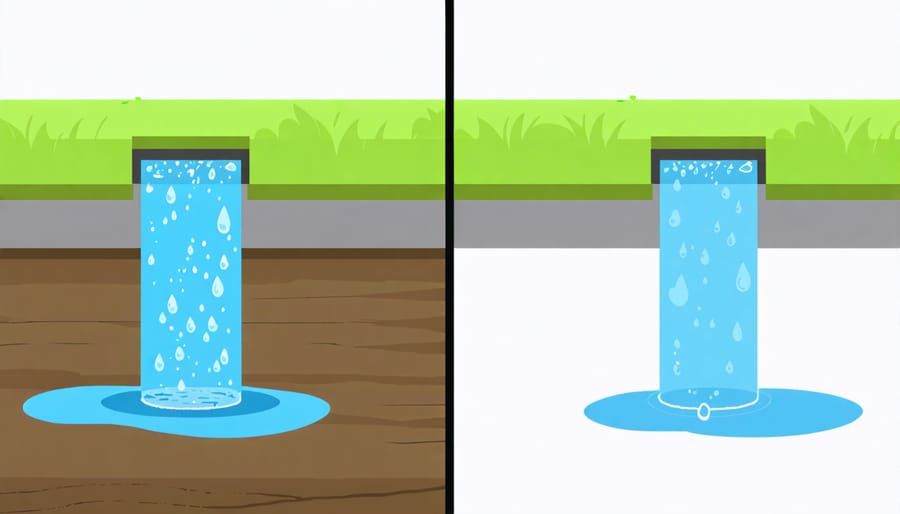
After installation, test your drainage by spraying the area with water. The moisture should flow away from the foundation. Consider adding gutters to your shed’s design to direct rainwater away from the foundation.
For ongoing maintenance, inspect the foundation annually for signs of settling or water pooling. Address any issues promptly to ensure your shed’s longevity and stability in wet conditions.
Building a shed foundation on wet ground doesn’t have to be a daunting task when you choose the right solution. Gravel pad foundations offer an excellent balance of drainage and stability, while concrete blocks or piers provide superior elevation from moisture. If you’re dealing with particularly challenging conditions, a concrete slab with proper drainage systems remains the most durable option. Remember to prioritize adequate site preparation, proper drainage installation, and regular maintenance regardless of your chosen foundation type. By following the guidelines we’ve discussed and considering your specific ground conditions, you can create a stable, long-lasting foundation that will protect your shed investment for years to come. Don’t forget to check local building codes and consider professional help for complex installations, especially in areas with severe water issues.