
Build a Better 8×10 Shed: Your Complete Composite Materials Shopping List
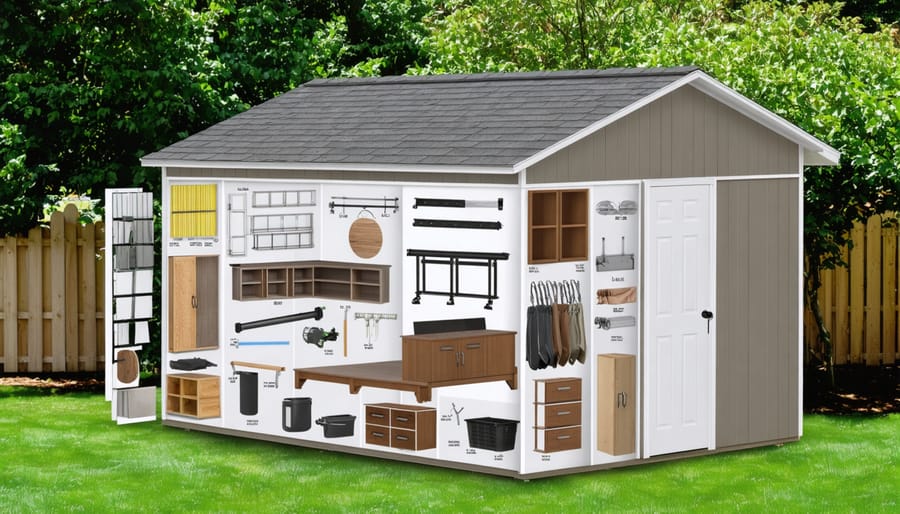
Transform your backyard storage dreams into reality with a professional-grade 8×10 shed built from weather-resistant materials. This comprehensive materials list ensures you’ll have every component needed for a durable, long-lasting structure that stands up to the elements. From composite wall panels and moisture-resistant flooring to rust-proof hardware and premium roofing materials, we’ve calculated exact quantities to eliminate guesswork and reduce waste. Whether you’re a first-time builder or an experienced DIY enthusiast, this curated collection of materials combines modern durability with classic aesthetics, creating a storage solution that adds value to your property while protecting your belongings for years to come.
Essential Composite Wall Materials
Primary Wall Panels
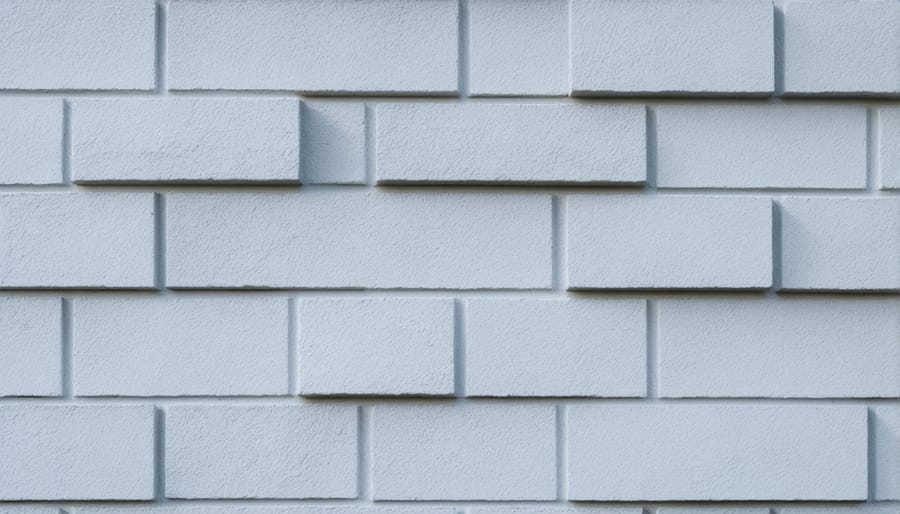
For your 8×10 shed’s primary walls, you’ll need twelve 4×8-foot composite wall panels. These panels are engineered to withstand various weather conditions while maintaining their appearance and structural integrity. Plan to purchase an extra panel to account for any cutting mistakes or damage during installation.
The recommended thickness for composite wall panels is 7/16 inch, which provides excellent durability without adding excessive weight. Look for panels with a textured surface that resembles wood grain – this not only enhances the shed’s appearance but also helps hide minor scratches and dents.
When selecting your panels, opt for those with a moisture-resistant coating to prevent warping and mold growth. Most home improvement stores stock these in neutral colors like tan or gray, which complement most outdoor settings. Remember to store your panels flat and covered until installation to prevent warping, and always check each panel for damage before purchasing.
For optimal results, pair your wall panels with compatible trim pieces for a polished, weather-tight finish around windows and doors.
Supporting Framework
The supporting framework forms the backbone of your 8 x 10 shed, requiring careful selection of composite materials for durability and stability. Start with four 4×4 composite posts for the corners, each cut to 8 feet in length. You’ll need two additional 4×4 posts for the doorway frame. For the wall framing, plan on twelve 2×4 composite studs (8-foot lengths) spaced 16 inches on center.
The roof structure calls for five 2×6 composite rafters (12-foot lengths) and two 2×6 composite ridge beams (10-foot lengths). Include hurricane ties and joist hangers for secure connections. For added stability, incorporate two 2×4 composite collar ties across the rafters.
Don’t forget the bottom plate and top plate – you’ll need four 2×4 composite boards (10-foot lengths) for these crucial elements. The floor frame requires three 2×8 composite joists (10-foot lengths) and two 2×8 rim joists (8-foot lengths).
Remember to account for a 10% waste factor when purchasing materials, as some cutting and fitting will be necessary during construction.

Roofing Components
Roof Panels and Sheets
For optimal protection against the elements, your 8×10 shed requires approximately 100 square feet of roofing material, accounting for overlap and waste. We recommend using 29-gauge corrugated metal roofing panels, with each panel measuring 3 feet wide by 12 feet long. You’ll need four panels to ensure complete coverage, plus an extra panel for safety and potential mistakes during proper roofing installation techniques.
Include 1 ridge cap (10 feet long) to cover the peak of your roof, and don’t forget about the underlayment – you’ll need one roll of 15-pound roofing felt (100 square feet). For secure installation, plan on purchasing:
– 150 roofing screws with neoprene washers
– 100 felt paper staples
– 2 tubes of roofing sealant
Consider adding drip edge flashing along the eaves and rakes (approximately 36 linear feet total) to prevent water damage and ensure proper drainage. For areas with heavy snowfall or extreme weather, we suggest including snow guards to prevent sudden snow slides.
Roof Support System
For a sturdy 8 x 10 shed roof, you’ll need six pre-manufactured roof trusses spaced 24 inches on center. These trusses form the backbone of your roof system and should be rated for your local snow load requirements. Include hurricane ties or framing anchors (24 pieces) to secure each truss end to the top plates.
The roof decking requires four 4′ x 8′ sheets of 5/8″ OSB or plywood, plus an extra half sheet for overhang. Don’t forget drip edge flashing for both the eaves and rakes (approximately 40 linear feet total) to prevent water damage.
For proper ventilation, install two gable vents (one at each end) and ridge venting along the peak. You’ll need approximately 10 linear feet of ridge vent material and matching ridge caps. A roll of roofing felt (30# grade) provides essential underlayment protection.
Remember to purchase galvanized roofing nails for securing shingles and an adequate supply of 8d common nails for the roof decking. Always check local building codes, as requirements may vary by region.
Flooring and Foundation Materials
A solid foundation and reliable flooring are essential for creating a stable shed foundation that will last for years. For an 8×10 shed, you’ll need the following materials:
Foundation Materials:
– 6 pressure-treated 4×4 skids (12-foot length)
– 12 concrete deck blocks
– 2 cubic yards of gravel for base preparation
– 1 roll of landscape fabric (10×12 feet)
– Level and measuring tools
Flooring Components:
– 3 pressure-treated 2×8 floor joists (10-foot length)
– 2 pressure-treated 2×8 rim joists (8-foot length)
– 12 joist hangers
– 2 sheets of ¾-inch pressure-treated plywood (4×8 feet)
– 1 box of 2½-inch deck screws
– 1 box of 1⅝-inch deck screws
– 16 galvanized lag screws (½-inch x 4-inch)
– Construction adhesive (2 tubes)
Remember to factor in a 10% waste allowance for your materials to account for cuts and any potential damaged pieces. The pressure-treated lumber is crucial for ground contact and moisture resistance, while the concrete blocks provide excellent support and help prevent settling. Using construction adhesive between the plywood and joists will prevent floor squeaking and add structural integrity to your shed’s foundation.
Hardware and Fasteners
For a secure and lasting 8 x 10 composite shed build, you’ll need various hardware components to ensure everything stays firmly in place. Start with 150 composite deck screws (2.5 inches) for the wall panels and 100 shorter screws (1.5 inches) for trim pieces. Choose stainless steel or coated screws specifically designed for composite materials to prevent corrosion and staining.
Your foundation connection requires eight heavy-duty concrete anchors (4 inches) and matching washers. For frame assembly, gather 24 galvanized corner brackets, 16 joist hangers, and about 75 construction screws (3 inches).
Don’t forget these essential items:
– 2 door hinges (heavy-duty exterior grade)
– 1 door handle set with lock
– 1 door latch or hasp
– 4 hurricane ties for roof security
– 16 washers and nuts for anchor bolts
– 50 finish washers for a clean look
Pro tip: Always buy 10-15% extra hardware to account for losses or mistakes during construction. Store your fasteners in separate containers labeled by size and type to stay organized during the build. Remember that composite materials expand and contract with temperature changes, so avoid over-tightening screws to allow for natural movement.
For the roof attachment, include:
– 75 roofing screws with rubber washers
– 4 roof edge clips
– 2 tubes of exterior-grade silicone sealant
Additional Components
To complete your 8 x 10 shed, you’ll need several additional components that enhance functionality and ventilation. For the entry, plan on a pre-hung exterior door (36″ x 80″ is standard) along with necessary hardware including hinges, a lockset, and weather stripping. Include door trim materials: two 1x4x8′ boards for the sides and one 1x4x4′ piece for the top.
Consider adding a window for natural light – a 24″ x 36″ vinyl window works well for most shed designs. You’ll need window flashing tape, exterior caulk, and trim similar to the door (two 1x4x6′ pieces and one 1x4x3′ board).
For proper ventilation, include two gable vents (12″ x 18″ each) to prevent moisture buildup and maintain airflow. Add soffit vents along the eaves – plan for four 16″ x 4″ units. Don’t forget screening material to keep insects out.
Finish the exterior with corner trim (four 1x4x8′ pieces) and fascia boards (four 1x6x10′ pieces). Include J-channel and other trim pieces if using vinyl siding. For a polished look, add a door threshold and weather seal kit.
Remember to pick up construction adhesive, exterior-grade caulk, and appropriate screws or nails for all trim components. These finishing touches not only enhance appearance but also ensure proper functionality and weather resistance.
Selecting the right materials for your 8 x 10 shed is crucial for its longevity and functionality. Remember to prioritize quality over cost, especially for structural components like framing and roofing materials. Store your materials in a dry, covered area before construction begins, and consider ordering extra materials (about 10% more) to account for any cutting mistakes or damaged pieces. When purchasing composite materials, verify their warranty and weather resistance ratings for your specific climate. Take time to compare different brands and read reviews from other DIY builders. By carefully planning your material selection and properly storing them until installation, you’ll set yourself up for a successful shed build that will serve you well for years to come. Don’t forget to check local building codes one final time before making your purchases to ensure all materials meet requirements.