
Heat Your Shed for Pennies: Build This Simple Solar Heater in One Weekend
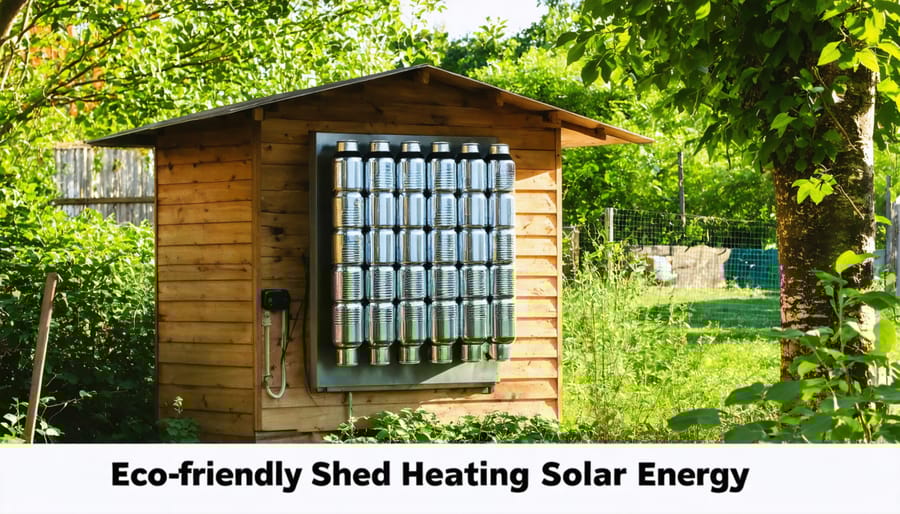
Transform your shed into a cozy, energy-efficient workspace with a DIY solar heater that slashes heating costs while maintaining optimal climate control for sheds. Built from readily available materials like recycled aluminum cans, wood, and clear polycarbonate sheets, these passive solar heaters can raise interior temperatures by 20-30 degrees Fahrenheit on sunny days. The project typically costs under $200 and can be completed in a weekend, making it an accessible solution for DIY enthusiasts of any skill level. By harnessing free solar energy, this simple yet effective heating system pays for itself within a single heating season while protecting temperature-sensitive tools and materials stored in your shed. Whether you’re maintaining a workshop, garden storage, or hobby space, this sustainable heating solution combines practical functionality with environmental responsibility.
Materials and Tools You’ll Need
Essential Materials
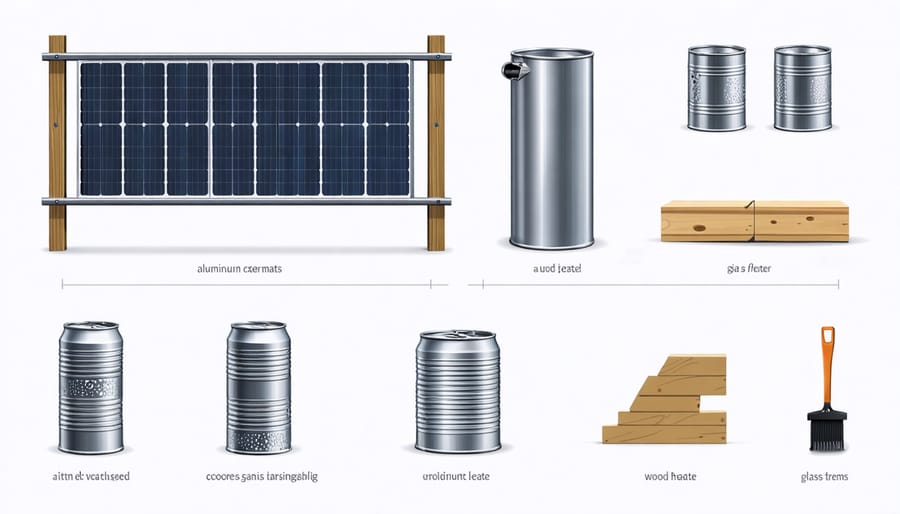
To build your DIY solar heater, you’ll need these essential materials to get started:
• 40-50 aluminum cans (cleaned and labels removed)
• 1 sheet of 4’x8′ plywood (¾ inch thick)
• Clear plexiglass or tempered glass sheet (4’x8′)
• 2-3 cans of flat black spray paint
• Weather stripping tape
• Silicone caulk for high temperatures
• 1×4 lumber for frame construction
• Aluminum tape or heat-resistant duct tape
• Small PC fan or computer fan (12V)
• Small solar panel (to power the fan)
• Wood screws (1½ inch)
• Drill with hole saw attachment
• High-temperature silicone adhesive
• Insulation board (1-inch thick)
Most of these materials can be found at your local hardware store, and the aluminum cans can be collected over time or sourced from recycling centers. For best results, choose tempered glass over plexiglass if your budget allows, as it offers better heat retention and durability. Remember to get extra materials to account for potential mistakes during construction.
Required Tools
Before starting your DIY solar heater project, gather these basic tools that you likely already have in your garage. You’ll need a cordless drill with various drill bits, a measuring tape, a utility knife, and a sturdy pair of scissors for cutting materials. A caulking gun is essential for sealing edges, while a screwdriver set will help with assembly. Don’t forget safety equipment: work gloves, safety glasses, and a dust mask. A level ensures proper alignment, and a pencil for marking measurements is crucial. If working with wood framing, you’ll also want a saw (hand saw or circular saw) and a hammer. Having these tools ready before you begin will make the construction process smooth and efficient.
Building Your Solar Heater
Preparing the Collector Box
Start by selecting a sturdy wooden box or creating one using weather-resistant plywood. The box should be roughly the size of your shed window or slightly smaller for easy installation. Cut the plywood to create a box approximately 4 inches deep, with the front face measuring about 2 feet by 3 feet for optimal heat collection.
Paint the interior of the box with flat black paint to maximize heat absorption. This dark surface will help capture and retain solar energy more effectively. Once the paint has dried completely, seal all the corners and joints with weatherproof silicone caulk to prevent any air leaks.
Next, create a frame for the glass cover using 1×2 inch wooden strips. The frame should fit snugly around the box’s perimeter. Pre-drill holes for screws to prevent the wood from splitting. Apply weatherstripping tape along the frame where it will meet the glass to create an airtight seal.
Cut your glass or polycarbonate sheet to fit within the frame, leaving about 1/8 inch gap for expansion. When securing the glass, use rubber gaskets or weatherstripping between the glass and frame to prevent direct contact with the wood and allow for thermal expansion. Attach the glass cover to the frame using glazing points or small screws with rubber washers.
Remember to handle the glass carefully and wear protective gear throughout the construction process. A well-built collector box serves as the foundation for your solar heater’s efficiency.
Creating the Heat Absorber
Start by cleaning your aluminum cans thoroughly and removing any labels. Using a sharp utility knife or can opener, carefully remove both ends of each can. Once cleaned and opened, spray paint the cans with high-temperature black paint to maximize heat absorption.
Arrange the cans in vertical columns, creating a pattern that allows air to flow through them. Stack them end-to-end and secure each connection with high-temperature silicone sealant. For optimal results, aim to create 4-6 columns with 8-10 cans each, depending on your frame size.
Mount the can columns onto your plywood backing board, spacing them evenly. Use silicone adhesive to secure the bottom can of each column to the plywood. Create small wooden blocks or use metal brackets to support the tops of the columns, ensuring they remain straight and stable.
Install aluminum flashing or thin metal strips along the sides of your can arrangement to direct airflow through the columns rather than around them. Seal any gaps between the cans and flashing with silicone to prevent air leaks.
Test the heat absorber by placing your hand near the top of the columns on a sunny day – you should feel warm air rising. This indicates your heat collector is working effectively. Remember to handle the cans carefully during assembly to avoid cuts, and wear protective gloves throughout the process.

Adding Insulation and Glazing
Now that your solar heater frame is assembled, it’s time to add insulation and glazing to maximize heat retention and efficiency. Start by cutting rigid foam insulation to fit snugly inside the back of your frame. The insulation should be at least 1 inch thick and cover the entire surface behind your collector plate. Secure it with construction adhesive, ensuring there are no gaps where heat could escape.
For the glazing, clear polycarbonate sheets work best as they’re durable and offer excellent heat retention. Cut the sheet to overlap your frame by about 1 inch on all sides. Before attaching it, apply weatherstripping tape around the frame’s edges to create an airtight seal. This prevents warm air from escaping and keeps moisture out.
Carefully drill pilot holes through the polycarbonate and into your frame, spacing them about 6 inches apart. Use stainless steel screws with rubber washers to secure the glazing, being careful not to overtighten and crack the material. For added protection, apply a bead of clear silicone caulk around all edges where the glazing meets the frame.
To test the seal, close the unit on a sunny day and check for any warm air leaks around the edges. If you find any, add more weatherstripping or caulk as needed. Remember, a well-sealed unit is crucial for maintaining consistent heat output during colder months.
Installation and Placement
Finding the Perfect Spot
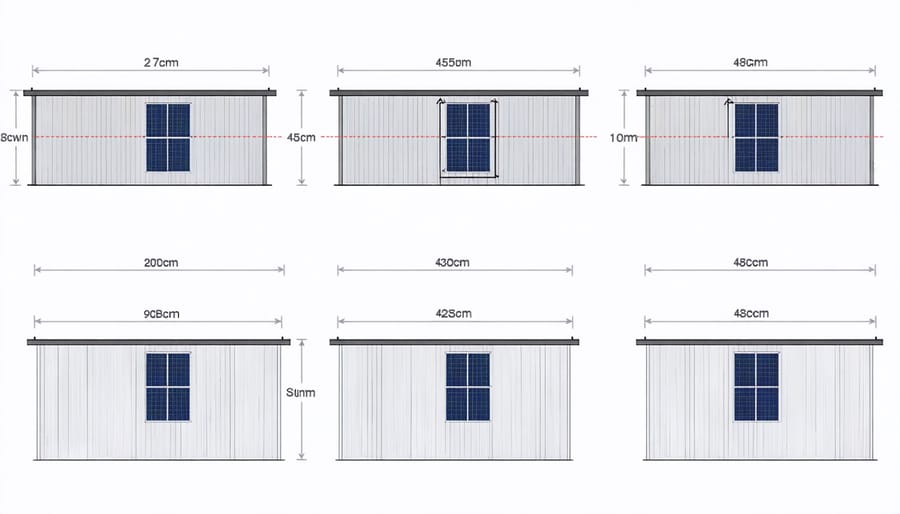
Success with your DIY solar heater starts with finding the perfect location for maximum sun exposure. Since the sun’s position changes throughout the year, you’ll want to identify the spot that receives the most consistent sunlight during colder months. Ideally, position your shed’s solar heater on a south-facing wall in the Northern Hemisphere, as this orientation captures the most direct sunlight throughout the day.
Consider any potential obstacles like trees, buildings, or other structures that might cast shadows on your solar heater. While summer shade might be welcome, winter sun blockage can significantly reduce your heater’s efficiency. For optimal performance in your integrated energy systems, aim for a 45-degree angle installation if you’re mounting the heater on a tilted surface. This angle helps maximize heat absorption during winter months when the sun sits lower in the sky.
Take time to observe sun patterns around your shed throughout the day. A simple trick is to mark sun exposure at different times using chalk or temporary markers, helping you identify the best placement for your solar heater.
Mounting Options
When mounting your DIY solar heater, you have several secure options that work well with most shed designs. The most popular method is using heavy-duty L-brackets, which provide excellent support while keeping the heater at an optimal angle for maximum sun exposure. Install these brackets directly into your shed’s wall studs for the best stability.
For metal sheds, self-tapping screws combined with weatherproof washers offer a reliable mounting solution. If you’re working with a wooden shed, lag bolts provide superior holding power and long-term durability. Always pre-drill holes to prevent wood splitting and apply waterproof sealant around mounting points.
Another effective approach is using an adjustable mounting frame, which allows you to change the heater’s angle seasonally for better performance. This system typically consists of hinged brackets that can be locked at different positions.
Remember to consider your local weather conditions when choosing mounting hardware. In areas with high winds, additional support struts may be necessary. Always use corrosion-resistant materials and check your mounting points regularly for signs of wear or loosening.
Maintenance and Performance Tips
Regular maintenance and proper care will ensure your DIY solar heater performs optimally throughout the seasons. Start by inspecting the collector surface monthly, wiping away any dust, leaves, or debris that could reduce solar absorption. A simple solution of warm water and mild soap works perfectly for cleaning the glazing material.
To maximize heating efficiency, check the seals around your collector frame every three months. Look for any gaps or deterioration that might allow warm air to escape, and reseal as needed using weatherproof caulking.
Monitor your air vents regularly to ensure they’re free from obstruction and operating smoothly. If your system includes fans, lubricate them according to the manufacturer’s recommendations, typically every six months. Listen for any unusual noises that might indicate mechanical issues.
During peak summer months, consider using removable shade cloth or adjustable vents to prevent overheating. Conversely, in winter, clear any snow accumulation promptly from the collector surface to maintain optimal heat absorption.
Keep an eye on your temperature monitoring system if installed, noting any significant changes in performance that might indicate maintenance needs. A simple logbook tracking daily temperature readings can help identify potential issues early.
For optimal performance, angle your collector seasonally – a steeper angle in winter and a more gradual angle in summer can significantly improve heat collection. Remember to check all mounting hardware twice yearly, tightening any loose bolts or screws to ensure your system remains securely attached to your shed.
Building your own DIY solar heater for your shed is not just a rewarding project – it’s a smart investment in energy-efficient shed solutions that will benefit you for years to come. By following the steps outlined in this guide, you can create a sustainable heating system that significantly reduces your energy costs while keeping your valuable items protected from winter’s chill.
The beauty of this project lies in its simplicity and affordability. With basic materials from your local hardware store and a weekend of work, you can transform your shed into a comfortable space year-round. Not only will you save money on heating costs, but you’ll also be doing your part for the environment by harnessing clean, renewable solar energy.
Remember, proper planning and attention to detail during construction are key to success. Take your time with the installation, ensure all seals are tight, and don’t skip the maintenance steps. Your efforts will be rewarded with a reliable, eco-friendly heating solution that can maintain comfortable temperatures even during the coldest months.
Why wait? Gather your materials and get started on your solar heater project this weekend. Your shed – and your wallet – will thank you for it. Happy building!