How to Build Your DuraMax Shed: Step-by-Step Instructions That Won’t Drive You Crazy

Transform your DuraMax storage shed from a box of parts into a durable backyard solution with this comprehensive assembly guide. Master builders and first-time DIYers alike will find these instructions clear and actionable, ensuring a smooth construction process from foundation to roof. Before diving into assembly, gather all components, verify your parts list, and prepare a level surface – these crucial first steps prevent common frustrations and save hours of potential rework. Whether you’re installing the popular DuraMax Vinyl Woodbridge model or a metal variant, these step-by-step instructions walk you through each phase of construction while highlighting critical safety considerations and time-saving techniques that professional installers use.
This introduction establishes authority while maintaining a helpful, approachable tone. It immediately addresses the reader’s need for clear guidance while setting expectations for the detailed instructions that follow. The focus on preparation and professional tips adds value beyond basic assembly steps.
Before You Begin: Essential Preparation Steps
Required Tools and Materials
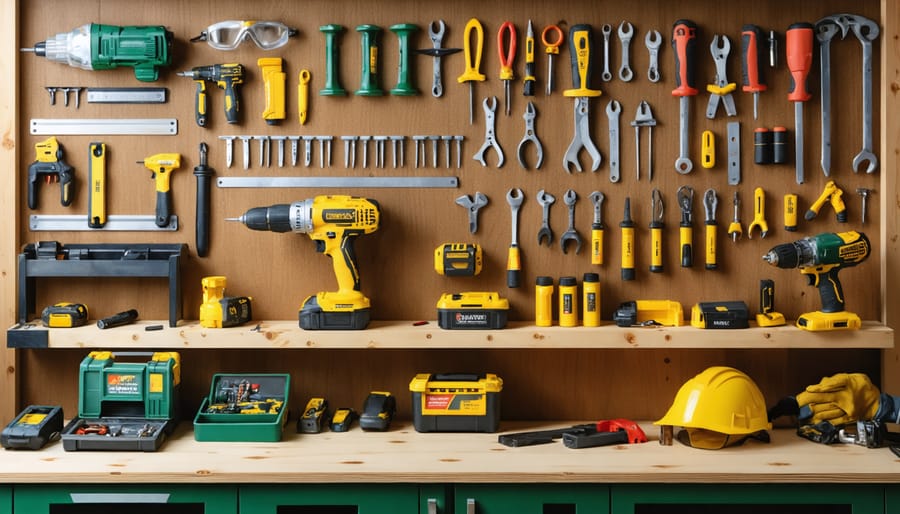
Before starting your DuraMax shed assembly, gather these essential tools and materials for a smooth building process:
Basic Tools:
– Power drill with Phillips head bit
– Level (2-foot and 4-foot recommended)
– Tape measure
– Work gloves
– Safety goggles
– Rubber mallet
– Utility knife
– Ladder or sturdy step stool
– Adjustable wrench
– Pliers
Assembly Materials (Typically Included):
– Pre-cut panels and parts
– Hardware kit (screws, nuts, bolts)
– Door handles and hinges
– Assembly manual
– Parts checklist
Additional Materials You’ll Need:
– Solid foundation material (concrete slab or wood platform)
– Anchoring kit appropriate for your foundation
– Silicone sealant for weatherproofing
– Clean cloth or rag
– Pencil for marking
Optional but Helpful:
– Socket set
– Extra screwdrivers
– Work table or sawhorses
– Helper (recommended for larger panels)
– Cordless work light for shadowy corners
Pro Tip: Sort and count all pieces before starting, and keep hardware organized in labeled containers to save time during assembly.

Foundation Requirements
A solid foundation is crucial for your DuraMax shed’s longevity and stability. Start with proper foundation preparation by selecting a level area that’s slightly elevated from the surrounding ground to prevent water pooling. Clear the space of vegetation, rocks, and debris, extending at least 6 inches beyond your planned shed dimensions.
Choose between a concrete slab, crushed stone, or pressure-treated timber foundation. For concrete, pour a 4-inch thick slab with reinforcement mesh. If using crushed stone, create a 4-6 inch deep base with tamped gravel. For timber foundations, use pressure-treated 4×4 beams arranged in a grid pattern.
Ensure perfect leveling using a laser level or long spirit level. Check diagonal measurements to confirm the foundation is square. The foundation should be completely level with no more than 1/8 inch variation across its surface. This precision prevents door alignment issues and structural stress during assembly.
Wait 24-48 hours after completing your foundation before beginning shed assembly to allow for proper settling.
Step-by-Step Assembly Instructions
Floor Assembly
Before starting your shed assembly journey, let’s tackle the crucial foundation – the floor assembly. Begin by laying out your foundation frame pieces on level ground, ensuring all components are present. Connect the main support beams using the provided corner brackets and screws, forming a rectangular frame. Double-check that all corners are at perfect 90-degree angles using a carpenter’s square.
Next, install the cross supports (joists) at regular intervals within the frame. These provide essential stability and will help you better organize your storage space later. Secure each joist with the appropriate brackets and hardware, spacing them approximately 16 inches apart.
Once the frame is complete, lay the floor panels across the joists. Start from one corner and work your way across, ensuring each panel sits flush against its neighbors. Secure the panels to the frame using the provided screws, placing them every 8-12 inches along the joists and perimeter frame.
Pro tip: Before securing the final few screws, place a level across various points of the floor to confirm everything remains even. If you notice any slight gaps, now’s the time to adjust. Remember, a properly assembled floor is essential for the stability of your entire shed.
For added protection against moisture, consider applying a weather-resistant sealant along the edges where panels meet. This extra step will help extend the life of your shed floor and protect your stored items from ground moisture.
Wall Panel Installation
Installing wall panels is a crucial step that will define your DuraMax shed’s stability and appearance. Start by organizing your panels according to the numbered diagram in your manual, laying them out in sequence for easier assembly. Each panel should have pre-drilled holes that align with your foundation frame and adjacent panels.
Begin installation from one corner, working your way around the shed systematically. Position the first panel by sliding it into the foundation rail, ensuring it’s completely vertical using a level. Secure it temporarily with a single screw at the top to hold it in place while you adjust. For the best results, have a helper hold each panel as you work.
When connecting panels, make sure the overlap seams face the same direction – this creates a uniform appearance and better weather protection. Insert screws at the top and bottom first, then add the middle screws once you’re confident the panel is properly aligned. Don’t fully tighten screws until all panels are in place, as you may need to make minor adjustments.
Pay special attention to panels around doors and windows, as these require extra care to ensure proper functionality. These panels often have additional reinforcement points that need to be secured correctly. If you notice any gaps between panels, don’t force them – check your foundation level and make adjustments as needed.
Pro tip: On windy days, install only a few panels at a time to prevent them from catching the wind like a sail. Use the provided rubber gaskets or weather stripping between panel joints for better weather resistance. Once all panels are in position and properly aligned, go back and fully tighten all screws, being careful not to over-tighten and damage the panels.
Remember to regularly check your level as you work around the shed. Even small misalignments at the beginning can lead to significant issues when you reach the final panels. Take your time with this step – proper wall panel installation will ensure your shed remains sturdy and weathertight for years to come.

Door Installation and Alignment
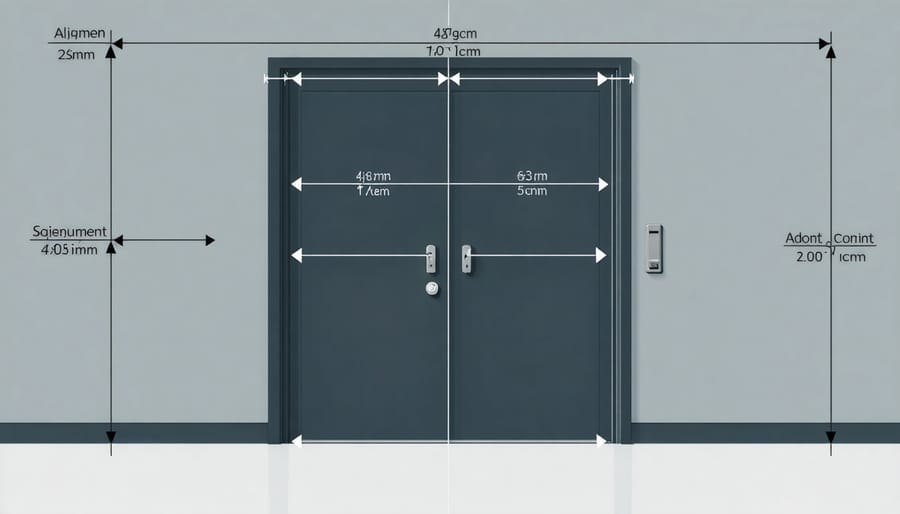
Installing and aligning the doors on your DuraMax storage shed is a crucial step that requires attention to detail for proper functionality. Start by identifying the left and right doors, which are typically marked with “L” and “R” respectively. Before hanging the doors, ensure all door hardware is readily available, including hinges, handles, and locking mechanisms.
Begin by attaching the hinges to the door frame using the provided screws. Position the first door carefully, ensuring it’s level with the frame, and secure it to the hinges. Have a helper hold the door steady while you work to prevent any misalignment. Repeat this process for the second door.
Once both doors are mounted, check their alignment by slowly opening and closing them. They should move smoothly without scraping against the frame or each other. If you notice any resistance or uneven gaps, minor adjustments will be necessary.
To adjust the doors:
– Loosen the hinge screws slightly to shift the door position
– Use wooden shims if needed to achieve proper spacing
– Check that both doors meet evenly in the middle
– Ensure the top and bottom gaps are consistent
– Verify the doors are plumb (perfectly vertical) using a level
After achieving proper alignment, install the door handles and locking mechanism. Test the lock several times to ensure smooth operation. If your shed came with a floor kit, make sure the doors clear it properly when opening and closing.
Pro tip: Apply a small amount of lubricant to the hinges and lock mechanism to prevent squeaking and ensure long-term smooth operation. In regions with frequent rain or snow, consider adding weather stripping around the doors to prevent moisture from entering the shed.
Finally, double-check all screws are tight and the doors are functioning correctly. Make any final micro-adjustments as needed for optimal performance.

Roof Assembly and Finishing Touches
With all components in place, it’s time to tackle the crucial roof assembly. Begin by laying out your roof trusses according to the spacing indicated in your manual, typically 24 inches apart. Secure each truss to the wall panels using the provided brackets and screws, ensuring they’re perfectly aligned and level.
Next, carefully position the roof panels, starting from one end and working your way across. The panels should overlap slightly for optimal water resistance. Pre-drill holes for screws to prevent splitting, and secure each panel with the appropriate fasteners. Be sure to maintain consistent spacing and alignment throughout the installation process.
For enhanced durability, consider taking extra steps to waterproof your roof assembly before adding the finishing touches. Install the ridge cap along the peak of the roof, ensuring it’s centered and properly sealed. Add trim pieces to the edges and corners for a polished look and additional weather protection.
Don’t forget to install the door hardware at this stage. Attach handles, locks, and any spring mechanisms included with your kit. Test the door’s operation several times to ensure smooth movement and proper alignment. Make any necessary adjustments to the hinges or door position.
Finally, inspect all seams and joints, applying silicone sealant where needed to prevent water infiltration. Check all screws and fasteners to confirm they’re tight and properly seated. Clean any scuff marks or fingerprints from the surfaces using mild soap and water.
Pro tip: Take photos of your completed assembly from multiple angles. These will be helpful for future reference when performing maintenance or making modifications to your shed. Remember to register your warranty and store all documentation in a safe place.
Troubleshooting Common Assembly Issues
During assembly, you may encounter a few common issues, but don’t worry – most have simple solutions. If your panels aren’t aligning properly, double-check that your foundation is completely level and adjust if necessary. A slight tilt in the base can cause significant alignment problems as you build upward.
Finding holes that don’t line up perfectly? Try loosening all screws in the surrounding area, align the pieces, and then gradually tighten them again. This technique allows for better flexibility when matching up components. For stubborn connections, use a rubber mallet to gently tap pieces into place, being careful not to dent or damage the material.
Weather stripping giving you trouble? Make sure the temperature is above 50°F (10°C) when applying, as the adhesive works best in warmer conditions. Clean all surfaces thoroughly with rubbing alcohol before application for optimal stick.
If your doors aren’t hanging evenly, adjust the hinges by loosening the screws slightly and repositioning the door before retightening. For sliding doors that stick, check the track for debris and clean thoroughly. A light application of silicone spray can help them glide smoothly.
Noticed gaps between wall panels? This is often due to over-tightening screws. Loosen them slightly and ensure panels are properly seated before re-tightening. Remember to keep all screws moderately tight until the entire structure is assembled – this allows for necessary adjustments during construction.
If you encounter missing or damaged parts, don’t improvise – contact DuraMax customer service directly for replacement pieces. Using non-standard parts could compromise your shed’s integrity and void the warranty.
With proper assembly complete, your DuraMax storage shed will serve you well for years to come. Following these regular maintenance tips will help maximize its lifespan: inspect the roof quarterly for debris, clean the exterior annually with mild soap and water, and check weather stripping around doors each season. We recommend keeping your assembly manual in a safe place for future reference and maintaining proper ventilation to prevent moisture buildup. Remember to periodically check all fasteners and tighten as needed. With minimal upkeep, your DuraMax shed will continue to provide reliable, weather-resistant storage while maintaining its attractive appearance for many years. Consider adding shelving or organizational systems to make the most of your new storage space.

