
Make Your Shed a Year-Round Haven: Smart Insulation That Saves Money
Transform your home into an energy-efficient sanctuary by mastering the art of insulation. Rising energy costs and growing environmental concerns have made proper insulation not just a luxury, but a necessity for modern homeowners. Studies show that effective insulation can slash heating and cooling costs by up to 40%, while significantly reducing your carbon footprint.
Proper insulation works as your home’s thermal shield, creating a consistent barrier between indoor comfort and outdoor temperature extremes. From traditional fiberglass batts to innovative spray foam solutions, today’s insulation options offer unprecedented effectiveness in maintaining your desired indoor climate. This invisible guardian doesn’t just regulate temperature – it also dampens sound, prevents moisture problems, and can even increase your property’s market value.
Whether you’re building new, renovating, or simply looking to improve your home’s energy performance, understanding insulation basics is your first step toward significant energy savings. Modern insulation technologies, combined with strategic installation methods, create a comprehensive system that works year-round to maximize efficiency and minimize waste. Let’s explore how proper insulation can transform your living space into an energy-efficient haven while keeping your utility bills in check.
Why Your Shed Needs Proper Insulation
Protection for Stored Items
Proper insulation does more than just regulate temperature effectively; it creates a protective environment for your valuable belongings. When your shed is well-insulated, it prevents rapid temperature fluctuations and moisture buildup that can damage tools, equipment, and stored materials.
Metal tools are particularly vulnerable to rust and corrosion in uninsulated spaces. Quality insulation creates a barrier against condensation, keeping your wrenches, saws, and power tools in prime working condition. For gardening enthusiasts, insulation helps maintain stable conditions for storing seeds, bulbs, and sensitive plant materials during the off-season.
Electronic equipment and power tools benefit greatly from controlled environments. Extreme temperature swings can affect battery life and electronic components, while excess moisture can lead to short circuits and permanent damage. Even basic storage items like cardboard boxes, fabrics, and documents stay better preserved in an insulated space, free from dampness and mold.
By maintaining consistent conditions year-round, your stored items remain protected and ready for use whenever you need them.
Energy Savings Benefits
Installing proper insulation in your shed can lead to significant energy savings throughout the year. On average, homeowners report a 15-25% reduction in their heating and cooling costs after insulating their outdoor structures. For a typical 10×12 foot shed used as a workspace, this could translate to annual savings of $100-200 on utility bills.
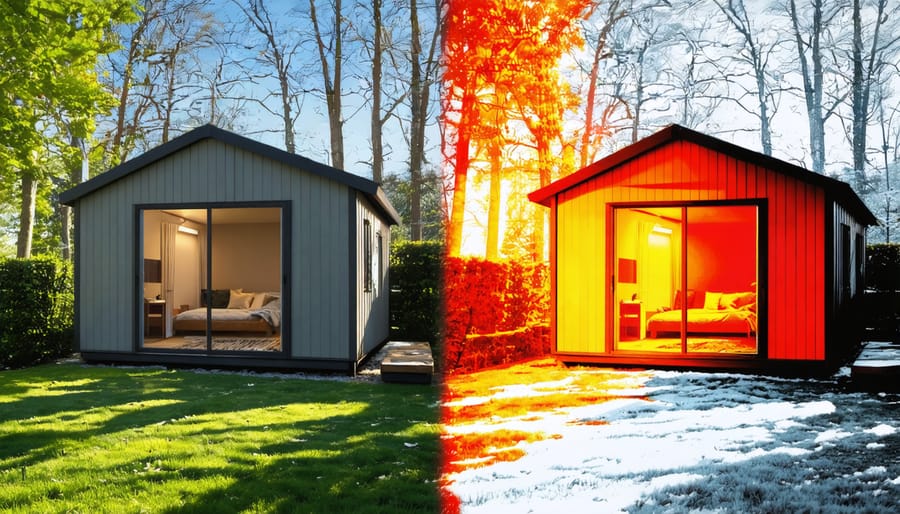
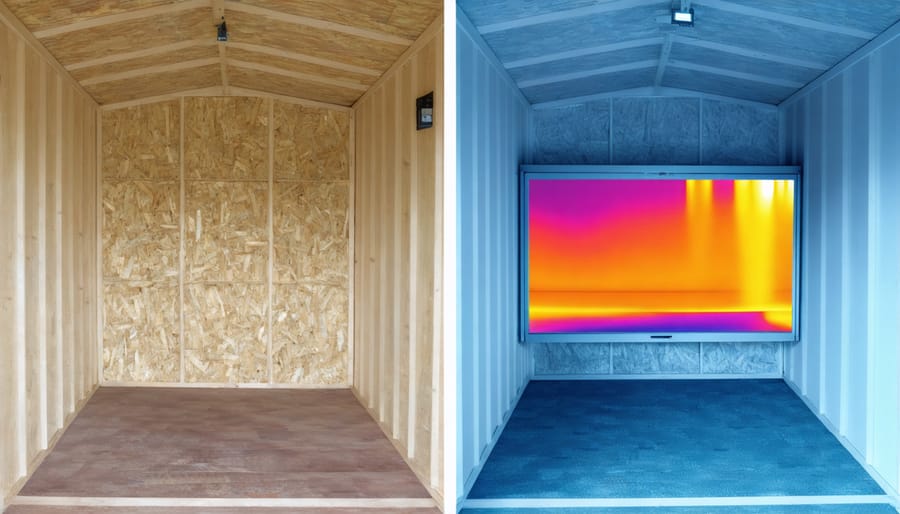
The math is simple: every degree of temperature you maintain without active heating or cooling means less energy consumption. In summer, a well-insulated shed stays up to 15 degrees cooler than an uninsulated one, reducing the need for fans or air conditioning. During winter, insulation helps retain heat, cutting heating costs by up to 30%.
Consider this real-world example: Tom, a woodworking enthusiast, insulated his workshop shed last year. His monthly electricity bills dropped by $20 during peak summer and winter months. The initial investment of $500 for materials paid for itself in just over two years.
Beyond direct energy savings, proper insulation extends the life of your heating and cooling equipment by reducing their workload, leading to fewer repairs and replacements over time.
Choosing the Right Insulation Materials
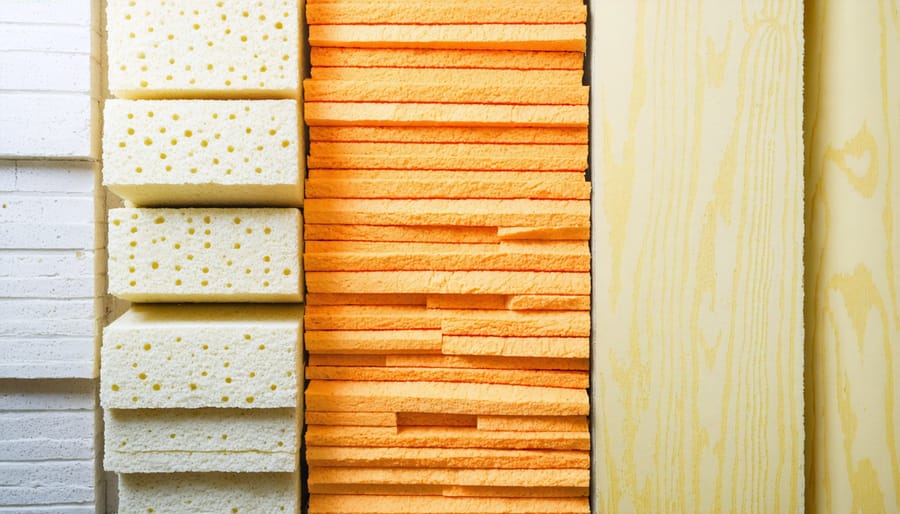
Fiberglass vs. Foam Insulation
When choosing insulation for your shed, fiberglass and foam are two popular options, each with distinct advantages. Fiberglass insulation, made from fine glass fibers, is budget-friendly and widely available at most hardware stores. It’s excellent for standard wall cavities and offers reliable R-value performance. Many DIY enthusiasts prefer fiberglass because it’s easy to install and can be cut to fit various spaces.
Foam insulation comes in two main types: spray foam and rigid foam boards. Spray foam creates an airtight seal and can reach tight corners, making it ideal for irregular spaces. While it typically costs more than fiberglass, spray foam offers superior air-sealing properties and higher R-values per inch. Rigid foam boards are great for flat surfaces and provide excellent moisture resistance.
Consider these key differences: Fiberglass is more affordable but can settle over time and loses effectiveness when wet. It also requires careful handling and protective gear during installation. Foam insulation, while pricier, offers better air-sealing capabilities and doesn’t deteriorate with moisture exposure. Rigid foam boards are particularly useful for thin walls where maximum insulation value is needed in minimal space.
For most shed owners, the choice often comes down to budget and specific needs. If cost is a primary concern and your shed is fairly standard in construction, fiberglass might be your best bet. However, if you’re storing moisture-sensitive items or want maximum energy efficiency, foam insulation could be worth the extra investment.
Eco-Friendly Options
For environmentally conscious shed owners, several eco-friendly insulation options deliver both excellent thermal performance and sustainability. Natural wool insulation, made from sheep’s wool, offers outstanding temperature regulation while being completely biodegradable. It’s naturally fire-resistant and can absorb moisture without losing its insulating properties, making it perfect for shed environments.
Cork insulation boards provide another sustainable choice, harvested from cork oak trees without harming them. These boards offer excellent thermal and acoustic properties while being naturally resistant to mold and pests. They’re particularly effective in areas with high humidity levels.
Recycled denim insulation has gained popularity among eco-conscious homeowners. Made from post-consumer blue jeans, this material is chemical-free and safe to handle. It provides similar insulation values to traditional fiberglass while giving used textiles a second life.
Cellulose insulation, created from recycled paper products, offers an effective and environmentally responsible option. Treated with natural fire retardants, it can be blown into wall cavities or laid in rolls, providing excellent coverage and thermal performance.
Hemp insulation represents one of the newest innovations in sustainable materials. It’s highly renewable, naturally resistant to pests, and offers impressive moisture-managing properties. While slightly more expensive than traditional options, hemp insulation’s durability and environmental benefits make it a worthwhile investment for long-term shed protection.
Installation Tips for Maximum Efficiency
Preparing Your Shed
Before diving into the insulation process, it’s crucial to prepare your shed properly. Start by conducting a thorough inspection of your shed’s structure, paying special attention to the walls, roof, and floor. Look for any signs of water damage, rot, or gaps that could compromise your insulation efforts.
Clean the interior thoroughly, removing dust, cobwebs, and debris. Check for and seal any visible cracks or holes using appropriate weatherstripping or caulk. This prevents drafts and ensures your insulation will work effectively.
Measure your shed’s dimensions carefully, including wall heights, floor space, and roof angles. These measurements will help you calculate the exact amount of insulation materials needed and avoid wastage.
If your shed has any electrical wiring, ensure it’s properly installed and in good condition. Consider installing a vapor barrier if you live in a humid climate – this will protect your insulation from moisture damage.
Remove any items stored in the shed temporarily, and ensure the space is completely dry before beginning the installation process. A clean, dry environment is essential for proper insulation adhesion and longevity.
Key Areas to Insulate
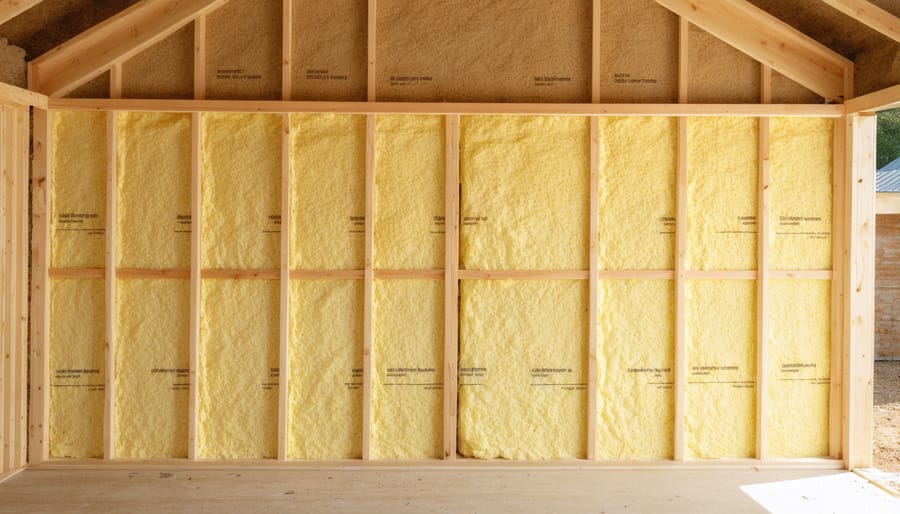
Proper insulation starts with identifying the key areas where heat loss commonly occurs in your shed. The walls typically represent the largest surface area and should be your primary focus. Installing insulation between wall studs creates an effective thermal barrier, while ensuring proper vapor barriers are in place to prevent moisture damage.
The roof or ceiling is another critical area, as heat naturally rises and can escape through poorly insulated overhead spaces. Adding insulation here not only keeps warmth in during winter but also helps maintain cooler temperatures during summer months. Don’t forget to insulate around any vents or openings in the roof structure.
Floor insulation is often overlooked but equally important, especially in sheds elevated off the ground. A well-insulated floor prevents cold air from seeping up through the foundation and keeps your feet warm during winter projects. Consider installing a moisture barrier beneath the floor insulation for added protection.
Pay special attention to common problem areas such as windows, doors, and corners. These spots often develop drafts and can significantly impact your shed’s overall energy efficiency. Use weatherstripping around doors and windows, and ensure all corners are properly sealed. Small gaps around electrical outlets, pipes, or other penetrations should be sealed with appropriate materials to maintain the integrity of your insulation system.
Avoiding Common Mistakes
When insulating your shed, avoiding common mistakes can save you time, money, and future headaches. First, never skip the vapor barrier installation, as this crucial layer prevents moisture buildup that can compromise your insulation’s effectiveness. Ensure you’re working with clean, dry surfaces before starting any installation process.
Another frequent error is compressing fiberglass insulation to fit tight spaces. This reduces its R-value and diminishes its insulating properties. Instead, cut pieces to exact measurements and install them without compression. Don’t forget to pair your insulation with a proper ventilation system to prevent moisture accumulation and maintain healthy air circulation.
Watch out for gaps and inconsistencies in your insulation coverage. Even small uninsulated areas can create significant heat loss points. Pay special attention to corners, edges, and areas around windows and doors. Also, avoid leaving exposed insulation – always cover it with appropriate wall material to protect it from damage and ensure safety.
Lastly, don’t underestimate the importance of sealing air leaks before insulating. Check for and seal any gaps around electrical outlets, windows, and door frames to maximize your insulation’s effectiveness.
Maintaining Your Insulated Shed
Regular Checks and Maintenance
Regular maintenance of your shed’s insulation is crucial for maintaining its energy efficiency and protecting your belongings. Create a seasonal checklist and stick to a consistent inspection schedule to catch potential issues early.
Start by examining your insulation every spring and fall. Look for signs of moisture damage, which can compromise insulation effectiveness and lead to mold growth. While checking for dampness, consider waterproofing your shed walls if you notice any concerning moisture patterns.
Check for gaps, compressed areas, or sections where insulation has shifted away from walls or ceiling. Pay special attention to areas around windows, doors, and any utility penetrations. These spots are common trouble areas where insulation can become damaged or displaced.
Use this simple maintenance checklist:
– Inspect for water stains or discoloration
– Look for pest activity or nesting materials
– Check vapor barriers for tears or holes
– Ensure ventilation points remain unobstructed
– Test door and window seals
– Examine exterior siding for damage
– Verify roof integrity
If you spot any issues, address them promptly to prevent further damage. Small repairs are typically manageable DIY projects, but don’t hesitate to contact a professional for significant problems. Remember, well-maintained insulation can last for many years, making your regular checks a worthwhile investment in your shed’s longevity and efficiency.
When to Replace or Upgrade
Knowing when to replace or upgrade your shed’s insulation is crucial for maintaining energy efficiency and protecting your stored items. Look for these tell-tale signs that indicate it’s time for new insulation: dampness or moisture on interior walls, increased energy bills, visible mold or mildew, and drafts you can feel when inside the shed.
If your insulation is over 15-20 years old, it’s worth considering an upgrade even if you don’t notice obvious problems. Older insulation materials can compress and lose their effectiveness over time, reducing their R-value and ability to regulate temperature.
You should also consider replacement if you notice any pest infestations, as rodents and insects can damage insulation materials beyond repair. Water-damaged insulation is another red flag – if your shed has experienced any leaks or flooding, the affected insulation should be replaced immediately to prevent mold growth.
Upgrading might be worthwhile if you’re planning to use your shed differently. For example, if you’re converting your storage shed into a workshop, you’ll likely need better insulation to maintain comfortable working temperatures year-round.
Remember that insulation technology has improved significantly in recent years. Modern materials offer better performance, durability, and environmental benefits compared to older options. Consider upgrading if you want to take advantage of these improvements and increase your shed’s energy efficiency.
Insulating your shed is a smart investment that pays dividends in multiple ways. Throughout this guide, we’ve explored how proper insulation can transform your shed from a basic storage space into a comfortable, energy-efficient structure that protects your belongings and potentially reduces your energy costs.
Remember that choosing the right insulation materials for your needs and climate is crucial. Whether you opt for fiberglass batts, rigid foam boards, or reflective foil insulation, each option offers unique benefits that can help maintain consistent temperatures and prevent moisture damage. The key is to implement a comprehensive approach, addressing walls, floors, ceiling, and potential air leaks.
Taking action on shed insulation doesn’t have to be overwhelming. Start with a thorough assessment of your current setup, plan your project carefully, and consider whether you’ll tackle it as a DIY project or hire a professional. Even small improvements, like sealing gaps and adding basic insulation, can make a significant difference in your shed’s functionality and comfort.
By investing in proper shed insulation now, you’re not just improving your storage space – you’re making a choice that benefits both your wallet and the environment. Don’t wait for extreme weather to expose your shed’s vulnerabilities. Take the first step today toward creating a more energy-efficient and protective environment for your valuable belongings.