
Protect Your Shed From Rain and Rot With These Expert-Backed Materials
Transform your outdoor storage space into a weather-resistant fortress with proven weatherproofing techniques that protect your valuable belongings for years to come. A properly weatherproofed shed stands strong against rain, snow, wind, and harsh UV rays while preventing moisture damage, rust, and deterioration from compromising your investment.
Start with a solid foundation: high-quality exterior-grade plywood, pressure-treated lumber, and galvanized metal fasteners form the backbone of a weather-resistant structure. Add multiple layers of protection, including moisture barriers, quality sealants, and proper ventilation systems, to create a comprehensive defense against the elements.
Whether you’re building a new shed or upgrading an existing one, strategic weatherproofing not only extends your shed’s lifespan but also maintains its functionality and appearance through every season. From selecting the right roofing materials to installing proper drainage systems, each component plays a crucial role in creating a weathertight sanctuary for your tools, equipment, and outdoor essentials.
This guide walks you through professional-grade weatherproofing techniques, material selections, and maintenance practices that ensure your shed remains a reliable storage solution, regardless of what Mother Nature throws its way.
Essential Weatherproof Materials for Your Shed’s Exterior
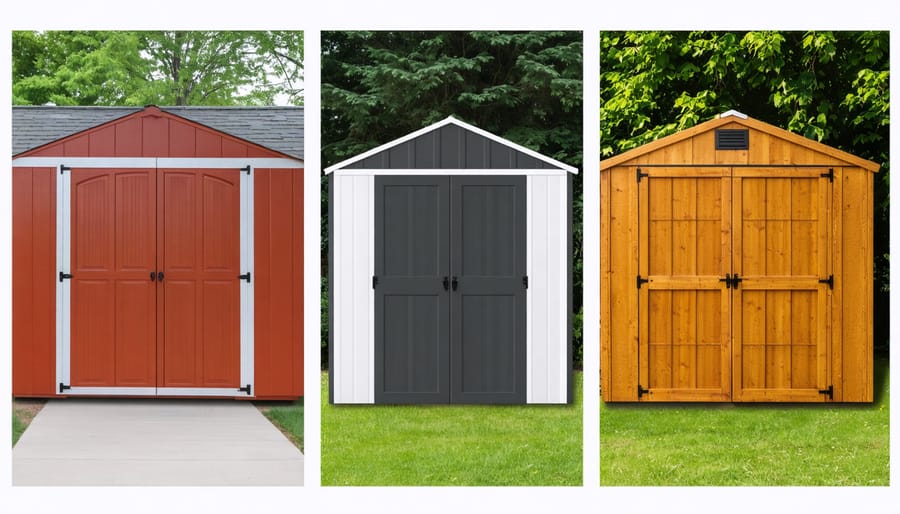
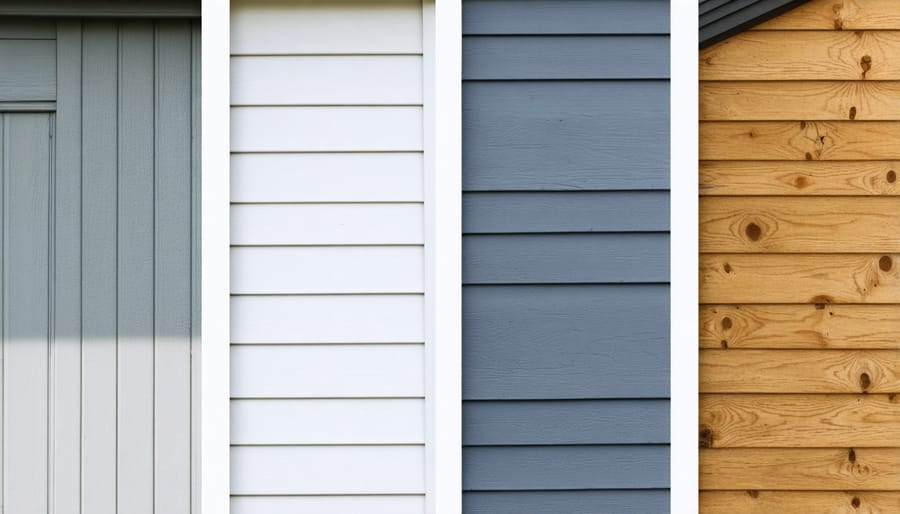
Weather-Resistant Siding Options
When it comes to protecting your shed from the elements, choosing the right siding material is crucial. Let’s explore three popular weather-resistant options that offer excellent protection while maintaining aesthetic appeal.
Vinyl siding stands out as a low-maintenance champion, requiring only occasional cleaning to keep it looking fresh. It’s available in various colors and styles, resists moisture effectively, and won’t rot or warp over time. While it may cost more initially, vinyl’s durability and minimal upkeep make it a cost-effective choice in the long run.
Metal siding, particularly aluminum or steel, offers outstanding weather resistance and durability. It’s virtually impervious to rain and snow, and when properly installed, can last for decades. Modern metal siding comes in attractive finishes that mimic other materials, and it’s particularly effective in areas with heavy rainfall or extreme temperature variations. The main consideration is proper installation to prevent water infiltration at the seams.
Treated wood siding remains a classic choice, offering natural beauty while providing good weather resistance when properly maintained. Cedar and pressure-treated pine are popular options, naturally resistant to insects and decay. To maximize its lifespan, wood siding should be sealed or painted every few years and checked regularly for signs of wear. While it requires more maintenance than vinyl or metal, many homeowners prefer its traditional appearance and the ability to change its color through painting.
Remember that proper installation is just as important as material selection. Regardless of your choice, ensure all siding is installed with appropriate underlayment and flashing to prevent moisture penetration and maintain optimal performance.
Roofing Materials That Stand Up to the Elements
Choosing the right roofing material for your shed is crucial for long-term protection against harsh weather conditions. Metal roofing stands out as a durable option, offering excellent resistance to rain, snow, and high winds. While it may require a bit more effort to install metal roofing, its longevity and minimal maintenance make it worth considering.
Asphalt shingles remain a popular choice for their affordability and familiar appearance. They typically last 15-20 years and come in various colors to match your home’s aesthetic. For the best protection, opt for architectural shingles rated for high wind resistance.
Rubber roofing (EPDM) has gained popularity among shed owners for its exceptional waterproofing capabilities. This seamless material prevents leaks effectively and can last up to 30 years when properly installed. It’s particularly suitable for flat or low-slope shed roofs.
Regardless of your choice, proper installation is key. Ensure all roofing materials overlap correctly and include adequate flashing around joints and edges. Don’t forget to install proper ventilation and use underlayment for an extra layer of protection. Regular inspections of your shed’s roof, especially after severe weather, will help identify and address any issues before they become major problems.
Interior Weatherproofing Solutions
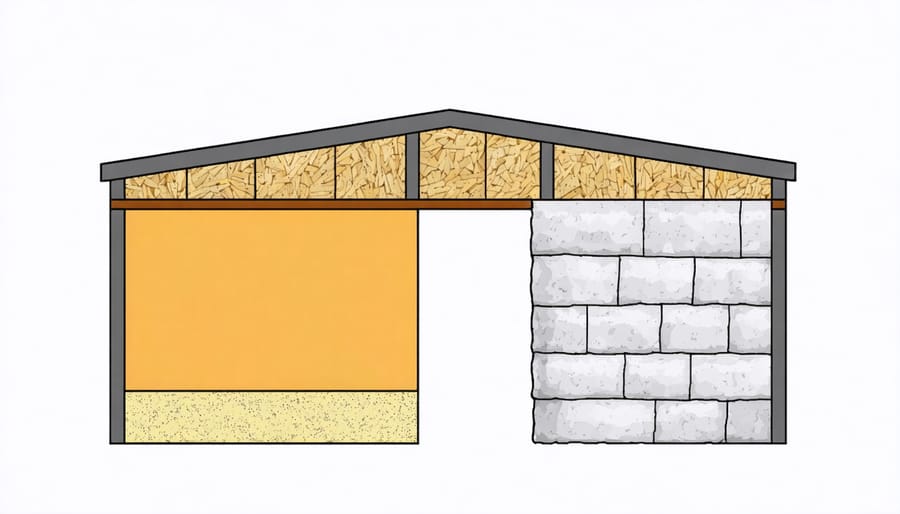
Moisture Barriers and Insulation
Keeping moisture out of your shed is crucial for protecting your belongings and maintaining the structure’s integrity. Start by installing a high-quality vapor barrier on the walls and ceiling, using 6-mil polyethylene sheeting that overlaps at the seams by at least 6 inches. Secure the barrier with staples and seal all joints with moisture-resistant tape.
For proper shed insulation, you have several effective options. Fiberglass batts are budget-friendly and easy to install between wall studs and ceiling joists. Alternatively, rigid foam boards provide excellent moisture resistance and higher R-values per inch. For premium performance, consider spray foam insulation, which creates an airtight seal and offers superior moisture protection.
When installing insulation, remember these key points:
– Fill all cavities completely without compression
– Wear protective gear during installation
– Leave no gaps around electrical boxes or pipes
– Install faced insulation with the vapor barrier facing the heated side
– Use unfaced insulation when adding a separate vapor barrier
For optimal results, combine your moisture barrier and insulation with proper ventilation. Install vents at both the eaves and ridge to prevent moisture accumulation in the insulated spaces. This comprehensive approach will keep your shed dry and comfortable throughout the seasons while protecting your stored items from humidity damage.
Floor Protection Materials
Protecting your shed’s floor from moisture is crucial for long-term durability and content preservation. Start by ensuring you have one of the best foundation options in place before addressing floor protection. A well-planned floor protection system involves multiple layers of defense against ground moisture and weather elements.
Begin with a heavy-duty moisture barrier or vapor seal beneath your flooring. This plastic sheeting creates an essential barrier between the ground and your shed’s floor structure. For existing sheds, apply a waterproof sealant designed specifically for wood or concrete floors, depending on your shed’s construction.
Consider installing a raised platform using pressure-treated lumber, which elevates your floor several inches above ground level. This creates an air gap that promotes ventilation and prevents direct contact with potentially damp soil. For added protection, install moisture-resistant plywood or marine-grade boards as your main flooring material.
Rubber floor mats or interlocking floor tiles can provide an additional protective layer while making the space more comfortable and safe. These materials are especially useful in high-traffic areas or where you store heavy equipment. For maximum protection, apply a floor paint or epoxy coating designed for outdoor use, which adds both waterproofing properties and slip resistance.
Remember to inspect your floor protection systems seasonally and reapply sealants or coatings as needed to maintain their effectiveness.
Sealing and Finishing Materials
Weather Stripping and Caulk
Weather stripping and caulk are your best friends when it comes to sealing gaps and preventing moisture from sneaking into your shed. Start by choosing high-quality weather stripping designed specifically for outdoor use. Look for EPDM rubber or vinyl materials, as these offer excellent durability and weather resistance.
For doors, self-adhesive foam tape works wonders around the frame, while brush-style strips are perfect for the bottom of the door to keep out debris and rainwater. When installing, ensure the surface is clean and dry, and press firmly to create a solid bond. For best results, apply weather stripping when the temperature is above 50°F (10°C).
Caulking is essential for sealing smaller gaps around windows, corners, and where different materials meet. Choose a high-quality exterior silicone caulk that’s specifically labeled as waterproof and paintable. Clear caulk works well for most applications, but you can also match it to your shed’s color scheme.
Before applying caulk, clean the area thoroughly and remove any old caulking material. Use a caulk gun to apply a consistent bead, and smooth it with your finger or a caulk-smoothing tool while it’s still wet. Pay special attention to corners and joints where water is most likely to penetrate.
Pro tip: Keep some extra weather stripping and caulk on hand for annual maintenance, as these materials may need replacement or touch-ups over time to maintain their effectiveness.
Protective Coatings and Sealants
Protecting your shed with the right coatings and sealants is crucial for long-term durability and weather resistance. Start by applying a high-quality exterior primer to create a strong foundation for your protective layers. This step is especially important when waterproofing plywood surfaces and other wooden components.
For the exterior walls, choose an oil-based or latex paint specifically designed for outdoor use. These paints contain special additives that resist UV damage, prevent moisture penetration, and fight off mildew growth. Apply at least two coats, allowing proper drying time between applications for the best results.
Consider using a specialized wood stain if you prefer to maintain the natural look of your shed while adding protection. Modern wood stains often include built-in sealants that offer excellent weather resistance while highlighting the wood’s natural grain patterns.
For additional protection, apply a clear waterproof sealant to all exterior surfaces, paying special attention to joints, corners, and areas around windows and doors. Silicon-based sealants work particularly well for these vulnerable spots, creating a flexible barrier that moves with your shed as temperatures change.
Don’t forget about metal components – treat any exposed hardware, hinges, or metal trim with rust-resistant primer and paint. Regular maintenance of these protective layers, including touching up chips or wear spots, will significantly extend your shed’s lifespan and keep it looking great for years to come.
Hardware and Accessories
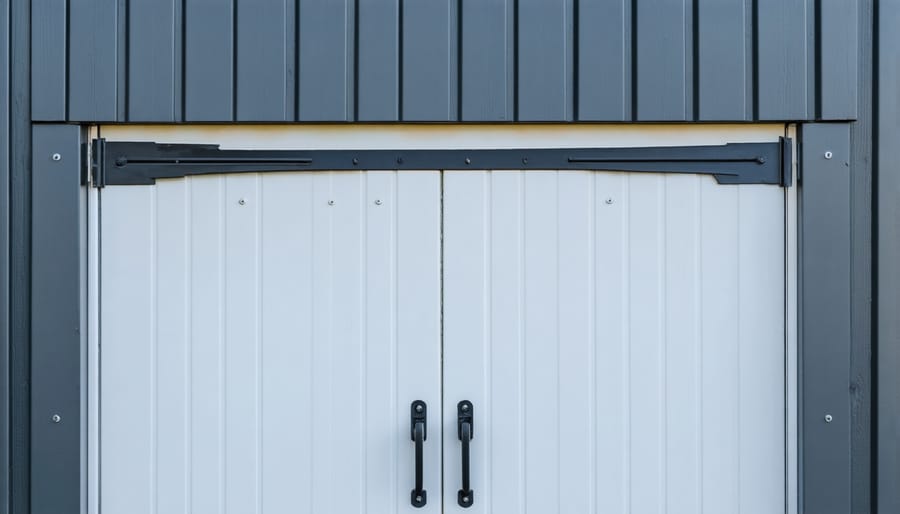
Rust-Resistant Hardware
Choosing the right hardware for your shed is crucial for long-term weather resistance. Opt for marine-grade stainless steel or hot-dipped galvanized hinges, latches, and fasteners that won’t succumb to rust and corrosion. While these options may cost more initially, they’ll save you money and hassle in the long run by eliminating the need for frequent replacements.
For hinges, look for heavy-duty stainless steel T-hinges or strap hinges rated for exterior use. These provide excellent support for your door while resisting moisture damage. When it comes to door latches, consider weatherproof handle sets with built-in locks or hasp-and-staple combinations made from corrosion-resistant materials.
Don’t forget about the smaller details – use exterior-grade screws and nails with protective coatings. Zinc-plated or ceramic-coated fasteners offer good protection, but stainless steel remains the gold standard for moisture resistance. For added protection, apply a clear silicone sealant around hardware mounting points to prevent water from seeping behind the fixtures.
Remember to periodically inspect your hardware for signs of wear and address any issues promptly to maintain your shed’s weather resistance.
Ventilation Solutions
Proper ventilation is crucial for maintaining a dry, mold-free environment in your shed. Start by installing roof vents near the peak of your shed – one vent for every 150 square feet of floor space is a good rule of thumb. Ridge vents offer excellent air circulation while maintaining a clean roofline, making them both functional and aesthetically pleasing.
Consider adding soffit vents under the eaves to create a natural airflow pattern. This combination allows warm, moist air to escape through the top while drawing in fresh air from below. For larger sheds, a solar-powered ventilation fan can provide additional air movement without increasing your energy bills.
Don’t forget about ground-level ventilation. Installing foundation vents or leaving a small gap between the bottom of your shed walls and the ground can prevent moisture from becoming trapped underneath. Louvered vents on opposite walls create cross-ventilation and can be closed during severe weather.
For extra moisture control, consider adding a small dehumidifier during particularly humid seasons. Combined with proper ventilation, this will help protect your stored items and extend your shed’s lifespan.
Weatherproofing your shed is a vital investment that pays dividends in protecting your valuable belongings and extending the life of your storage space. By following the comprehensive steps outlined in this guide, you’ve learned how to create a weather-resistant structure that can withstand various environmental challenges.
Remember that quality materials are the foundation of a truly weatherproof shed. While premium weatherproofing products may cost more initially, they typically offer superior protection and durability, reducing the need for frequent maintenance and repairs. The combination of proper roofing materials, weather-resistant siding, adequate ventilation, and effective drainage systems works together to create a robust defense against moisture, wind, and temperature fluctuations.
Regular maintenance remains crucial even with the best weatherproofing materials. Conducting seasonal inspections, addressing minor issues promptly, and maintaining proper ventilation will help ensure your shed’s longevity. The time and effort invested in weatherproofing your shed now will result in years of reliable storage and protection for your tools, equipment, and other valuables.
By implementing these weatherproofing strategies, you’re not just protecting a structure – you’re preserving a valuable addition to your property. A well-weatherproofed shed maintains its appearance, functionality, and value while providing peace of mind during severe weather conditions. Take pride in knowing that your properly weatherproofed shed will serve as a dependable storage solution for years to come.