
Stop Moisture From Destroying Your Shed Floor – The Right Way to Install a Vapor Barrier
A vapor barrier beneath your shed floor stands as your first line of defense against moisture damage, protecting both your structure and stored belongings from costly deterioration. Installing a proper vapor barrier prevents ground moisture from seeping upward, inhibits mold growth, and extends the life of your shed’s flooring by decades. While often overlooked during construction, this critical membrane system can mean the difference between a dry, stable storage space and one plagued by warping, rot, and musty odors. Modern vapor barriers utilize advanced polyethylene materials that not only block moisture but also resist tears and punctures, making them a smart investment for any shed project. Whether you’re building new or retrofitting an existing structure, understanding proper vapor barrier installation ensures your shed remains a reliable, moisture-free storage solution for years to come.
Why Your Shed Floor Needs a Vapor Barrier
Common Moisture Problems in Shed Floors
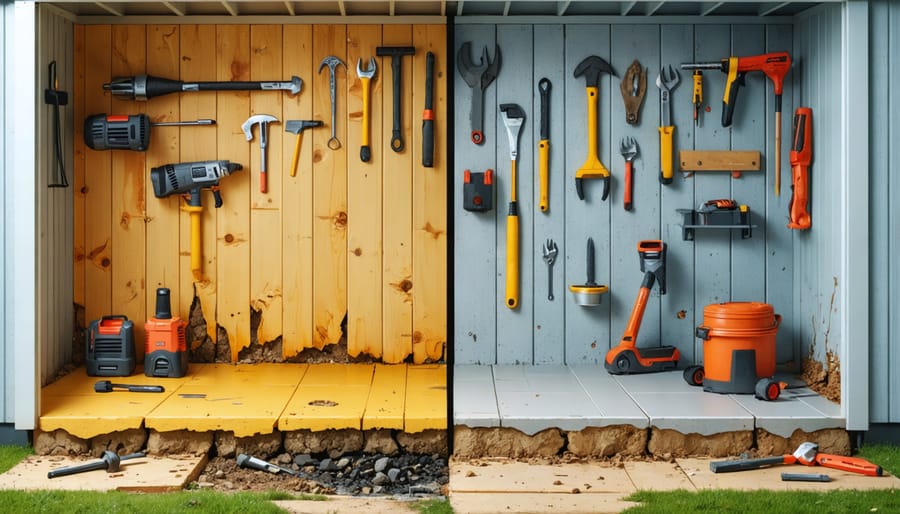
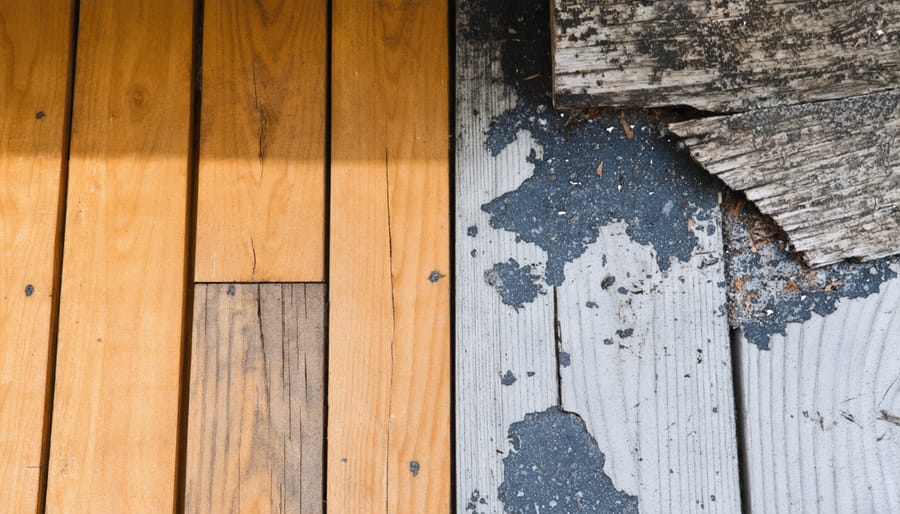
Moisture problems in shed floors can quickly escalate from minor annoyances to serious structural issues if left unchecked. The most common challenge is wood rot, which occurs when excess moisture creates the perfect environment for fungi to thrive. Preventing wood rot should be a top priority for any shed owner, as repairs can be costly and time-consuming.
Mold and mildew growth is another frequent issue, especially in humid climates or poorly ventilated sheds. These fungi not only damage your floor but can also affect items stored in your shed and potentially cause health concerns. Floor warping is equally troublesome, occurring when wooden boards absorb moisture and expand, creating an uneven surface that can make accessing your shed difficult and dangerous.
Ground moisture seeping upward through the floor can also lead to rust on metal tools and equipment, damaging both your storage items and the shed’s structural components. These issues highlight why proper moisture control through effective vapor barrier installation is crucial for maintaining a functional and long-lasting shed floor.
How Vapor Barriers Protect Your Investment
A vapor barrier acts as your shed’s invisible shield, protecting your investment from moisture-related damage that can occur from the ground up. By creating a protective layer between the soil and your shed’s flooring, it prevents water vapor from seeping upward and causing problems like wood rot, mold growth, and structural weakening.
Think of your vapor barrier as an umbrella beneath your shed. When groundwater tries to rise, the barrier redirects it away from your flooring materials. This protection is especially crucial during wet seasons or in areas with high soil moisture content. Not only does this safeguard your stored items from dampness, but it also significantly extends the life of your shed’s floor structure.
The barrier’s effectiveness isn’t just about moisture control – it also helps maintain a more stable environment inside your shed. This means your tools, equipment, and other stored items are better protected from humidity fluctuations, reducing the risk of rust and corrosion.
Choosing the Right Vapor Barrier Material
Polyethylene vs. Other Materials
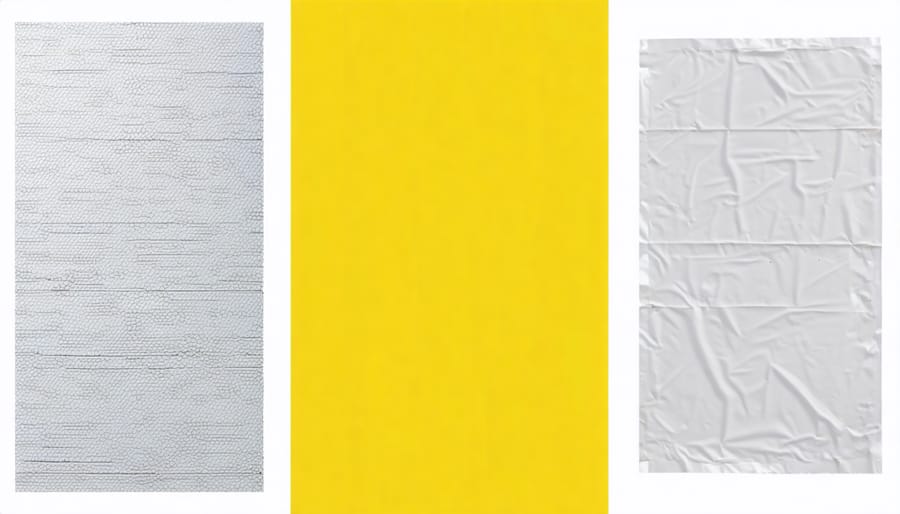
While polyethylene is the go-to choice for most shed floor vapor barriers, it’s worth comparing it with other available materials to make an informed decision. Polyethylene stands out for its excellent moisture resistance, durability, and cost-effectiveness. It’s available in various thicknesses, with 6-mil being the standard recommendation for shed applications.
Alternative materials include vinyl, which offers good moisture protection but comes at a higher price point. Rubber membranes provide excellent durability but can be challenging to install and may not be necessary for typical shed applications. Some builders consider using roofing felt, but it’s less effective as a vapor barrier and might break down more quickly over time.
What makes polyethylene particularly attractive is its combination of features: it’s easy to handle, can be cut with basic tools, creates reliable seams when properly overlapped, and maintains its integrity for many years. It also resists tears and punctures better than thinner alternatives, making it ideal for the wear and tear a shed floor experiences.
For most homeowners, polyethylene’s balance of performance, ease of installation, and affordability makes it the smartest choice for shed floor vapor barriers.
Thickness and Grade Requirements
When selecting a vapor barrier for your shed floor, thickness and grade are crucial factors that directly impact performance and durability. For most residential shed applications, a 6-mil polyethylene vapor barrier is the minimum recommended thickness. However, if you’re building in an area with high moisture levels or want extra protection, consider upgrading to a 10-mil or even 15-mil barrier.
Look for vapor barriers rated Class A or Class I, which offer the highest level of moisture protection with a permeance rating of 0.1 perms or less. These ratings ensure your barrier will effectively block ground moisture from seeping into your shed floor.
The material should also meet ASTM E1745 standards, which guarantee the vapor barrier can withstand construction traffic and installation stress without tearing. For added durability, choose products labeled as “puncture-resistant” or “high-performance.”
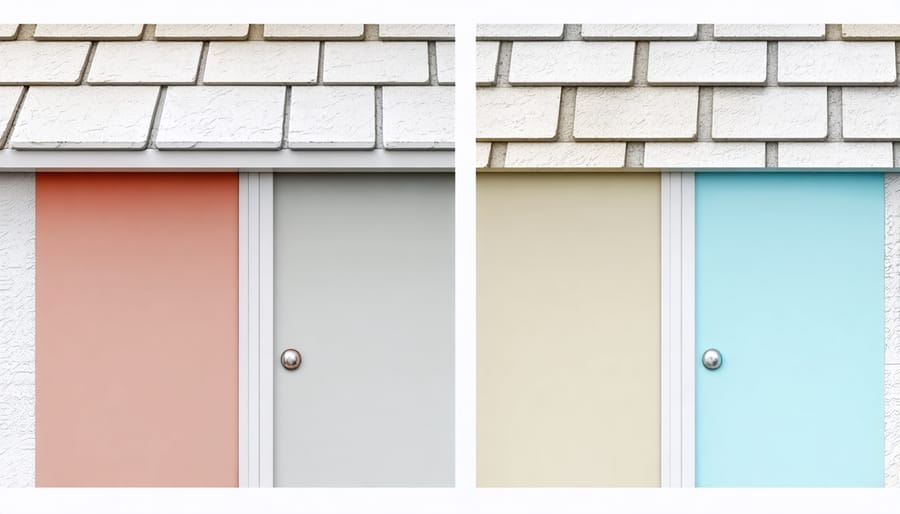
Color can be a practical consideration too – black barriers make it easier to spot tears or gaps during installation, while clear barriers allow you to see the ground conditions underneath. Whatever thickness you choose, ensure the product carries proper certification labels and comes from a reputable manufacturer.
Installation Steps for Perfect Results
Surface Preparation
Before installing a vapor barrier, proper shed base preparation is essential for long-lasting results. Start by removing all vegetation, roots, and organic matter from the area. Grade the ground to create a slight slope away from the center, which helps with water drainage. Once cleared, compact the soil thoroughly using a plate compactor or hand tamper.
Next, lay a 4-inch layer of crushed gravel or stone as your base material. This creates a stable foundation and helps with drainage. Level the gravel using a long straightedge and level, ensuring there are no low spots where water could pool. Compact the gravel layer thoroughly, making multiple passes with your compactor.
For added stability, consider adding a layer of sand on top of the gravel. This helps create an even surface for your vapor barrier and makes it easier to smooth out any remaining irregularities. The final surface should be flat, firm, and slightly elevated from the surrounding ground to prevent water from flowing into your shed.
Laying the Vapor Barrier
Start by clearing the ground where you’ll lay the vapor barrier, removing any sharp objects or debris that could puncture the material. Unroll the vapor barrier, allowing it to cover the entire floor area with an extra 6-12 inches extending up each wall. This overlap provides better protection against ground moisture.
Position the barrier with the shiny side facing up if it has one – this helps reflect heat and provides better moisture resistance. When joining multiple pieces, overlap the seams by at least 12 inches and seal them with waterproof tape designed for vapor barriers. Pay special attention to corners, ensuring they’re properly folded and sealed without any tears.
For the best protection, secure the edges of the vapor barrier to the bottom plate of your shed walls using staples every 16-24 inches. After stapling, seal these attachment points with tape to maintain the moisture barrier. Around any posts or penetrations through the floor, cut the barrier carefully and seal it tightly using tape or appropriate sealant.
Remember to walk carefully on the vapor barrier during installation to avoid tears or punctures. If you notice any damage, patch it immediately with vapor barrier tape. For added protection, consider placing a thin layer of sand or fine gravel over the barrier before adding your flooring material.
Common Installation Mistakes to Avoid
When installing a vapor barrier for your shed floor, avoid these common pitfalls to ensure lasting protection. First, never overlap seams without proper taping – this creates paths for moisture to sneak through. Many DIYers make the mistake of using regular duct tape instead of specialized vapor barrier tape, which can deteriorate over time.
Another frequent error is installing the barrier with the wrong side up. Most vapor barriers have a specific orientation – check the manufacturer’s instructions to get it right. Don’t skimp on material at the edges; the barrier should extend up the walls by at least 6 inches to create a proper seal.
Rushing through the surface preparation is a critical mistake. Remove all rocks, sticks, and debris that could puncture the barrier. Also, avoid walking on the barrier with work boots during installation – use soft-soled shoes or socks to prevent accidental tears.
Lastly, never leave the barrier exposed to sunlight for extended periods before completing the floor installation, as UV rays can degrade the material. Complete your shed floor construction promptly after laying the vapor barrier.
Maintenance and Long-term Care
Regular maintenance of your vapor barrier is crucial for ensuring its long-term effectiveness in protecting your shed floor. Start by conducting seasonal inspections, particularly after extreme weather events or temperature changes. Look for any tears, punctures, or areas where the barrier might have pulled away from the edges.
When cleaning your shed floor, avoid using harsh chemicals that could potentially degrade the vapor barrier material. Instead, opt for gentle cleaning solutions and soft brushes to remove dirt and debris. If you notice any small tears, address them promptly using vapor barrier repair tape specifically designed for this purpose.
As part of waterproofing your shed, check that the barrier’s seams remain properly sealed and that the material hasn’t shifted position. Pay special attention to areas around the edges and corners where the barrier meets the walls.
If you store heavy equipment or frequently move items in your shed, consider adding an extra layer of protection, such as plywood or rubber mats, over high-traffic areas. This will help prevent accidental damage to the vapor barrier. Additionally, ensure proper ventilation in your shed to prevent excess moisture from becoming trapped between the barrier and flooring material.
Replace your vapor barrier if you notice significant deterioration or if it’s more than 15-20 years old, as the material can break down over time and lose its effectiveness.
Installing a proper vapor barrier in your shed floor is a crucial step that protects your investment and stored items for years to come. By selecting the right material, ensuring proper installation, and maintaining good ventilation, you’ll create a dry, stable environment that prevents moisture damage and mold growth. Remember to choose at least 6-mil polyethylene sheeting, overlap seams correctly, and extend the barrier up the walls for maximum protection. Don’t skip this essential step in your shed construction or renovation project – the time and effort invested now will save you significant hassle and repair costs down the road. Take action today to protect your shed and its contents with a properly installed vapor barrier.