
Transform Your Noisy Shed into a Peaceful Workspace (DIY Soundproofing)
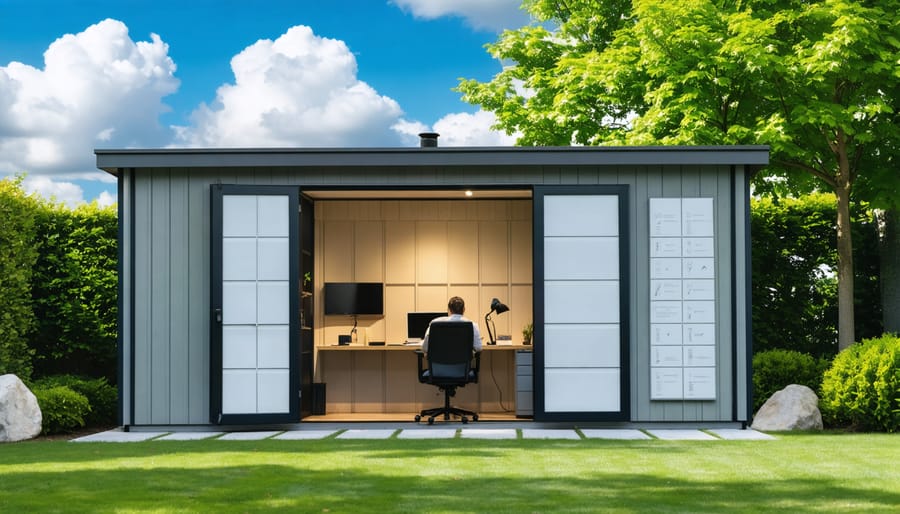
Transform your backyard shed into a soundproof sanctuary perfect for woodworking, music practice, or a private home office. Sound waves travel through every gap and surface, making comprehensive soundproofing essential for achieving true acoustic isolation. Professional-grade soundproofing typically costs $1,500-3,000, but DIY solutions can cut that investment by 60% while still delivering impressive results.
Start by sealing all air gaps with acoustic caulk and weatherstripping, as even tiny openings can leak significant sound. Install mass-loaded vinyl (MLV) on walls and ceiling, followed by sound-absorbing insulation between studs to dampen both airborne noise and structure-borne vibrations. Add resilient channels and double-layer drywall with Green Glue damping compound for maximum sound reduction.
This guide walks you through proven soundproofing techniques that balance effectiveness with practical installation, helping you create a truly quiet space without breaking the bank. Whether you’re a weekend warrior or serious DIYer, you’ll find step-by-step instructions for transforming your shed into a peaceful retreat.
Why Soundproof Your Shed?
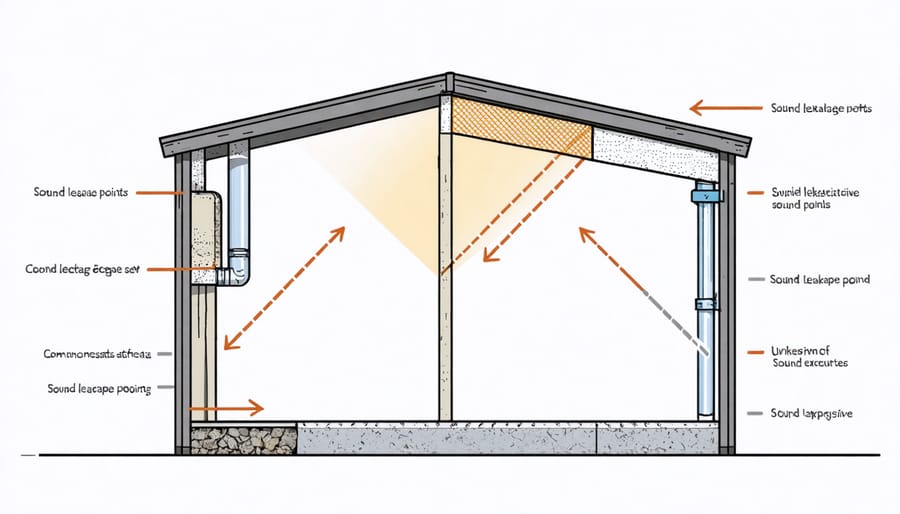
Identifying Sound Leakage Points
Before diving into soundproofing solutions, it’s essential to identify where sound is actually escaping from your shed. Start by spending time inside your shed during different times of the day, paying close attention to any external noises you can hear. This initial assessment is crucial, especially if you’re planning a home office shed setup where quiet is paramount.
Common sound leakage points include gaps around windows and doors, spaces between wall panels, and areas where utilities enter the structure. Use your hand to feel for air drafts around these areas – where air can pass through, sound can too. On a sunny day, close yourself inside the shed and look for light penetrating through gaps, as these are likely sound transmission points as well.
Don’t forget to check the roof-wall joints and corners, as these are often overlooked sources of sound leakage. Make a simple checklist and mark down all potential weak points you discover. This thorough assessment will help you prioritize your soundproofing efforts and ensure you’re addressing the most problematic areas first.
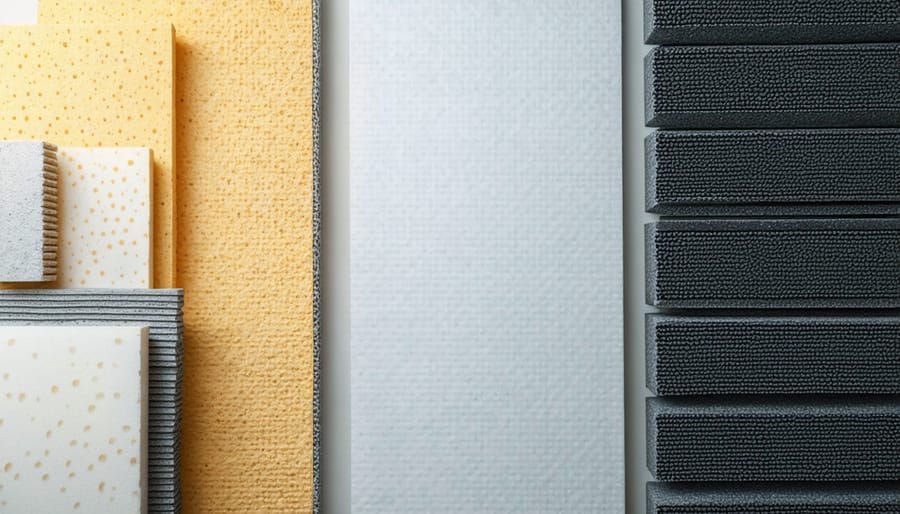
Essential Materials for Shed Soundproofing
Budget-Friendly Options
Creating a soundproof shed doesn’t have to break the bank. Start by insulating your shed with budget-friendly materials like recycled denim insulation or mineral wool batts, which typically cost less than premium alternatives while still providing effective sound dampening.
Consider using mass-loaded vinyl (MLV) strategically on walls that need the most soundproofing rather than covering every surface. Weather stripping and door sweeps are inexpensive yet effective solutions for sealing gaps where sound can escape. For windows, thermal curtains offer a dual benefit of sound reduction and temperature control at a fraction of the cost of specialized acoustic treatments.
DIY solutions like creating your own acoustic panels using wooden frames, fabric, and recycled insulation can save significant money. Second-hand carpet or moving blankets can be repurposed as wall coverings to absorb sound. Even simple fixes like adding rubber feet under equipment or using old yoga mats as vibration dampeners can make a noticeable difference without costly investments.
Remember, you can always start with basic solutions and upgrade gradually as your budget allows. Focus on addressing the most problematic areas first to get the best value for your money.
Step-by-Step Soundproofing Process
Wall Treatment
Effective wall treatment is crucial for soundproofing your shed, and it starts with implementing professional insulation techniques. Begin by installing mass-loaded vinyl (MLV) directly onto your shed’s walls, which acts as a sound barrier by absorbing vibrations. Follow this with a layer of acoustic foam panels, focusing on areas where sound reflection is most prominent.
For maximum effectiveness, consider adding a second layer of drywall using sound-dampening clips and channels. This creates an air gap that helps break up sound waves and reduces noise transmission. Don’t forget to seal any gaps or cracks with acoustic caulk – even small openings can significantly reduce your soundproofing efforts.
If you’re working with a tighter budget, you can start with basic fiberglass insulation batts between wall studs, covered with soundboard or dense fiberboard. This method, while not as effective as multiple layers, still provides noticeable noise reduction. Remember to wear protective gear when handling insulation materials and ensure proper ventilation during installation.
Floor and Ceiling Solutions
Effective floor and ceiling soundproofing starts with ensuring you have a proper shed foundation. For floors, begin by laying a rubber underlayment directly on the subfloor, followed by mass-loaded vinyl (MLV) for maximum sound absorption. Top this with plywood or your chosen flooring material, ensuring all seams are properly sealed.
For ceiling solutions, create a double-layer system by installing acoustic panels or soundproof tiles beneath your existing roof structure. Consider adding resilient channels before installing the panels – these metal strips create an air gap that helps break the path of sound transmission. For enhanced results, fill the cavity between your roof and ceiling panels with sound-absorbing insulation.
Don’t forget to seal any gaps around light fixtures or vents, as these can become unexpected sound leaks. A layer of Green Glue compound between ceiling layers can provide additional sound dampening. For budget-conscious DIYers, recycled denim insulation offers an eco-friendly alternative to traditional materials while maintaining excellent sound-absorbing properties.
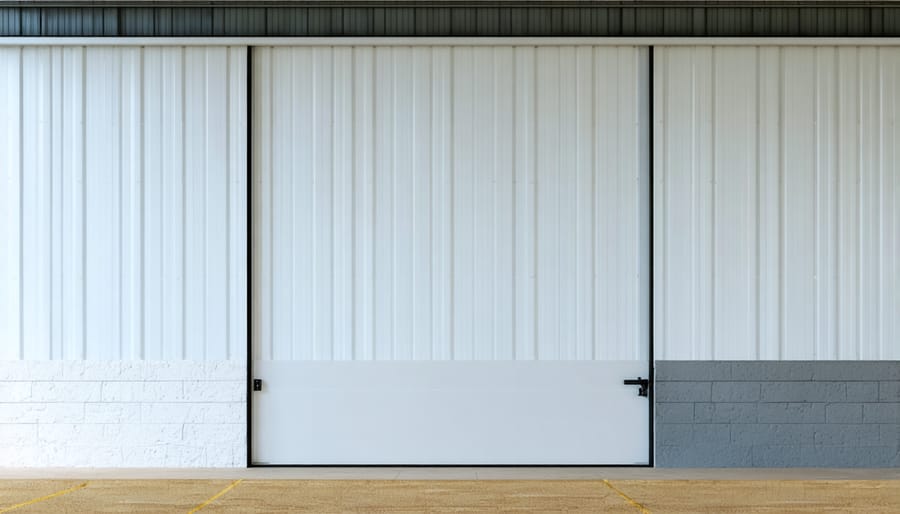
Door and Window Sealing
Doors and windows are notorious weak points when it comes to sound leakage, but with proper sealing techniques, you can significantly reduce noise transmission. Start by inspecting the perimeter of all openings for gaps and cracks. Install high-quality weatherstripping around door frames, paying special attention to the bottom where most sound tends to leak through. A door sweep or draft excluder can work wonders here.
For windows, apply acoustic caulk around the frames to seal any visible gaps. Double-sided foam tape can provide an additional barrier between the window frame and the surrounding structure. If your shed has older windows, consider adding rubber gaskets or compression seals to improve their soundproofing capabilities.
Don’t forget to address any mail slots, vents, or other small openings that might compromise your soundproofing efforts. Use flexible foam inserts or purpose-made covers to seal these spaces when they’re not in use. For best results, consider upgrading to solid-core doors and double-pane windows, which naturally provide better sound insulation than their standard counterparts.
Maintenance and Additional Tips
Regular maintenance is key to ensuring your shed’s soundproofing remains effective over time. Inspect your seals and weatherstripping every six months, replacing any damaged or degraded materials promptly. Check for gaps that may have developed around windows, doors, or utility entry points, and reseal them using appropriate acoustic caulk.
Keep your ventilation systems clean and well-maintained to prevent any unnecessary noise from blocked or dirty fans. If you’ve installed sound-dampening curtains or panels, wash them according to manufacturer instructions to maintain their effectiveness and appearance. For foam panels, regular dusting with a soft brush or vacuum attachment will suffice.
To enhance your soundproofing efforts, consider adding potted plants or shrubs around your shed’s exterior. Not only do they absorb some sound waves, but they also create an attractive buffer zone. Installing a green roof can provide additional sound insulation while offering environmental benefits.
Monitor your shed’s interior humidity levels, as excessive moisture can compromise soundproofing materials. Use a dehumidifier if necessary, and ensure proper ventilation during humid weather. If you notice any water damage or mold, address it immediately to prevent deterioration of your soundproofing materials.
For optimal results, perform a sound test every few months using a decibel meter app on your smartphone. This helps identify any areas that may need attention before they become significant issues.
Transforming your shed into a soundproof sanctuary is an achievable goal with the right approach and materials. By following the steps and recommendations outlined in this guide, you can significantly reduce noise transmission and create a more peaceful environment for your workspace or hobby area. Remember to start with a thorough assessment of your shed’s current condition and identify all potential sound leak points. Whether you choose mass-loaded vinyl, insulation panels, or a combination of soundproofing materials, proper installation is key to success.
Don’t forget to pay special attention to weak points like doors, windows, and ventilation systems, as these are common areas where sound can escape. While the initial investment in quality materials may seem substantial, the long-term benefits of a properly soundproofed shed far outweigh the costs. Take your time with the installation process, and don’t hesitate to seek professional advice if you encounter challenging situations.
Start your soundproofing project today and enjoy the satisfaction of creating your own quiet space. With proper maintenance and occasional checks, your soundproofed shed will continue to serve as an effective noise-controlled environment for years to come.