
Warm Up Your Shed Without Breaking the Bank: Budget-Friendly Insulation That Works
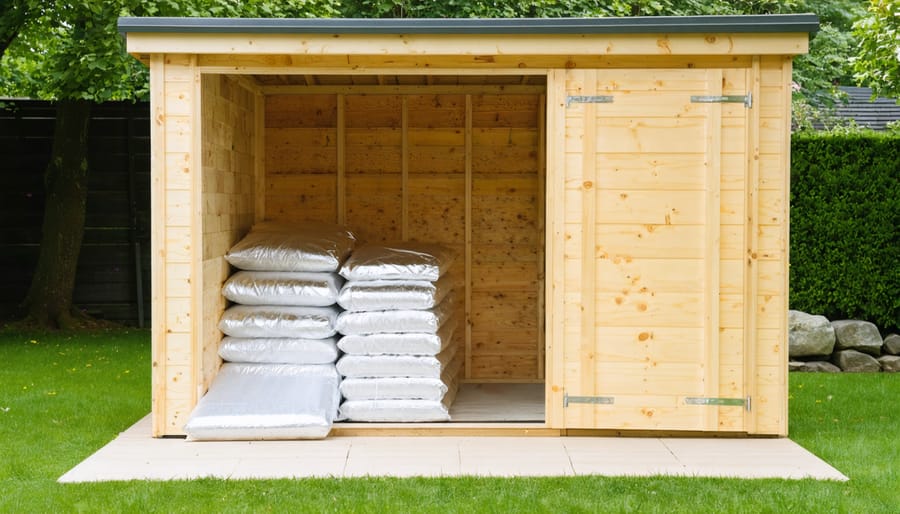
Insulate your shed effectively for under $200 using recycled fiberglass batts from local construction sites, saving up to 70% compared to retail prices. Install reflective foil barrier on walls and ceiling first, creating an immediate moisture barrier that helps control your shed’s temperature. Cut rigid foam board into panels for quick wall coverage, securing them with construction adhesive instead of expensive specialty fasteners. Seal gaps around windows and doors with expanding foam insulation, preventing heat loss while keeping your total project cost minimal. Weather-strip entry points and insulate the floor using salvaged plywood topped with second-hand carpet for complete thermal protection without breaking the bank.
Preparation: What You Need Before Starting
Essential Tools and Materials List
Here’s what you’ll need to insulate your shed on a budget:
Insulation Materials:
– Fiberglass insulation rolls or batts (most cost-effective option)
– Bubble wrap or reflective foil insulation
– Vapor barrier plastic sheeting
– Weatherstripping tape
– Expanding foam sealant
– Caulk for gaps and cracks
Basic Tools:
– Utility knife or scissors
– Measuring tape
– Staple gun and staples
– Work gloves
– Safety goggles
– Dust mask
– Straight edge or ruler
– Basic hammer
– Pencil for marking
Optional but Helpful:
– Protective coveralls
– Knee pads
– Flashlight
– Long-sleeve shirt
– Ladder or step stool
Pro tip: Check local hardware stores for sales and discounted materials. Many offer reduced prices on slightly damaged packaging or end-of-season stock. Don’t forget to measure your shed’s dimensions carefully before purchasing materials to avoid overbuying. For a typical 8×10 shed, expect to spend between $100-200 on basic materials, depending on your chosen insulation type and local prices.
Measuring and Planning Your Project
Before purchasing materials, measure your shed’s total wall and ceiling area in square feet. Multiply the length by height for each wall, then add these numbers together. For the ceiling, multiply length by width. Add an extra 10% to account for waste and mistakes. Most insulation materials are sold by square footage, making it easy to calculate costs.
Create a simple budget spreadsheet listing materials: insulation, vapor barrier, fasteners, and any tools needed. For a typical 8×10 shed, expect to spend between $100-200 on basic materials. Compare prices at different hardware stores and look for seasonal sales or bulk discounts. Remember that spending a bit more on quality materials now can save money on heating and cooling costs later.
Pro tip: Take photos and measurements of any obstacles like windows or electrical boxes to plan around them.
Budget-Friendly Insulation Materials
Recycled and Repurposed Materials
One of the most cost-effective ways to insulate your shed is by using recycled and repurposed materials. Old blankets, curtains, and even carpet remnants can serve as excellent insulation when properly installed. Many homeowners have successfully used recycled denim insulation, which is made from old jeans and provides excellent thermal protection.
Check your local recycling centers, construction sites, and salvage yards for discarded materials. Building renovation projects often discard usable insulation that you can salvage. Social media marketplace groups and community bulletin boards are also great resources for finding free or low-cost materials.
Newspapers and cardboard, when layered properly and protected from moisture, can create an effective insulating barrier. Bubble wrap is another creative solution – simply spray a light mist of water on your shed walls and apply the bubble wrap with the bubbles facing the wall. The air pockets provide surprising insulation value.
Remember to inspect all recycled materials thoroughly before use. Avoid anything with signs of mold, water damage, or pest infestation. While using recycled materials can save money, ensure they’re clean and properly treated to prevent future issues. Consider combining different recycled materials in layers for maximum effectiveness – for example, using cardboard as a base layer with old blankets on top.
Low-Cost Store-Bought Options
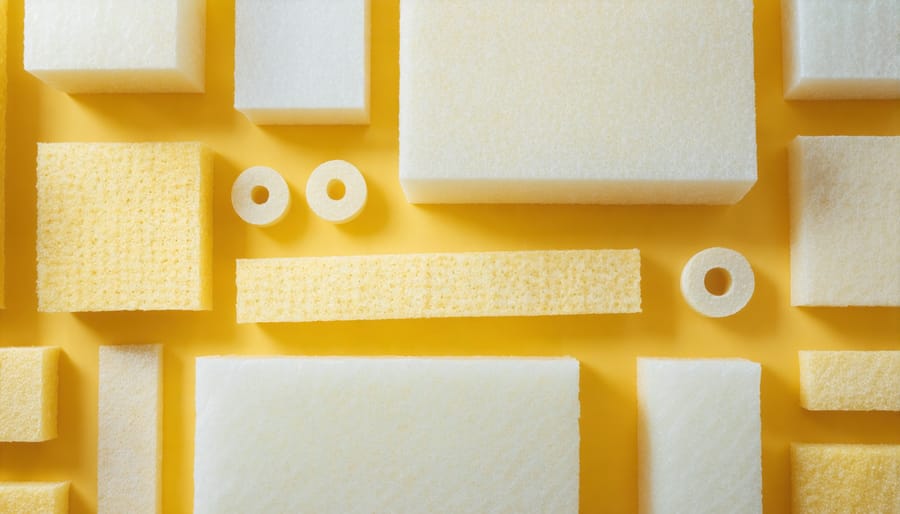
When it comes to store-bought insulation materials, you can find several budget-friendly options that won’t break the bank. Fiberglass batts are among the most affordable choices, typically costing between $0.50 to $1.00 per square foot. These come in pre-cut panels that fit between standard wall studs and offer good thermal resistance.
Foam board insulation is another cost-effective solution, with prices ranging from $0.50 to $2.00 per square foot depending on thickness. For detailed foam board installation tips, you’ll want to ensure proper cutting and fitting for maximum effectiveness.
Reflective foil insulation is a lightweight and affordable option, usually priced around $0.75 per square foot. It’s particularly effective in hot climates and can be easily installed without professional help. For those on an extremely tight budget, bubble wrap insulation provides a temporary solution at about $0.30 per square foot.
Don’t overlook home improvement store sales and seasonal discounts, which can reduce costs significantly. Many stores offer bulk pricing or damaged packaging discounts on insulation materials. Consider joining store loyalty programs or signing up for newsletters to stay informed about special deals and promotions on these materials.
Step-by-Step Installation Process
Wall Insulation
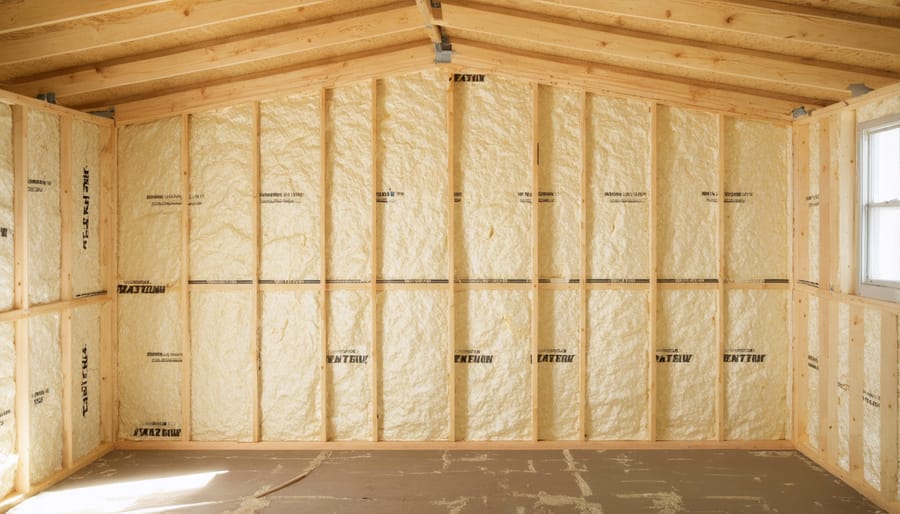
Insulating your shed walls is one of the most impactful steps in creating a comfortable storage space, and it doesn’t have to break the bank. Start by measuring the wall spaces between studs to determine how much insulation material you’ll need. For a budget-friendly approach, fiberglass batts are your best bet – they’re affordable and readily available at most hardware stores.
Before installing the insulation, check your walls for any gaps or cracks and seal them with expanding foam or caulk. This prevents moisture from getting trapped behind your insulation and causing problems later. If your shed has a vapor barrier, make sure it’s intact and repair any damaged areas with tape designed for this purpose.
To install the insulation, wear protective gear including gloves, a dust mask, and eye protection. Cut the fiberglass batts to fit snugly between the studs, leaving no gaps at the top or bottom. Avoid compressing the material, as this reduces its insulating effectiveness. For areas around windows, electrical outlets, or pipes, carefully cut the insulation to fit around these obstacles.
A money-saving tip is to look for damaged or clearance packages of insulation at home improvement stores – these often work just fine for small projects like shed insulation. You can also use recycled denim insulation or even bubble wrap as alternative budget options, though they may be slightly less effective than fiberglass.
Once the insulation is in place, cover it with an affordable wall covering like OSB board or plywood to protect it and create a finished look. This final step not only secures the insulation but also provides a surface for mounting shelves or organizing tools.
Roof and Floor Insulation
When it comes to insulating your shed’s roof and floor, you don’t need to break the bank for effective results. For the roof, start by installing a vapor barrier directly under your roofing material. Basic polyethylene sheeting works well and costs just a few dollars per roll. Layer this with fiberglass batting insulation, which you can often find on sale at home improvement stores or even source from construction site remnants (just ensure it’s clean and undamaged).
For maximum efficiency, combine your insulation efforts with proper ventilation to prevent moisture buildup. Consider adding a layer of reflective foil insulation beneath the fiberglass to enhance temperature control.
Floor insulation is equally important but often overlooked. Start by ensuring your shed sits on a solid, level foundation. Use rigid foam board insulation between floor joists – it’s affordable and easy to cut to size. For an ultra-budget approach, recycled carpet padding can serve as decent floor insulation. Seal any gaps between floorboards with expanding foam, and consider adding a moisture barrier underneath if your shed sits directly on the ground.
Remember to check local salvage yards and online marketplaces for discounted materials – you’d be surprised how often you can find perfectly good insulation at fraction of retail prices.
Sealing Gaps and Openings
Before adding any insulation, it’s crucial to identify and seal air leaks in your shed. Start by conducting a thorough inspection on a bright day – look for spots where sunlight peeks through gaps and cracks. Common problem areas include corners, door frames, window frames, and where walls meet the roof.
For smaller gaps, apply weatherstripping tape around doors and windows. This inexpensive solution creates an effective seal against drafts. Use expanding foam sealant for larger openings, especially around utility penetrations or in corners. The foam expands to fill irregular spaces and hardens to create a lasting barrier.
Don’t forget to check the bottom edges of your shed where it meets the foundation. Installing a rubber door sweep or threshold seal can eliminate drafts at ground level. Sealing these gaps not only improves insulation effectiveness but also helps to prevent condensation buildup and keeps out unwanted pests.
For metal sheds, use silicone caulk to seal seams between panels. In wooden sheds, fill any knots or cracks with wood filler before proceeding with your insulation project.
Money-Saving Tips and Tricks
Seasonal Timing and Bargain Shopping
Timing your insulation project strategically can lead to significant savings on materials. The best deals typically appear during the off-season, particularly in late winter or early spring when most homeowners aren’t thinking about shed projects. Many home improvement stores offer clearance sales during these periods to make room for seasonal inventory.
Keep an eye on major hardware stores’ holiday sales, especially around Memorial Day, Labor Day, and Black Friday. These events often feature substantial discounts on building materials, including insulation. Sign up for email newsletters from stores like Home Depot, Lowe’s, and Menards to get early notifications about upcoming sales.
Consider checking local construction surplus stores and habitat restore locations, where you can often find new or slightly used insulation materials at fraction of retail prices. Online marketplaces and classified ads can also be excellent sources for leftover insulation from other people’s projects.
Bulk buying can lead to better prices, so consider coordinating with neighbors or friends who might also need insulation. Many suppliers offer significant discounts on larger quantities, and sharing the cost can make premium materials more affordable.
Don’t forget to check end-of-day clearance sections at big box stores, where damaged packaging items are often marked down despite the contents being perfectly usable. Just ensure the insulation hasn’t been exposed to moisture or damage before purchasing.
DIY Alternatives to Commercial Products
Get creative with everyday materials to insulate your shed effectively without breaking the bank. Old blankets, comforters, and quilts make excellent insulating layers when secured properly to walls and ceilings. Clean cardboard from appliance boxes can serve as a temporary solution, especially when layered with bubble wrap or old newspapers.
Consider upcycling materials from renovation projects. Unused carpet pieces can be attached to walls for both insulation and soundproofing. Clean straw bales, while unconventional, provide remarkable insulation when properly sealed and protected from moisture. Even multiple layers of corrugated cardboard can create an effective thermal barrier.
Old sleeping bags can be unzipped and mounted flat against walls, while fabric remnants can be quilted together to create custom-sized insulation panels. Aluminum foil, when paired with bubble wrap, creates a reflective barrier that helps regulate temperature. Some gardeners have successfully used dried leaves packed tightly between plywood sheets as natural insulation.
Remember to seal these DIY materials properly to prevent pest intrusion and moisture buildup. While these alternatives might not match the efficiency of commercial products, they can significantly improve your shed’s temperature regulation at minimal cost. Always ensure any fabric-based materials are treated with fire retardant spray for safety.
Insulating your shed doesn’t have to break the bank, and with the methods we’ve discussed, you can create a comfortable, protected storage space that stands up to the elements. By choosing cost-effective materials like bubble wrap, recycled fiberglass, or even cardboard, you can significantly improve your shed’s insulation while keeping expenses low.
Remember that proper preparation is key to success. Before starting your project, gather all necessary materials and tools, ensure your shed is weatherproof, and address any existing moisture issues. Taking these preliminary steps will help your insulation perform better and last longer.
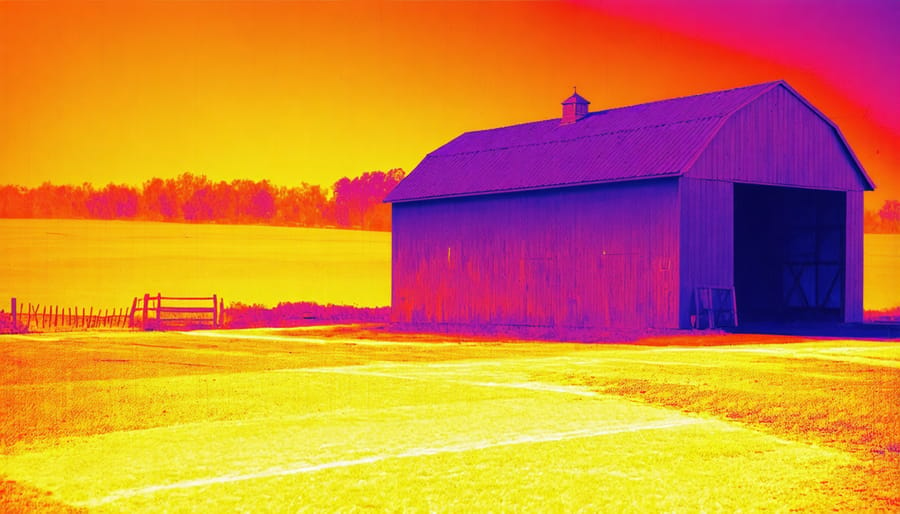
Don’t forget to pay special attention to problem areas like windows, doors, and corners. These spots often contribute to the most significant heat loss, but they’re also the easiest to address with simple solutions like weatherstripping and caulk.
The beauty of DIY shed insulation is that you can tackle it in stages if your budget is tight. Start with the roof, where most heat loss occurs, and gradually work your way down to the walls and floor. Even partial insulation is better than none at all.
Now that you have all the information you need, it’s time to get started on your shed insulation project. With a little effort and smart material choices, you’ll soon have a well-insulated shed that protects your belongings without emptying your wallet. Happy insulating!