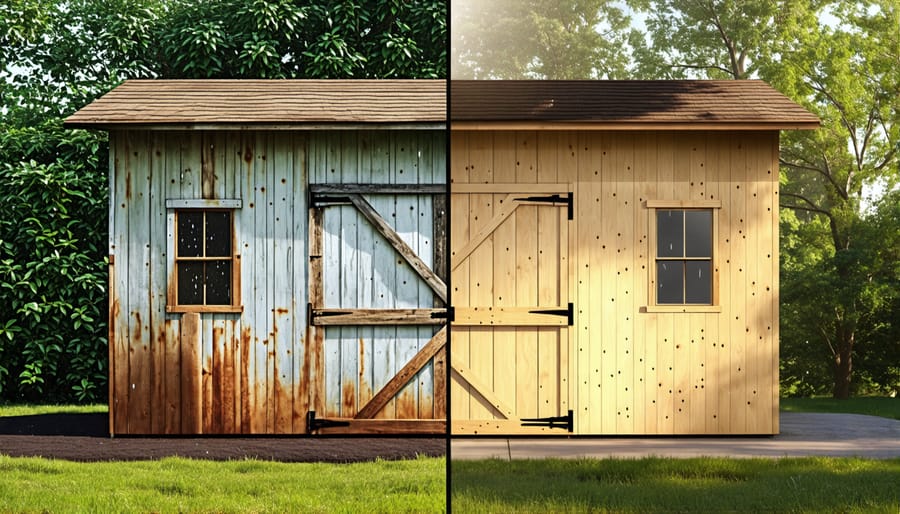
Waterproof Plywood in 5 Easy Steps: Make Your Shed Last for Decades

Seal plywood edges with a waterproof sealant or epoxy to prevent moisture absorption and warping. Apply multiple coats of exterior-grade polyurethane, varnish, or paint to waterproof the entire surface, allowing adequate drying time between coats. Choose a high-quality, oil-based product specifically designed for outdoor use to ensure maximum protection against the elements. By properly waterproofing plywood, you can create durable, weather-resistant surfaces for various applications, from building outdoor furniture to organizing your shed. With the right techniques and products, plywood can withstand moisture, sun, and temperature changes, extending its lifespan and functionality in outdoor settings.
What You’ll Need
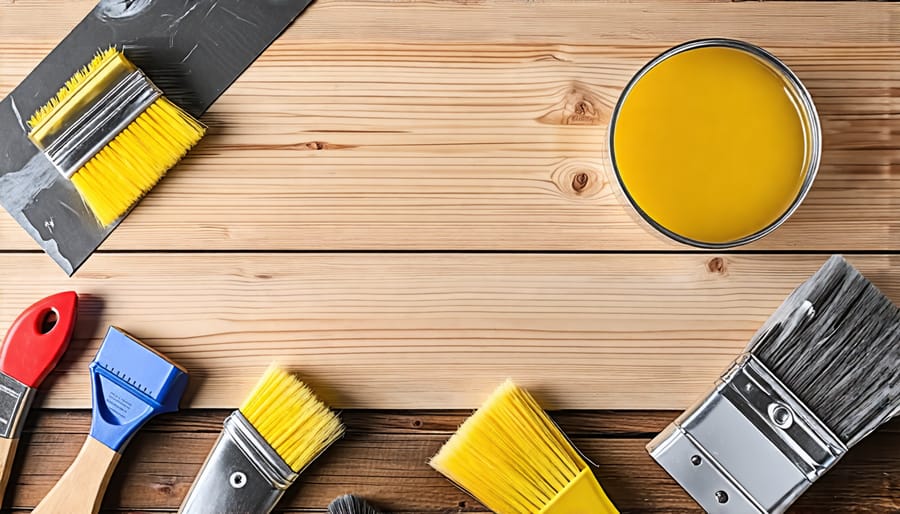
You’ll need a few key materials and tools to successfully waterproof your plywood. Start by gathering exterior-grade plywood, as it’s specifically designed to withstand moisture and the elements. Next, choose a high-quality waterproofing sealant or paint that’s compatible with wood. A brush, roller, or sprayer will help you apply the product evenly. Don’t forget to wear protective gear like gloves and a face mask. Sandpaper will come in handy for smoothing any rough spots before application. Finally, having a clean, dry workspace and some drop cloths or tarps will make the process more efficient and less messy. With these essentials, you’ll be ready to waterproof your plywood with confidence.


Step-by-Step Guide to Waterproofing Plywood
Step 1: Prepare the Plywood Surface
Before applying any waterproofing treatment, it’s crucial to prepare the plywood surface properly. Start by cleaning the plywood thoroughly to remove any dirt, debris, or loose particles. Use a bristle brush or compressed air to get into the crevices and ensure a clean surface.
Next, inspect the plywood for any damage, such as cracks, splits, or rough spots. Fill in any cracks or holes with wood filler, allowing it to dry completely before moving on to sanding.
Using medium-grit sandpaper (80-120 grit), sand the entire surface of the plywood evenly. This step helps to smooth out any imperfections and creates a better surface for the waterproofing agent to adhere to. Be sure to sand in the direction of the wood grain to avoid damaging the plywood.
After sanding, remove any dust or debris using a vacuum, tack cloth, or compressed air. The plywood surface should be clean, smooth, and free of any contaminants before proceeding with the waterproofing process. Taking the time to properly prepare the surface will ensure better adhesion and longer-lasting protection from moisture and the elements.
Step 2: Apply a Sealant or Primer
Once your plywood is clean and dry, it’s time to apply a wood sealant or primer. This crucial step helps protect the wood from moisture damage, rot, and warping. Choose a high-quality, water-resistant sealant or primer specifically designed for exterior use. Using a brush, roller, or sprayer, apply an even coat over the entire surface of the plywood, including edges and corners. Make sure to follow the manufacturer’s instructions for application and drying times. Depending on the product, you may need to apply multiple coats for optimal protection. Allow each coat to dry completely before applying the next. This process creates a barrier that prevents water from penetrating the wood fibers, ensuring your plywood project remains sturdy and long-lasting even when exposed to the elements. By taking the time to properly seal or prime your plywood, you’ll significantly extend its lifespan and maintain its structural integrity for years to come.
Step 3: Choose and Apply a Waterproof Coating
There are several effective waterproof coating options for plywood, each with its own benefits and application methods. One popular choice is an oil-based sealant, which penetrates deep into the wood fibers for long-lasting protection. Water-based sealants are another option, offering a clear finish that won’t alter the natural color of the plywood. For added durability, consider a polyurethane or epoxy coating that forms a thick, protective layer on the surface.
Before applying any coating, ensure the plywood is clean, dry, and free from dust or debris. Sand the surface lightly with fine-grit sandpaper to create a smooth base for better adhesion. Apply the coating evenly using a brush, roller, or sprayer, following the manufacturer’s instructions for optimal results. Pay special attention to edges, corners, and any cut or exposed areas, as these are more susceptible to moisture damage.
Allow ample drying time between coats, and consider applying at least two to three layers for maximum protection. Once the final coat is dry, your plywood will be well-equipped to withstand exposure to moisture, humidity, and other outdoor elements. With proper application and maintenance, a high-quality waterproof coating can extend the life of your plywood projects for years to come.
Step 4: Allow Adequate Drying Time
Allowing adequate drying time between coats is crucial for successful waterproofing. Each layer needs to fully cure before applying the next, ensuring a strong, even finish that will stand up to the elements. Drying times can vary based on humidity and temperature, so be patient and let the plywood dry completely, which may take several hours or even overnight. Rushing this step can lead to an uneven, less effective waterproof barrier that may peel or crack over time. By giving each coat plenty of time to dry, you’ll achieve the best possible protection for your plywood project.
Step 5: Apply Additional Coats as Needed
After the first coat dries, inspect the plywood surface to determine if it needs additional protection. If you notice any areas that appear uneven or not thoroughly sealed, apply a second coat. Follow the same process as before, using even brush strokes and ensuring full coverage. In most cases, two coats provide sufficient waterproofing. However, for plywood exposed to harsh weather conditions or frequent moisture, consider a third coat for extra durability. Allow each coat to dry completely before applying the next, and always refer to the product instructions for specific drying times and application guidelines.
Tips for Maintaining Waterproofed Plywood
To keep your waterproofed plywood in excellent shape, regular maintenance is key. Inspect the surface periodically for any cracks, chips, or signs of wear. If you notice minor damage, sand the area lightly and reapply a coat of sealant to prevent moisture from seeping in. For larger repairs, you may need to replace the affected section entirely.
Cleaning your waterproofed plywood is also important. Use a soft-bristled brush or cloth to remove dirt, debris, or algae buildup. Avoid using harsh chemicals or abrasive materials that could strip away the protective coating. A mild detergent solution is usually sufficient for most cleaning needs.
If your waterproofed plywood is exposed to direct sunlight, consider applying a UV-resistant topcoat to prevent fading and degradation over time. This extra layer of protection will help maintain the material’s integrity and extend its lifespan.
Finally, ensure your waterproofed plywood has proper drainage and ventilation, especially if used for a shed foundation or other outdoor structures. Allowing moisture to accumulate can lead to warping, rotting, and weakening of the wood fibers, compromising the effectiveness of your waterproofing efforts. By following these simple tips, you can keep your waterproofed plywood looking great and functioning optimally for years to come.
Conclusion
Waterproofing plywood is a simple yet effective way to protect your outdoor structures from moisture damage. By following the steps outlined in this article, you can ensure your shed, deck, or other plywood projects will stand the test of time. Remember to choose the right waterproofing product for your specific needs, prepare the surface properly, and apply the treatment evenly for best results. Taking these proactive measures will not only extend the life of your plywood but also save you time and money in the long run by preventing costly repairs. Don’t let moisture ruin your outdoor investments – take action today and enjoy the peace of mind that comes with properly waterproofed plywood. For more tips on keeping water out and maintaining your outdoor structures, be sure to explore our other helpful resources.

