
Strong Shed Foundation Woods That Stand the Test of Time
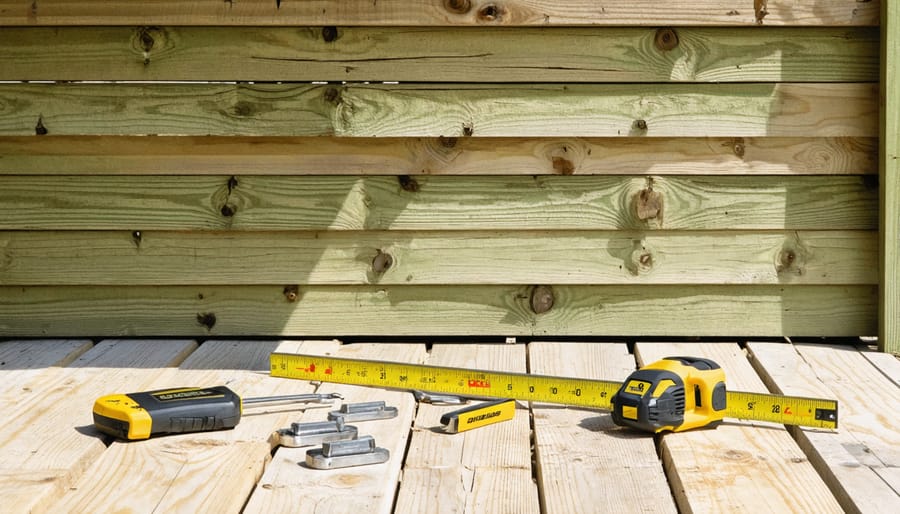
Building the best foundation for a shed starts with selecting pressure-treated lumber rated for ground contact, specifically 4×6 or 6×6 timbers for skids and 2×6 boards for joists. Position these wooden foundation components on a properly leveled bed of crushed stone or concrete blocks, elevated at least 6 inches above ground level to prevent moisture damage and extend longevity. Space pressure-treated floor joists 16 inches on center, running perpendicular to the skids, and secure them with galvanized hardware to create a sturdy base that resists rot and ensures proper weight distribution. This time-tested wooden foundation method combines affordability with durability, providing excellent support for sheds up to 200 square feet while allowing for essential ground airflow and easy future maintenance or repairs.
Best Woods for Shed Foundations
Pressure-Treated Lumber
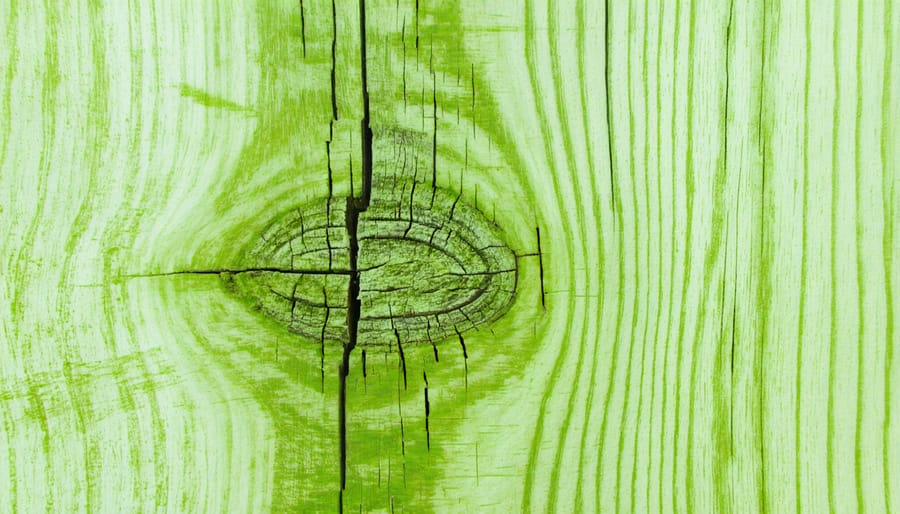
Pressure-treated lumber is the gold standard for shed foundations, offering exceptional resistance against moisture, insects, and decay. This specially treated wood undergoes a deep chemical preservation process where protective compounds are forced into the wood fibers under high pressure, creating a robust barrier against environmental threats.
For shed foundations, you’ll want to use lumber rated for ground contact, typically labeled as “Ground Contact Pressure Treated” or “PT GC.” The most common sizes for foundation work are 4×4 posts for corners and supports, and 2×6 or 2×8 boards for floor joists and beams. Look for wood with a retention level of .40 pcf (pounds per cubic foot) or higher for optimal protection.
One of the best features of pressure-treated lumber is its impressive lifespan – when properly installed and maintained, it can last 20-30 years or more. While it costs slightly more than untreated lumber, the long-term durability makes it a smart investment for your shed foundation.
Pro tip: Allow pressure-treated lumber to dry completely before building your shed, as it often comes fairly wet from the treatment process. This prevents potential warping issues down the line.
Cedar and Redwood Options
Cedar and redwood are nature’s answer to rot-resistant foundation materials, offering excellent durability without the need for chemical treatments. These premium woods contain natural oils and compounds that ward off insects and resist moisture damage, making them ideal choices for shed foundations in various climates.
Western Red Cedar stands out as a top performer, with its straight grain and minimal shrinkage properties. It’s particularly well-suited for ground contact applications, though using a moisture barrier is still recommended for maximum longevity. The wood’s natural resistance to decay means it can last 15-20 years or more when properly installed and maintained.
Redwood, especially heartwood cuts, provides similar benefits with its rich, reddish-brown color that many homeowners find aesthetically pleasing. The wood’s natural resistance to termites and decay makes it an excellent choice for foundation skids and support beams. While both cedar and redwood come at a higher price point than pressure-treated lumber, their natural durability and reduced maintenance needs often justify the investment.
To maximize the lifespan of these woods in your shed foundation, consider elevating them slightly off the ground and ensuring proper drainage around your shed. This approach helps preserve their natural protective properties while maintaining structural integrity.
Essential Wood Treatment and Protection
Moisture Barriers
A proper moisture barrier is essential for protecting your shed’s wooden foundation from ground moisture and potential rot. The most common and effective barrier options include 6-mil polyethylene sheeting, which creates a reliable vapor barrier between the soil and your foundation. When installing, ensure the sheeting extends at least 6 inches beyond your foundation’s edges and overlaps at the seams by 12 inches.
Another popular choice is roll roofing material, which offers excellent durability and water resistance. This option works particularly well in areas with high groundwater levels. For added protection, consider using gravel beneath your moisture barrier, creating a natural drainage system that directs water away from your foundation.
During installation, carefully inspect the barrier for any tears or holes, as even small perforations can compromise its effectiveness. Use construction tape specifically designed for moisture barriers to seal any seams or repairs. For maximum protection, consider using a double layer system: a layer of gravel, followed by your primary moisture barrier, and topped with a secondary barrier directly under the wooden components.
Don’t forget to incorporate proper drainage around your shed’s perimeter to complement your moisture barrier system. This combination provides the best long-term protection for your wooden foundation.
Sealants and Preservatives
Protecting your shed’s foundation wood is crucial for its longevity and stability. Start by applying a quality wood preservative that penetrates deeply into the grain, creating a barrier against moisture and insects. For optimal protection, choose copper-based preservatives or borate treatments, which are both effective and environmentally friendly.
Before applying any sealant, ensure the wood is completely clean and dry. When it comes to waterproofing wood materials, use a brush or roller to apply two thin coats rather than one thick layer, allowing proper drying time between applications. Pay special attention to end grain areas and joints where moisture tends to collect.
For added protection, consider using a water-repellent sealer on top of the preservative. This creates an additional barrier against rain and snow while allowing the wood to breathe. Reapply sealants every 2-3 years or when water stops beading on the surface. For areas in direct ground contact, use copper naphthenate or similar ground-contact rated preservatives for maximum protection against soil moisture and decay.
Installation Best Practices
Ground Preparation
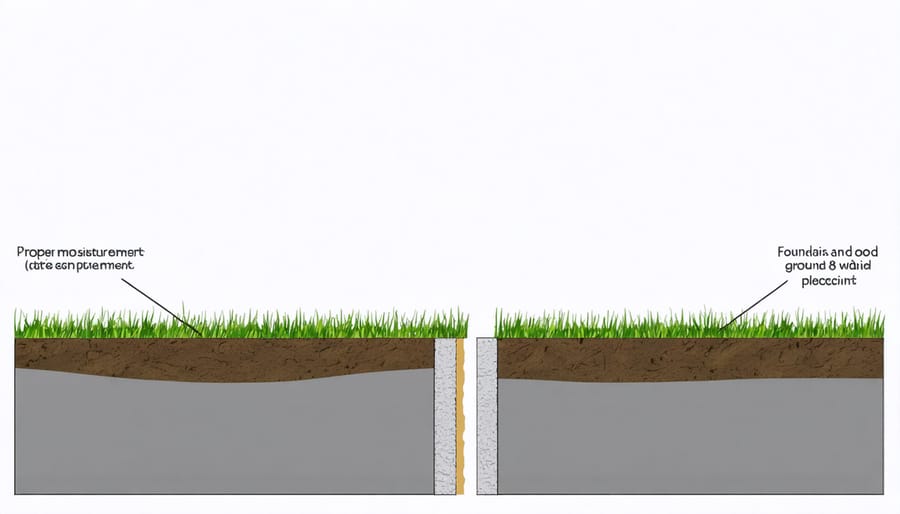
Before laying your wooden foundation, proper ground preparation is essential for ensuring your shed’s longevity and stability. Start by clearing the area of vegetation, rocks, and debris. Remove any grass, weeds, and their root systems to prevent future growth that could compromise your foundation.
Next, assess the ground’s natural slope and drainage patterns. Your site should have a slight grade away from the planned shed location to prevent water from pooling underneath. If necessary, create a gentle slope of about 1 inch per 8 feet to direct water away from the structure.
Use a level and string lines to check for ground evenness. Mark your shed’s footprint and extend it by about 12 inches on all sides to create a proper working area. For severely uneven ground, you’ll need to excavate high spots and fill low areas with compacted gravel or crushed stone.
Add a 4-inch layer of gravel as your base material, spreading it evenly across the prepared area. Compact the gravel using a plate compactor or hand tamper, working in small sections until the entire surface is firm and level. This layer serves as a crucial barrier against ground moisture and helps maintain proper drainage.
Consider installing a weed barrier fabric between the soil and gravel layer for extra protection against unwanted vegetation. This small investment can save you maintenance headaches down the road.
Wood Foundation Layout
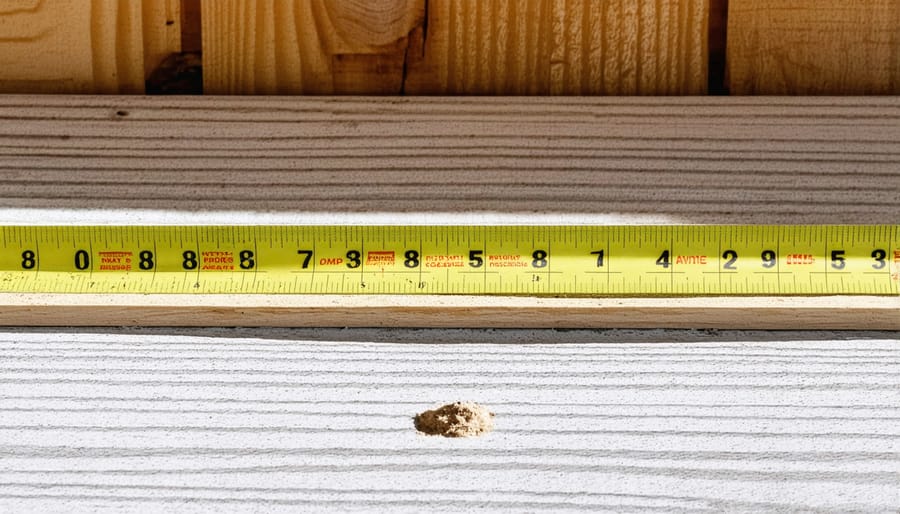
Proper spacing and assembly of your wood foundation is crucial for long-term stability and performance. Start by placing your treated lumber skids no more than 16 inches apart on center – this provides optimal support while preventing sagging over time. When laying out your perimeter beams, ensure they’re perfectly square by measuring diagonally from corner to corner; both measurements should be identical.
Position your floor joists perpendicular to the skids, maintaining the same 16-inch spacing. This creates a sturdy grid pattern that evenly distributes the shed’s weight. Use joist hangers at each connection point to secure the framework, and don’t forget to double up joists where walls will sit for extra support.
For added stability, install blocking between joists at the midpoint of any span longer than 8 feet. This prevents twisting and provides additional structural integrity. When securing your plywood or oriented strand board (OSB) floor decking, stagger the joints to create a stronger surface and prevent weak points.
Remember to leave a ¼-inch gap between decking sheets for expansion in humid weather. Secure the decking with appropriate deck screws every 6-8 inches along the edges and every 12 inches in the field. This systematic approach ensures your foundation will remain level and stable for years to come.
Maintenance and Longevity
Regular maintenance is crucial for ensuring your wood foundation serves your shed well for years to come. To protect against rot and decay, start with an annual inspection of your foundation, paying special attention to areas where wood meets the ground or where moisture tends to collect.
Keep the surrounding area clear of vegetation, leaves, and debris that can trap moisture against the wood. Trim any nearby bushes or trees to ensure proper airflow around your foundation, and maintain good drainage by regularly cleaning your gutters and ensuring water flows away from the shed.
Apply a fresh coat of water-resistant sealant every 2-3 years, or more frequently in humid climates. When you notice any signs of wear, address them promptly – small repairs now can prevent major issues later. Look for discoloration, softness, or cracking in the wood, and replace affected pieces before problems spread.
Consider installing additional ventilation beneath your shed if you notice persistent moisture issues. A layer of gravel around the perimeter can help with drainage, while moisture barriers between the ground and wood can add extra protection.
With proper care, a well-maintained wood foundation can last 15-20 years or more. Remember to document your maintenance schedule and keep records of any repairs or treatments you apply.
Choosing the right wood foundation for your shed is crucial for its longevity and stability. Remember to always select pressure-treated lumber rated for ground contact, properly prepare your site with adequate drainage, and maintain proper ventilation beneath your shed. Whether you opt for skids, beams, or a full wooden platform, ensure all components are level and properly secured. Regular inspections and maintenance will help protect your investment and extend the life of your foundation. By following the guidelines we’ve discussed, you’ll create a solid base that will support your shed for years to come. For best results, consider your local climate conditions and don’t hesitate to consult with local building authorities about specific requirements for your area. Your careful attention to foundation details now will save you time and money in the long run.
Looking for a foundation kits?
Browse our full range of foundation kits from authorized dealer brands. Free shipping to the continental US.