
Build Your Perfect L-Shaped Shed: Smart Design for Tricky Corners
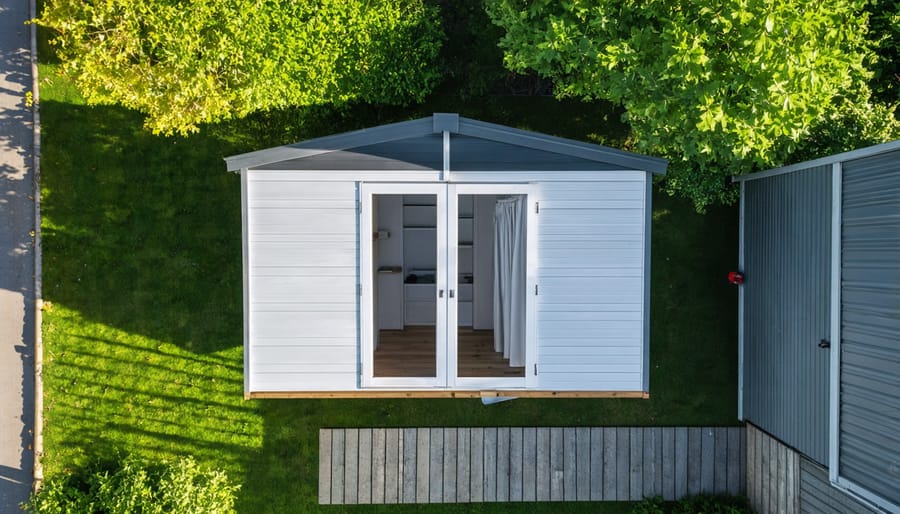
Transform your backyard’s awkward corner into a practical storage haven with an L-shaped shed that maximizes every square foot of available space. This innovative design wraps around existing structures or property lines, creating two distinct storage zones while maintaining a cohesive, architectural appearance. Perfect for homeowners working with limited yard space, L-shaped sheds offer 30-50% more usable storage than traditional rectangular designs, plus the flexibility to designate separate areas for gardening equipment, workshop tools, or seasonal items.
Modular L-shaped plans adapt to your specific needs, whether you’re looking to build a compact 8×12 corner unit or an expansive 16×24 workspace with multiple entry points. Our comprehensive guide breaks down the construction process into manageable phases, from foundation preparation to final trim work, ensuring even DIY beginners can tackle this project with confidence. Each plan includes detailed material lists, cut sheets, and assembly diagrams that eliminate guesswork while maintaining professional-grade results.
Start planning your L-shaped shed today and discover how strategic design choices can double your storage capacity without sacrificing yard space or curb appeal.
Why Choose an L-Shaped Modular Shed?
Space Optimization Benefits
L-shaped sheds are masterful space-savers, turning often-neglected corner areas into valuable storage and work zones. By following the natural contours of your property’s corners, these innovative designs maximize every square foot of available space while creating distinct functional areas within the same structure.
The unique angular design allows you to designate different sections for specific purposes. For example, one wing might serve as your garden tool storage, while the other becomes a potting station or workshop. This natural division makes organizing your items more intuitive and accessible.
The corner configuration also creates a sheltered outdoor space perfect for a small seating area or protected workstation. Many homeowners find this particularly useful for projects that require both indoor and outdoor access. The L-shape additionally provides excellent wind protection, making it ideal for creating a cozy workspace even on breezy days.
For properties with limited space, L-shaped sheds offer another significant advantage: they can accommodate more storage volume while maintaining a smaller footprint than traditional rectangular designs. This efficient use of space means you can store more without sacrificing valuable yard area.
Modular Flexibility Advantages
One of the greatest advantages of modular construction systems for L-shaped sheds is their incredible flexibility. Start with a basic L-configuration and expand your storage space as needs grow. The modular design allows you to add sections, extend wings, or modify the layout without compromising the structure’s integrity.
Want a potting area next spring? Simply add a greenhouse module to one wing. Need more workspace? Extend the shorter leg of the L with additional panels. The beauty lies in planning for future possibilities while meeting current needs. Many homeowners start with a modest setup and gradually customize their space with features like built-in shelving, workbenches, or even a covered porch area.
This adaptability also means you can adjust your shed’s functionality over time. What starts as a garden tool storage might evolve into a workshop, hobby space, or combination of both. The modular nature ensures your investment grows with your changing needs, making it a smart, long-term storage solution.
Essential Planning Considerations
Size and Dimensions
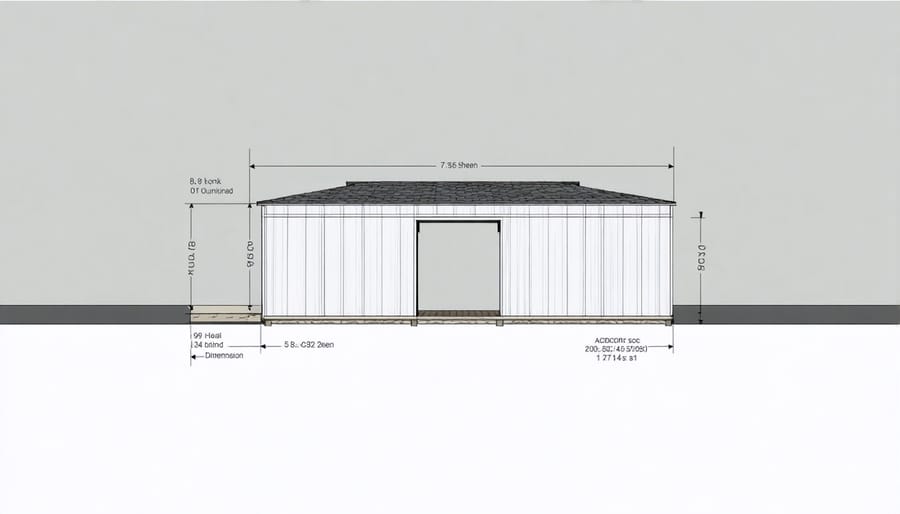
When planning your L-shaped shed, getting the dimensions right is crucial for both functionality and aesthetics. Most homeowners find success with sides ranging from 8 to 12 feet in length, creating a balanced appearance while maximizing corner space usage. The width of each wing typically varies between 4 to 8 feet, depending on your storage needs and available space.
For optimal proportions, consider maintaining a ratio where one wing isn’t more than twice the length of the other. This creates a pleasing visual balance and ensures practical use of space. A popular configuration is 10 feet by 8 feet for the main wing, with a 6 feet by 8 feet secondary wing.
Remember to factor in your yard’s dimensions and local building codes. Most municipalities require setbacks from property lines, typically 3 to 5 feet. Also, consider the height requirements – many areas restrict shed height to 8 or 9 feet at the peak.
When measuring your space, add an extra 2-3 feet around the perimeter for maintenance access and proper ventilation. If you’re planning to store larger items like riding mowers or kayaks, ensure your door openings and interior dimensions can accommodate them comfortably.
Pro tip: Create a full-scale outline of your planned shed dimensions using string or chalk in your yard. This helps visualize the actual footprint and ensures the size works well within your space.
Material Selection
When building your L-shaped shed, material selection plays a crucial role in both durability and aesthetics. Steel panels offer excellent weather resistance and require minimal maintenance, making them ideal for regions with harsh climate conditions. They’re also lightweight and easy to handle during installation, though they may cost more initially.
Vinyl siding presents another popular option, combining affordability with style variety. It’s particularly suitable for matching your home’s exterior and resists moisture effectively. While not as sturdy as steel, vinyl requires little upkeep and won’t rot or attract pests.
Wood remains a traditional favorite, offering natural beauty and easy customization. Cedar and pressure-treated pine stand out as top choices, with cedar providing natural pest resistance and pine offering affordability. However, wood requires regular maintenance, including periodic sealing and painting.
For roofing, asphalt shingles provide cost-effective protection and come in various colors to complement your design. Metal roofing, while pricier, offers superior longevity and excellent rain handling capabilities. Consider your local climate and maintenance preferences when choosing between these options.
The foundation material choice is equally important. Concrete blocks or a poured slab provide sturdy support and moisture protection. For smaller sheds, gravel beds with pressure-treated wooden supports can work well while maintaining proper drainage.
Remember to factor in your region’s climate and local building codes when making final material selections. Each choice affects not only the shed’s appearance but also its long-term durability and maintenance requirements.
Assembly and Construction Tips
Foundation Requirements
The unique L-shape design of your shed requires careful consideration when it comes to foundation planning. Unlike traditional rectangular sheds, L-shaped structures need extra support at the corner junction to ensure long-term stability. Before beginning construction, explore the best foundation options suitable for your specific site conditions.
A level surface is absolutely crucial for L-shaped sheds. The foundation must maintain even support across both wings of the structure to prevent settling and potential structural issues. Consider using a concrete slab foundation, which provides uniform support and excellent moisture protection. Alternatively, a pier foundation system with additional support points at the corner junction can work well, especially on sloped terrain.
When preparing your foundation, ensure it extends at least 6 inches beyond the shed’s footprint on all sides. The corner area where the two sections meet requires special attention – install additional support posts or concrete reinforcement here to handle the increased load. For areas with freeze-thaw cycles, dig your foundation below the frost line to prevent seasonal movement.
Remember to include proper drainage solutions around the entire perimeter, with particular attention to the interior corner where the two wings meet, as this area can be prone to water collection.
Module Connection Methods
When connecting modular components of your L-shaped shed, proper joining techniques ensure structural integrity and weather resistance. Start by aligning the pre-drilled holes of adjacent panels, using a level to guarantee perfect positioning. Insert galvanized carriage bolts through these holes, securing them with washers and nuts. For added stability, use corner brackets at each junction point, especially where the two wings of the L-shape meet.
The roof modules require special attention during connection. Apply weatherproof sealant tape between joining sections before securing them with self-tapping screws. Place these screws every 12 inches along the seam for optimal hold. For wall-to-foundation connections, use concrete anchors spaced 24 inches apart, ensuring the shed remains stable in various weather conditions.
Modular floor sections should be joined using tongue-and-groove connections when available, supplemented with deck screws for added security. Where modules meet at corners, use heavy-duty L-brackets on both the inside and outside of the joint. Remember to leave small gaps (about 1/8 inch) between wall panels to allow for natural expansion and contraction with temperature changes.
For door frames and window openings, reinforce the connections with additional support brackets. Apply silicone caulk along all external seams after assembly to prevent water infiltration and ensure your L-shaped shed remains weathertight for years to come.
Waterproofing Considerations
Proper waterproofing is crucial for protecting your L-shaped shed from moisture damage, particularly at its unique corners and joints. Since L-shaped sheds have more corners than traditional rectangular designs, they require extra attention to prevent water infiltration. Start by applying high-quality silicone caulk to all exterior seams, paying special attention to where walls meet and around windows and doors.
For comprehensive protection, implement proven waterproofing techniques at every vulnerable point. Install proper flashing at roof valleys and where roof sections meet walls. The L-shape creates additional valleys that need careful sealing to prevent water from pooling or seeping into joints.
Don’t forget to address the foundation-to-wall junction with appropriate sealants and proper drainage solutions. Install gutters along both sections of the roof, ensuring downspouts direct water away from the structure’s corners. Consider adding a drip edge around the entire perimeter to prevent water from running down the walls.
For added protection, apply water-resistant paint or sealant to all exterior surfaces, including underneath any overhangs. Remember to inspect and maintain these waterproofing measures annually, particularly before wet seasons, to ensure your L-shaped shed remains dry and protected for years to come.
Customization and Organization
Storage Zone Planning
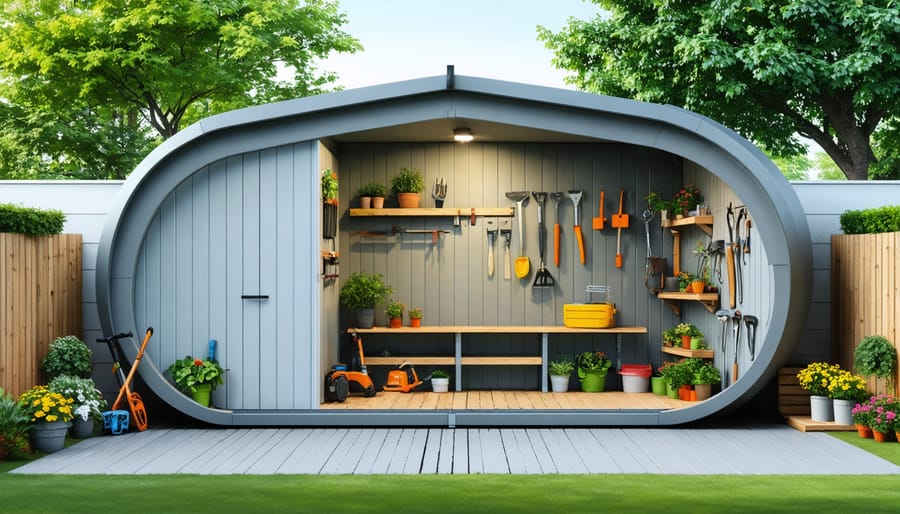
The L-shape design offers unique opportunities to maximize storage space by creating distinct zones for different purposes. Consider dividing your shed into three main areas: the primary wing for larger equipment, the secondary wing for everyday items, and the corner junction as a workspace or transition area.
In the primary wing, designate space for bulky items like lawn mowers, bicycles, and seasonal equipment. Install wall-mounted racks and overhead storage to utilize vertical space effectively. The secondary wing works well for storing garden tools, supplies, and smaller items that need frequent access. Add pegboards, shelving units, and storage bins to keep everything organized and easily accessible.
The corner junction area serves as an ideal spot for a potting station or workbench. This natural meeting point between the two wings can include a corner desk or fold-down table, maximizing the unique angular space. Consider installing windows in both wings to provide natural light and cross-ventilation.
Create clear pathways between zones to ensure easy movement and access to all areas. Use weatherproof labels or a color-coding system to identify different storage sections. Remember to leave some flexible space in each zone for future storage needs or seasonal adjustments.
Accessory Integration
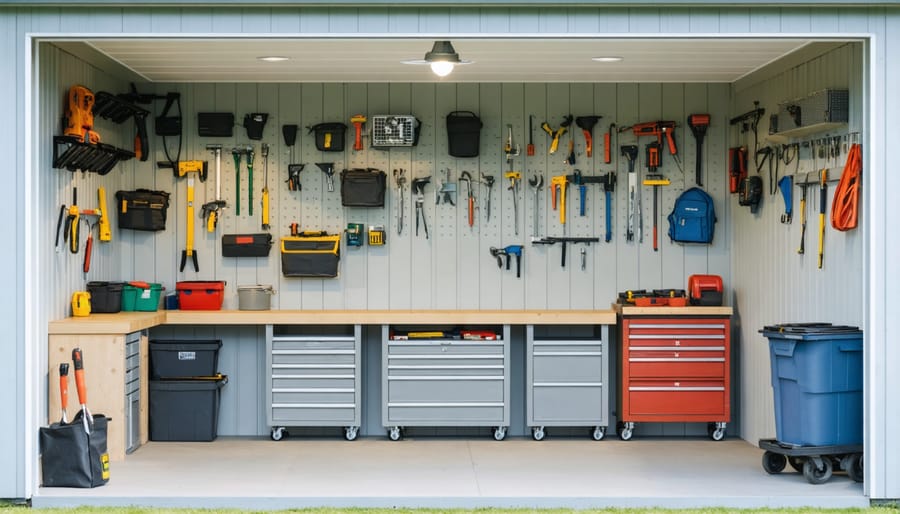
Make your L-shaped shed truly functional by incorporating smart storage solutions and work areas. Start with adjustable shelving units along the interior walls, taking advantage of the vertical space from floor to ceiling. Install heavy-duty brackets at different heights to accommodate various storage needs throughout the seasons.
A workbench fits perfectly in the corner of your L-shaped shed, creating an ideal workspace for garden tasks or DIY projects. Consider a modular workbench system that can be expanded or modified as your needs change. Add pegboards above the workbench to keep tools organized and easily accessible.
Maximize the unique L-shape by installing corner shelves or cabinets where the two walls meet. These often-overlooked spaces are perfect for storing smaller items like garden supplies, paint cans, or power tools. For larger equipment, mount brackets on the walls to hang items like rakes, shovels, and extension cords.
Don’t forget about overhead storage opportunities. Install sturdy ceiling-mounted racks for seasonal items or rarely-used equipment. Just ensure they’re properly secured to support the weight of your stored items. For frequently accessed tools, consider adding a rolling cart that can be moved around the shed as needed.
Remember to leave enough floor space for larger equipment like lawn mowers or wheelbarrows. The L-shape naturally creates distinct zones for storage and workspace, making it easier to keep your shed organized and efficient.
Building an L-shaped shed is an exciting project that can transform your outdoor space while maximizing storage capacity. By following these comprehensive plans, you’ll be well-equipped to create a functional and attractive storage solution that fits perfectly into your corner space. Remember to carefully consider your space requirements, local building codes, and material choices before beginning construction. Whether you’re storing garden tools, creating a workshop, or organizing outdoor equipment, your L-shaped shed will provide years of practical use. Don’t be intimidated by the project scope – take it step by step, and soon you’ll have a custom storage solution that adds value to your property and brings order to your outdoor life. Ready to start building? Gather your materials, review the plans one more time, and begin creating your perfect L-shaped shed.