
Why Painting Your Shed Floor Could Be Your Best Storage Decision
Transform your shed floor from a vulnerable wooden surface into a durable, attractive space that resists moisture, prevents rot, and enhances your storage area’s functionality. Painting your shed floor isn’t just about aesthetics – it’s a crucial protective measure that can double your floor’s lifespan and create a cleaner, more organized environment. Whether you’re storing garden tools, workshop equipment, or seasonal items, a properly painted floor provides a moisture barrier that shields against dampness, prevents splinters, and makes cleaning significantly easier. The decision to paint your shed floor depends on several key factors, including your local climate, current floor condition, and intended use. This guide will help you determine if painting your shed floor is the right choice for your situation and walk you through the essential steps to achieve professional-quality results that last for years.
Benefits of Painting Your Shed Floor
Moisture Protection and Mold Prevention
Painting your shed floor creates an essential moisture protection barrier that helps prevent water damage and mold growth. A quality floor paint seals the surface, making it harder for moisture to seep up from the ground and penetrate the flooring material. This protective layer is especially important in areas with high humidity or where ground moisture is a concern. The paint creates a waterproof barrier that not only keeps your floor dry but also prevents the growth of harmful mold and mildew that can damage stored items and create health hazards. Additionally, painted floors are easier to clean and maintain, allowing you to quickly spot and address any moisture issues before they become serious problems. Regular inspection of your painted floor can help identify any weak spots in the moisture barrier that may need touching up.
Enhanced Durability and Longevity
Painting your shed floor adds a protective layer that significantly extends its lifespan. A well-painted floor can withstand heavy foot traffic, resist moisture damage, and prevent wood rot or concrete deterioration for years to come. The paint creates a sealed surface that’s easier to clean and maintain, protecting against spills, dirt, and debris that could otherwise penetrate and damage the floor material. Many homeowners report that their painted shed floors have lasted 5-7 years longer than unpainted ones, with proper maintenance. The protective coating also helps prevent scratches from moving equipment and reduces dust accumulation, making your shed a more pleasant space to work in. Just remember to choose a paint specifically formulated for floor use, as these contain additives that enhance wear resistance and durability.
Improved Aesthetics and Cleaning
A freshly painted shed floor can transform your storage space from dull to delightful. The smooth, clean surface not only looks more inviting but also makes sweeping and mopping significantly easier. Dust and dirt are more visible on a painted floor, allowing you to spot and clean messes quickly before they become stubborn stains. The unified color creates a more organized appearance, making your shed feel like an extension of your home rather than just a storage space. Plus, the sealed surface prevents dirt and moisture from penetrating the concrete or wood, reducing the time you’ll spend on deep cleaning and maintenance. Many homeowners find that a painted floor encourages them to keep their shed tidier and better organized, as the improved aesthetics inspire better care and attention to the space.
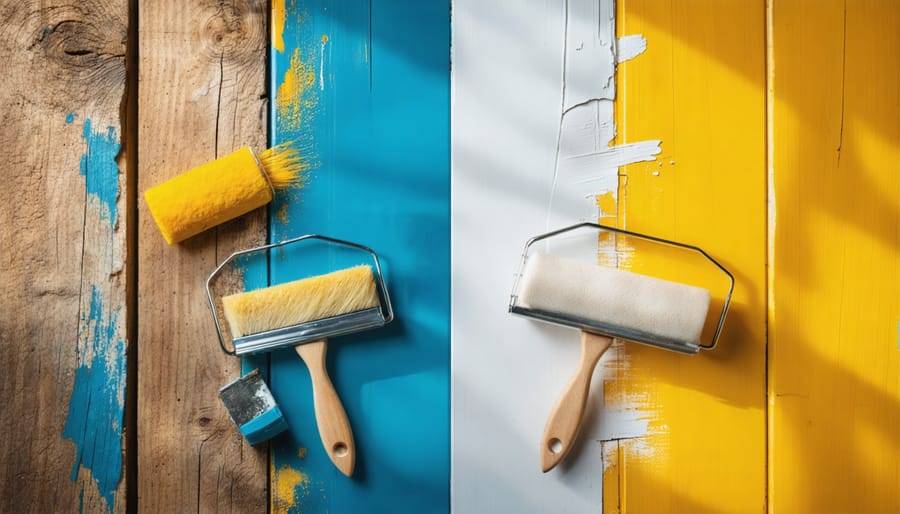
Choosing the Right Paint
Best Paint Types for Different Floor Materials
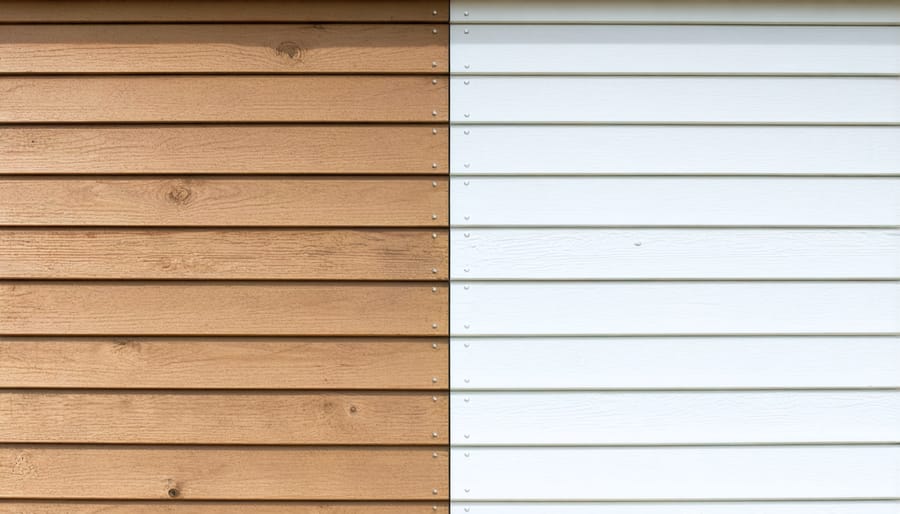
Choosing the right paint for your shed floor depends largely on the material you’re working with. For wooden floors, opt for oil-based porch and floor paint or marine-grade epoxy paint, which provides excellent durability and moisture resistance. These paints create a tough seal that protects against rot and helps maintain your proper shed foundation.
For concrete floors, epoxy paint is your best bet. Look for specific concrete floor epoxy that includes both a base coat and a clear topcoat for maximum protection. These formulations are designed to resist chemicals, moisture, and heavy foot traffic while providing an attractive finish.
If your shed has a metal floor, use rust-inhibiting primer followed by epoxy floor paint specifically designed for metal surfaces. This combination helps prevent corrosion and extends the life of your floor.
For composite or vinyl flooring, use paints specifically labeled for these materials. Many manufacturers now offer specialized paints that bond well with synthetic surfaces while maintaining flexibility to prevent cracking or peeling.
Regardless of your floor material, always choose paint labeled for exterior use and floor applications. These formulations contain additional hardeners and UV protectors that help them withstand constant foot traffic and varying weather conditions. For best results, consider adding a non-slip additive to your final coat, especially if your shed sees frequent use during wet weather.
Important Paint Features to Consider
When selecting paint for your shed floor, certain features are crucial for long-lasting results. Slip resistance should be your top priority, especially if you frequently access your shed during wet weather. Look for paints specifically labeled as “anti-slip” or consider adding a non-slip additive to your chosen paint for extra traction.
Durability ratings matter significantly for floor paint. Choose products rated for “heavy foot traffic” or “high wear,” as these formulations are designed to withstand regular use, heavy equipment, and frequent cleaning. Many quality floor paints come with specific durability ratings measured in years – aim for those promising at least 5-7 years of protection.
Weather resistance is equally important, particularly for sheds with exposure to moisture or temperature fluctuations. Look for paints labeled as “moisture-resistant” or “all-weather.” These typically contain special additives that prevent peeling and bubbling when exposed to dampness. Some premium floor paints also offer UV protection, which helps prevent fading and deterioration from sunlight exposure, especially important for sheds with frequent door opening.
Floor Preparation and Painting Process
Surface Preparation Steps
Before you grab that paintbrush, proper surface preparation is crucial for achieving a durable, long-lasting finish on your shed floor. Start by thoroughly sweeping the entire floor to remove dirt, leaves, and debris. Follow this with a deep clean using a mixture of warm water and mild detergent, scrubbing any stubborn stains or oil spots with a stiff brush.
If your concrete floor has cracks or damage, repair these issues before painting. Fill small cracks with concrete patch compound and allow it to cure completely. For larger damages, you might need to consult a professional. Don’t forget to check for moisture issues – tape a 2×2 foot piece of clear plastic sheeting to the floor for 24 hours. If condensation forms underneath, you’ll need to address the moisture problem first.
Once the floor is clean and repaired, etch the surface using a concrete etcher to create a better bond for the paint. Rinse thoroughly and allow the floor to dry completely – usually 24-48 hours depending on weather conditions. Apply a concrete primer designed specifically for floor applications, working in small sections and following the manufacturer’s instructions for drying times.
Remember to ensure proper ventilation throughout the preparation process, and wear appropriate safety gear like gloves and a dust mask, especially when working with cleaning chemicals or concrete etcher.
Application Techniques
To achieve the best results when painting your shed floor, start by thoroughly cleaning the surface with a stiff brush and vacuum to remove all dirt and debris. Next, repair any cracks or damage with appropriate filler, allowing it to cure completely before proceeding.
Begin painting at the furthest corner from the door and work your way toward the exit to avoid painting yourself into a corner. Use a roller with an extension handle for large areas and a quality paintbrush for edges and corners. Apply thin, even coats rather than one thick layer to prevent pooling and ensure proper drying.
For concrete floors, use a roller with a medium nap (3/8 to 1/2 inch) to handle the surface texture. For wooden floors, opt for a shorter nap roller (1/4 inch) for smoother application. Always paint in small sections, maintaining a “wet edge” to prevent visible lap marks.
Most shed floors will benefit from two coats of paint. Allow the first coat to dry completely according to the manufacturer’s instructions before applying the second coat. Consider adding a non-slip additive to your final coat for enhanced safety, especially if the shed sees frequent foot traffic.
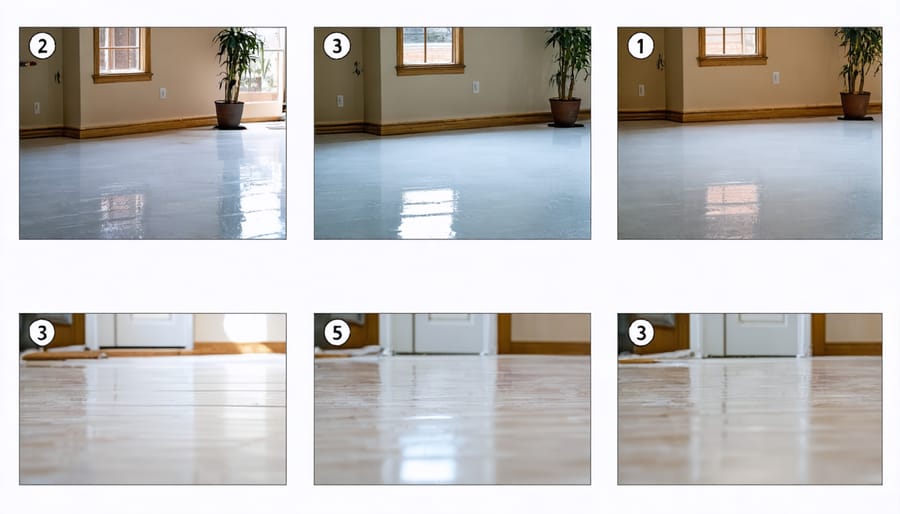
Drying and Curing Time
After painting your shed floor, proper drying and curing time is crucial for long-lasting results. While the paint may feel dry to the touch within 4-6 hours, don’t be tempted to move items back in just yet. Allow at least 24 hours of drying time before light foot traffic, and wait 72 hours before moving any furniture or equipment back into the shed.
For full cure time, most floor paints need 7-10 days to reach maximum hardness and durability. During this period, avoid dragging heavy items across the floor or exposing it to moisture. The weather plays a significant role too – humid conditions will extend drying times, while warm, dry weather helps the paint cure faster.
To ensure the best results, keep your shed well-ventilated during the drying process. Leave the door open during daylight hours if possible, and consider using a fan to improve air circulation. Remember, patience during this final stage will reward you with a more durable, longer-lasting floor finish that can withstand years of use.
Maintenance Tips
To keep your painted shed floor looking great and performing well, regular shed maintenance is essential. Clean the floor regularly with a soft-bristled broom to remove dirt and debris that could scratch the paint surface. Address any spills immediately to prevent staining and potential paint damage.
Inspect the floor quarterly for signs of wear, particularly in high-traffic areas and near the entrance. Touch up any chips or scratches promptly using your leftover paint to prevent moisture from seeping into the substrate. Apply a new coat of paint every 2-3 years, depending on usage and wear patterns.
Consider placing rubber mats in high-traffic areas and using furniture pads under heavy items to protect the paint finish. During wet seasons, ensure proper ventilation to prevent moisture buildup, which can affect the paint’s durability. Keep a dehumidifier in your shed if dampness is a recurring issue.
Remember to check the threshold area regularly, as this tends to show wear first. A well-maintained painted floor will provide years of service and protection for your shed.
Painting your shed floor is a worthwhile investment that can enhance durability, appearance, and functionality. By choosing the right paint and following proper preparation steps, you’ll create a surface that resists moisture, prevents dust, and makes cleaning easier. Remember to select weather-appropriate timing for your project, use quality materials, and allow adequate drying time between coats. With proper maintenance, your painted shed floor will provide years of reliable service while keeping your storage space looking fresh and inviting.