


Keep Your Tuff Shed Cool: Smart Ventilation That Actually Works

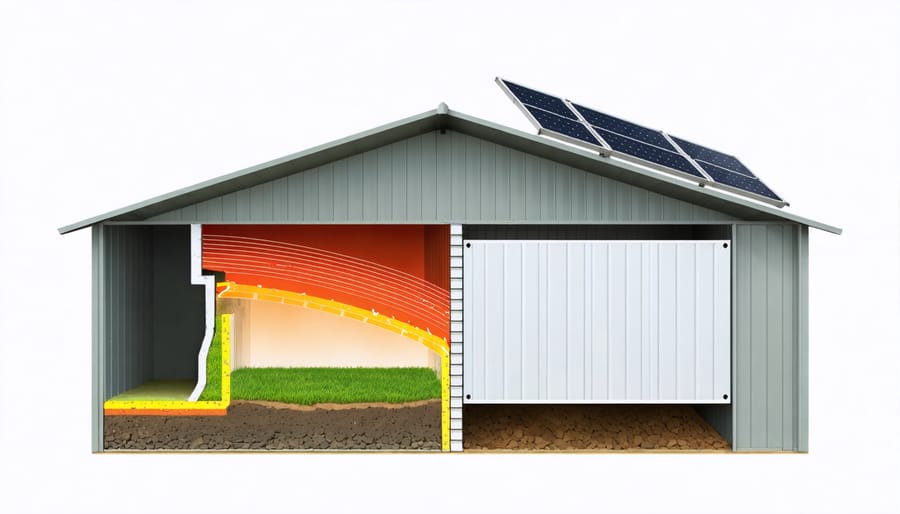
Proper ventilation transforms your Tuff Shed from a stuffy storage space into a functional, year-round building that protects your belongings from moisture damage and extreme temperatures. Strategic airflow management through ridge vents, soffit vents, and gable vents creates a natural chimney effect, pulling fresh air through your shed while expelling hot, humid air. Installing the right combination of passive and active ventilation systems not only prevents mold growth and wood rot but also extends the life of stored items and maintains structural integrity.
Beyond basic air circulation, modern Tuff Shed ventilation solutions include solar-powered fans, adjustable vents, and smart humidity controls that adapt to changing weather conditions. These upgrades work together to maintain optimal interior conditions without requiring constant adjustment or monitoring. Whether you’re storing sensitive equipment, workshop tools, or seasonal decorations, proper ventilation serves as your first line of defense against damage while ensuring your shed remains a reliable storage solution for years to come.
Why Your Tuff Shed Needs Proper Ventilation
Temperature and Humidity Risks
Proper temperature control in sheds is crucial, as unchecked heat and humidity can wreak havoc on both your stored belongings and the shed’s structure. High temperatures can warp wooden items, damage electronics, and create an uncomfortable environment for working in your shed. Meanwhile, excess moisture leads to mold growth, rust on metal tools, and can even compromise the structural integrity of your Tuff Shed over time.
During summer months, trapped heat can cause temperatures to soar well above outdoor levels, potentially damaging sensitive items like paint, chemicals, and garden supplies. In winter, temperature fluctuations combined with poor ventilation create condensation, which can drip onto stored items and promote wood rot in the shed’s framework. Without proper airflow, even sealed containers can develop moisture problems, leading to musty odors and deterioration of stored contents.
Air Quality Benefits
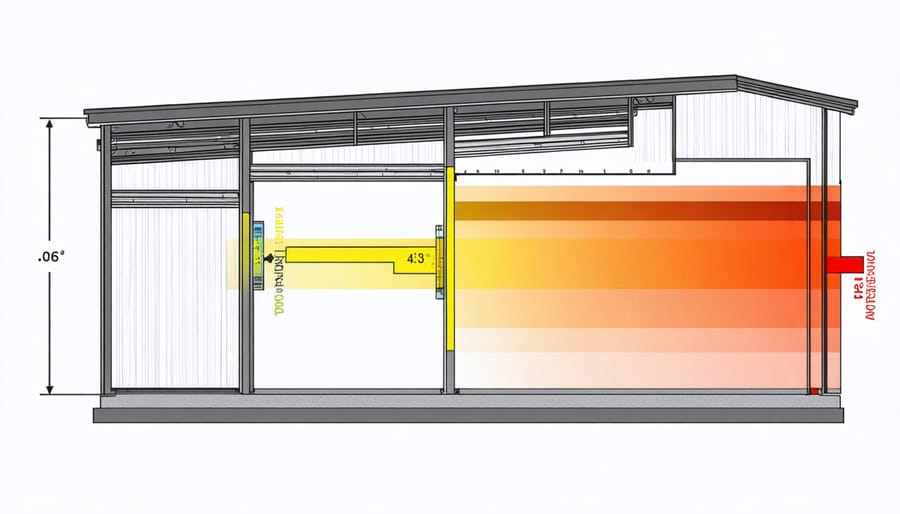
Proper ventilation in your Tuff shed plays a crucial role in maintaining healthy air quality and protecting your stored items. Without adequate airflow, moisture can become trapped inside, creating the perfect environment for mold and mildew growth. These unwanted visitors not only create unpleasant odors but can also damage your belongings and potentially compromise the shed’s structural integrity.
Good ventilation helps regulate humidity levels by allowing damp air to escape while bringing in fresh air from outside. This constant air exchange prevents the buildup of stale air and reduces moisture condensation on walls, ceilings, and stored items. During warmer months, proper airflow also helps control temperature extremes, making it more comfortable when you’re working in your shed.
Additionally, if you store items like garden chemicals, paints, or fuel-powered equipment in your shed, ventilation helps disperse potentially harmful fumes, creating a safer environment every time you step inside.
Essential Ventilation Options for Tuff Sheds
Ridge Vents and Soffit Systems
Ridge vents and soffit systems work together to create proper roof ventilation, allowing hot air to escape through the top while drawing cooler air in from below. This natural ventilation method is particularly effective for Tuff sheds because it operates continuously without requiring power or maintenance.
Installing a ridge vent system starts at the peak of your shed’s roof. A small gap is cut along the ridge, which is then covered with a specially designed vent that keeps out rain and snow while allowing air to flow freely. The ridge vent’s low profile maintains your shed’s clean look while providing essential airflow.
Soffit vents are installed under the roof’s overhang and work in harmony with ridge vents. As warm air rises and exits through the ridge vent, it creates negative pressure that pulls fresh air in through the soffit vents. This continuous air movement helps prevent moisture buildup and maintains a comfortable temperature inside your shed.
For DIY installation, start by measuring your shed’s ridge length and marking the cutting lines. Most ridge vents require a 1-inch gap on each side of the ridge. When installing soffit vents, space them evenly for balanced airflow. Remember to keep insulation from blocking the vents, as this would defeat their purpose. If you’re unsure about installation, consider consulting a professional to ensure optimal performance.
Gable Vents and Turbines
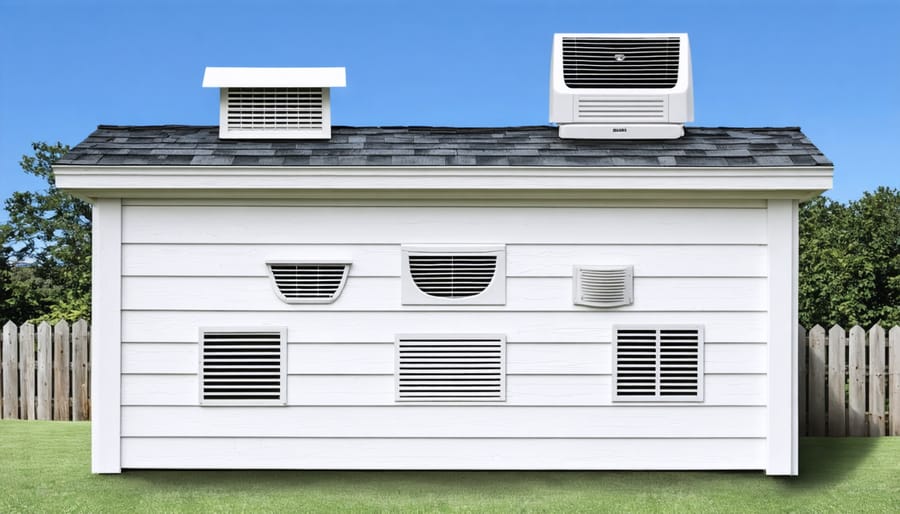
Gable vents and turbines offer effective mechanical ventilation solutions for your Tuff shed, helping maintain optimal airflow throughout the seasons. Gable vents, installed on the triangular end walls of your shed, create a natural cross-breeze that helps expel hot air while drawing in cooler air from below. For best results, install pairs of gable vents on opposite ends of your shed to maximize air circulation.
Turbine vents, also known as whirlybirds, take ventilation a step further by actively pulling hot air out of your shed. These wind-powered devices spin with even the slightest breeze, creating an upward suction that draws out warm, humid air from your storage space. Many shed owners find that combining gable vents with a turbine vent provides the most effective ventilation system.
When installing gable vents, position them as high as possible in the peak of the wall to take advantage of rising hot air. A standard 12×16-inch vent typically provides adequate ventilation for most shed sizes, though larger structures may benefit from multiple vents. For turbines, choose a model rated for your shed’s square footage, and ensure proper installation with appropriate flashing to prevent any water leaks.
Remember to keep vents clear of storage items and check them periodically for debris or pest intrusion to maintain optimal performance. During winter months, you might want to partially close gable vents to prevent excessive cold air entry while still maintaining some airflow.
Solar-Powered Ventilation
Solar-powered ventilation offers an eco-friendly and cost-effective solution for maintaining optimal airflow in your Tuff shed. These systems typically consist of a small solar panel that powers a ventilation fan, requiring no electrical hookup or ongoing energy costs. The panel captures sunlight during the day, converting it into power that runs the fan automatically when temperatures rise.
Many homeowners find that a 10-watt solar ventilation fan is sufficient for a standard-sized shed. These fans are particularly effective because they work hardest during the sunniest parts of the day when ventilation needs are greatest. Installation is straightforward, usually requiring only basic tools and about an hour of time.
For best results, position the solar panel on the south-facing side of your shed’s roof where it will receive maximum sun exposure. The fan itself should be mounted near the shed’s peak, where hot air naturally collects. Some models come with adjustable thermostats that activate the fan only when needed, helping to maintain ideal storage conditions.
The initial investment in solar ventilation typically pays for itself through improved air quality and protection of stored items. Plus, these systems are virtually maintenance-free – just occasional cleaning of the solar panel and fan blades is all that’s needed to keep them running efficiently.
DIY Installation Tips and Maintenance
Installation Best Practices
Proper installation of ventilation in your Tuff shed is crucial for long-term performance and protection of your stored items. According to ASHRAE Standard 62.2 ventilation guidelines, adequate airflow prevents moisture buildup and maintains air quality in enclosed structures. Before you begin any DIY installation, verify your local building codes, as some jurisdictions have specific requirements for shed ventilation that may affect vent sizing, placement, and fire safety clearances.
Start by planning vent locations before assembly. Ideally, place vents on opposite walls to create cross-ventilation. Install lower vents on one side and upper vents on the opposite wall to promote natural air circulation through the stack effect. Aim for 1 square foot of ventilation per 150 square feet of floor space as your baseline.
Essential Tools for Ventilation Installation
Gather these tools before starting your project: cordless drill with various bits, jigsaw or reciprocating saw, tape measure, level, caulking gun with weatherproof sealant, tin snips (for metal vents), safety glasses, work gloves, and a pencil for marking. Having everything on hand prevents mid-project trips to the hardware store.
Step-by-Step Installation Checklist
Follow this comprehensive checklist for successful ventilation installation:
- Measure and mark vent locations on opposite walls, ensuring proper spacing from corners and edges
- Create cardboard templates matching your vent dimensions to verify placement and sizing
- Double-check measurements, then carefully cut openings using appropriate tools for your shed material
- Install bug screens first, securing them inside the opening before mounting the exterior vent cover
- Position vent covers at a slight downward angle (5-10 degrees) to prevent rain entry
- Secure vents with corrosion-resistant screws, following manufacturer spacing recommendations
- Apply continuous weatherproof caulking around all edges, smoothing for a watertight seal
- For gable vents, verify framing support and structural integrity before final mounting
- Test airflow using a smoke pencil or incense on a calm day, checking for proper air movement between intake and exhaust points
- Inspect all seals and fasteners after 48 hours, retightening or adding caulk as needed
When cutting vent openings, always measure twice and cut once. Common installation mistakes include placing vents too close to the ground (which can lead to moisture problems), forgetting to install bug screens (essential for keeping pests out), and undersizing the total ventilation area.
For gable vents, ensure they’re properly framed and supported to maintain structural integrity. When installing soffit vents, maintain at least 1 inch of clearance between insulation and the vent to allow proper airflow. Consider adding a solar-powered vent fan for additional air circulation during hot summer months, especially if you’re controlling temperature in your shed.
Building codes vary by region, but most residential shed projects fall under similar ventilation principles found in IRC (International Residential Code) Section R806. Always verify local requirements before finalizing your design. Test your ventilation system after installation by conducting a simple smoke test on a calm day to ensure proper air movement, and check out available shed accessories that can enhance your ventilation setup.
Step-by-step installation process of a solar-powered ventilation fan
Seasonal Maintenance Guide
Keeping your Tuff Shed’s ventilation system in top condition requires consistent year-round ventilation maintenance. Each season brings unique challenges, so let’s break down the essential tasks that’ll keep your shed breathing easily throughout the year.
In spring, start by clearing any debris that winter storms might have pushed against your vents. Check screens for damage and clean them thoroughly with a soft brush. This is also the perfect time to inspect your ridge vents and ensure they’re properly sealed.
Summer ventilation maintenance focuses on keeping air flowing freely. Test all mechanical vents to ensure they’re working smoothly, and lubricate moving parts if needed. Remove any bird nests or insect hives that might have formed near your vents. A quick inspection every few weeks can prevent bigger problems down the road.
As autumn approaches, clear fallen leaves from around your foundation vents and check that gable vents are unobstructed. This seasonal maintenance step is crucial for preventing moisture buildup as temperatures begin to drop.
Winter requires special attention to prevent snow and ice from blocking your vents. Regular checks after snowfall are essential, and remember to clear any ice formations that might restrict airflow. Consider installing snow guards above your vents if you live in an area with heavy snowfall.
Mark these maintenance tasks on your calendar. Consistent upkeep is much easier than dealing with problems that arise from neglect.
Looking for a shed accessories?
Browse our full range of shed accessories from authorized dealer brands. Free shipping to the continental US.