


How to Assemble a Portable Greenhouse: Step-by-Step Instructions for Every Homeowner

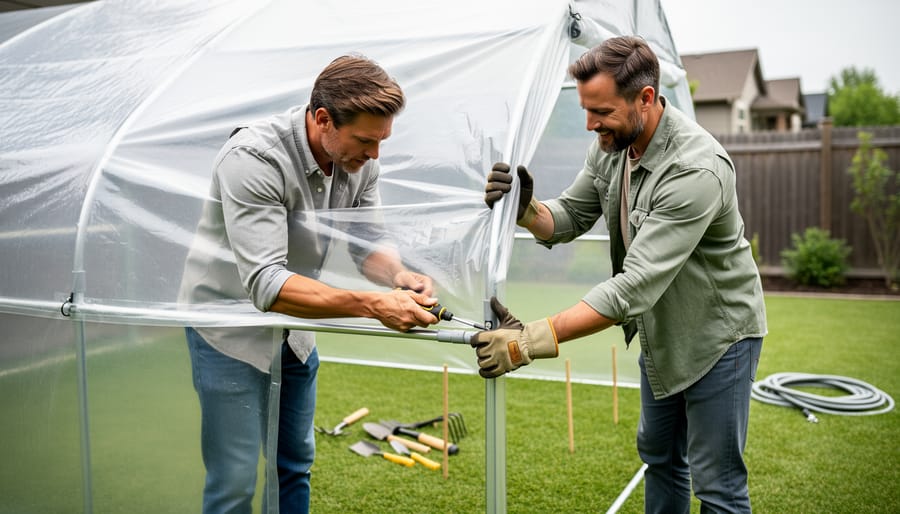
Assembling a portable greenhouse takes about 2 to 4 hours with two people and requires only basic tools like a screwdriver, rubber mallet, and work gloves. Most kits arrive with pre-cut frame pieces, clear plastic or polyethylene covers, and anchor stakes, making the process straightforward even if you’ve never tackled a project like this before.
The biggest challenge isn’t complexity but patience. You’ll need to work methodically through frame assembly, ensuring each connector sits flush before stretching and securing the cover. Rushing this step causes misalignment that’s frustrating to fix later. Windy days make cover installation nearly impossible, so check the forecast and recruit a helper who can hold sections steady while you fasten them.
Most abandoned assembly projects happen because people underestimate the prep work. Choosing a level site, clearing debris, and laying out all components before you start saves hours of backtracking. One homeowner told us she spent 20 minutes hunting for a missing ground stake mid-assembly, only to realize her dog had carried it across the yard.
This guide walks you through every stage, from unpacking your kit to anchoring the final corner. You’ll learn which steps demand precision, where shortcuts cause problems, and how to troubleshoot common issues like sagging covers or wobbly frames. By the end, you’ll have a sturdy, functional greenhouse ready for your first seedlings.
Key Takeaway: The three most common assembly mistakes, skipping the leveling step, over-tightening connectors until they crack, and working in windy conditions, cause 80% of reported problems. Fix them by releveling your base, using moderate hand-tightness on fasteners, and waiting for calm weather before handling the cover.
What You’ll Need: Tools, Materials, and Manpower
Essential Tools for Assembly
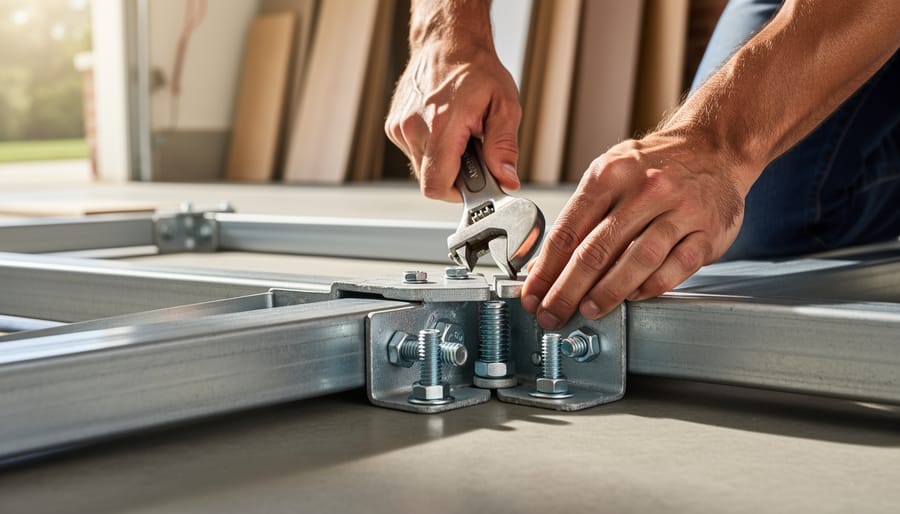
Most portable greenhouse kits require a small collection of basic tools you probably already own. A Phillips-head screwdriver is essential for tightening frame connectors and installing door hardware, it’s the tool you’ll reach for most often. Many kits also include bolts that need a wrench or adjustable pliers to secure frame joints properly; finger-tight isn’t enough for stability.
A rubber mallet comes in handy for gently tapping frame tubes into connectors without damaging the metal or plastic. Some homeowners use a hammer wrapped in a towel, but a mallet prevents dents. Sharp scissors or a utility knife help trim excess cover material and cut securing ties to the right length.
A measuring tape ensures your base frame is square before you build upward, taking two minutes to measure diagonals saves frustration later when panels don’t align. A level, while optional, helps verify your site is flat enough; greenhouses on sloped ground develop gaps and drainage issues.
Finally, keep a cordless drill nearby if your kit uses self-tapping screws. It speeds assembly dramatically compared to hand-driving dozens of screws into metal frames.
How Many People You’ll Need
Most portable greenhouses under 6 feet wide can be assembled solo if you’re comfortable working methodically. You’ll manage the base frame and end walls without issue, though roof arch installation requires careful balancing.
For greenhouses 8 feet wide or larger, a second person transforms the project. Your helper stabilizes long frame sections while you fasten connections, preventing frustrating collapses. Cover installation especially benefits from teamwork, one person holds fabric taut while the other secures clips, avoiding wrinkles and tears.
Even on smaller models, a helper cuts assembly time nearly in half and reduces the physical strain of holding, positioning, and fastening simultaneously. If you’re working alone, plan extra time and consider propping techniques using boxes or saw horses to support frame sections during connection.
Time Investment: What to Expect
Most small portable greenhouses (6×6 or smaller) take 1-2 hours to assemble once you’ve unpacked and organized parts. Medium-sized units like an 8×8 greenhouse size typically require 2-4 hours with a helper. Larger models (10×12 and up) can take 4-6 hours or span two sessions, especially for first-timers.
Add 30-60 minutes for site prep and inventory. Common delays include searching for misplaced hardware, waiting for wind to calm before installing the cover, and re-doing sections that weren’t squared properly the first time. Don’t rush, taking breaks actually prevents costly mistakes that eat more time fixing later.
Before You Start: Safety and Site Preparation
Safety First: Protecting Yourself During Assembly
Assembling a portable greenhouse is generally safe, but a few smart precautions prevent unnecessary injuries and frustration.
Wear work gloves throughout the assembly process. Metal frame pieces often have sharp edges or burrs that can cut your hands, and gloves give you better grip when handling poles and connectors. Safety glasses are also worth wearing, especially when snapping together metal tubes or hammering stakes, small metal fragments occasionally fly loose.
Never assemble in windy conditions. Wind turns lightweight frames and large plastic covers into sails that can pull the structure, and you, off balance. If gusts pick up mid-assembly, stop and anchor what you’ve built so far. Wait for a calm day or work early morning when winds are typically lighter.
Use proper lifting technique when handling longer frame sections and bundled materials. Bend at your knees, not your waist, and keep heavy items close to your body. For anything awkward or heavy, get a helper rather than risking a strained back.
If you feel unsteady on a ladder while reaching for roof sections, stop. Most portable greenhouses are designed so you can assemble the entire frame from ground level, eliminating the need for overhead work.
Preparing Your Assembly Site
Choosing the right spot saves headaches later. Look for a level area that gets at least six hours of sunlight daily and has good drainage, standing water will pool inside after rain and create problems. Walk the space and check for a natural slope; even a slight tilt will cause the frame to rack or doors to bind.
Clear the ground of rocks, sticks, and sharp debris that could puncture the cover from below. Pull any weeds and rake smooth. If the surface isn’t naturally level, use a garden rake to redistribute soil or add a thin layer of pea gravel to create a stable, flat base. A carpenter’s level or even a smartphone level app helps verify you’re truly level in both directions.
Lay out a tarp nearby to organize your hardware. Open all boxes and spread out the frame pieces, connectors, and fasteners. Group similar items together, all corner connectors in one pile, all roof clips in another. This assembly-line approach means you won’t be hunting for a specific bolt when you’re balancing a frame section. Keep the instruction manual handy and protected from wind.
Step-by-Step Assembly Process
Step 1: Inventory and Organize Your Parts
Unpack your greenhouse kit in your prepared assembly area, not inside your home, boxes are bulkier than you’d expect. Lay out the instruction manual first and keep it handy; you’ll reference it constantly.
Spread all components on a clean tarp or drop cloth to protect parts and make inventory easier. Most kits include a parts list with images or diagrams, use this as your checklist. Count frame tubes, connectors, door components, and anchors. Separate the cover material carefully to avoid snagging.
Hardware is where organization pays off. Use small containers, muffin tins, or labeled ziplock bags to sort screws, bolts, clips, and washers by type. This ten-minute investment prevents frustrating mid-assembly searches through mixed piles of fasteners.
If anything’s missing or damaged, contact the manufacturer immediately before you start building. Most ship replacement parts quickly, and discovering a problem now beats stopping halfway through assembly.
Step 2: Assemble the Base Frame
Start by laying out all your base frame pieces on the ground near where your greenhouse will stand. Most kits use corner connectors and straight tubes or rails that lock together, connect the four sides to create a rectangle following your manual’s diagram. Here’s where precision matters: before you tighten anything fully, measure both diagonals from corner to corner. If the measurements match exactly, your base is square. If they’re off even by an inch, gently push the frame until those diagonals are equal.
Next, check that the base sits level. Place a carpenter’s level along each side. If one corner is higher, you’ll need to adjust the ground beneath, remove soil from high spots or add shims under low corners. A level base prevents doors from binding and keeps roof supports from racking later. The quality of your framing material affects rigidity here, but proper leveling compensates for minor flex. Once everything’s square and level, tighten all base connections firmly. Don’t skip this verification step, it’s far easier to fix now than after you’ve built the walls.
Step 3: Build and Attach the End Walls
Start with the back wall since it’s usually simpler, no door cutout to align. Most kits use the same arch or vertical pole system you built for the base, just oriented upright. Connect the horizontal cross-members according to your instruction diagram, checking that corners form true right angles before tightening connectors fully.
The door-end wall requires more attention. Assemble the door frame separately first, making sure the zipper or flap operates smoothly before you attach it to the main structure. Some kits include pre-assembled door panels that snap into place; others require you to build the frame around a fabric panel with a zipper running through it.
If your greenhouse includes ventilation windows or roll-up panels, install those mounting clips now, retrofitting them after the cover goes on is frustrating. Secure both end walls to the base frame using the provided brackets or tension bands. Double-check that walls stand perfectly vertical using a level. A leaning end wall will cause cover wrinkles and poor door operation later.
Step 4: Install the Roof Arches or Frame
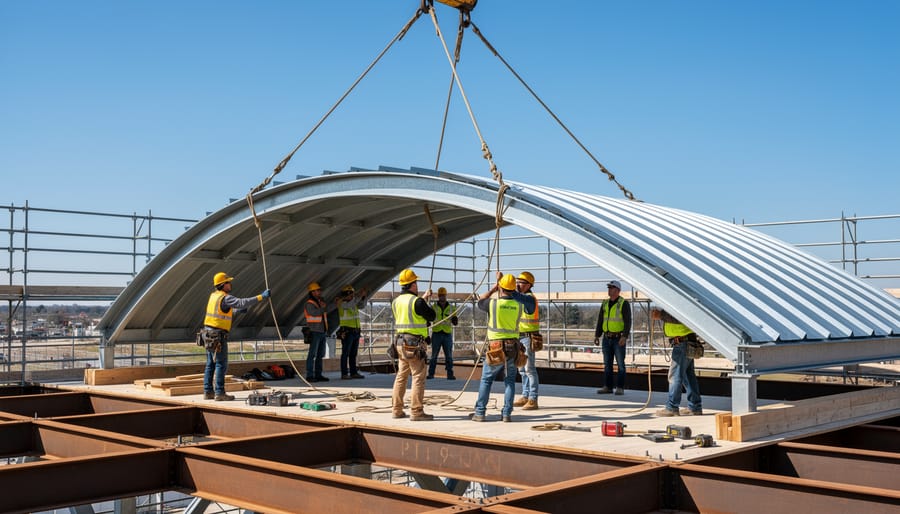
Starting with the roof support is where your greenhouse really takes shape, and where an extra pair of hands makes the biggest difference. Most portable greenhouse kits use either curved arches or angled frame pieces that span from one side of the base to the other, creating the classic hoop or peaked roof profile.
Begin by identifying which end gets the first arch. Your instruction manual usually specifies a starting point, often the door end. Slide or insert the arch into the designated slots or connectors on both sides of the base frame, making sure it’s seated fully. Don’t force it, if an arch won’t fit easily, double-check that you’re using the correct piece and that the base frame is truly square.
Space subsequent arches evenly according to the manual’s measurements. Consistent spacing prevents sagging and ensures the cover stretches properly. A helper can hold arches upright while you secure them with the provided clips, bolts, or cross braces.
Install all horizontal or diagonal bracing between arches before moving on. These stabilizers are essential, they prevent the frame from racking sideways and distribute wind load. Tighten everything snugly but not overtight, which can strip threads or crack plastic connectors.
Step 5: Attach the Greenhouse Cover
With the frame standing square and stable, you’re ready for the most visible part of the assembly: installing the cover. Start on a calm day, even a light breeze can turn a manageable task into a wrestling match with flapping plastic. Check the weather forecast and plan for a window of still air, ideally in the morning before afternoon winds pick up.
Begin by identifying which end of the cover is the front (usually marked or indicated in your instructions) and unfold it carefully near the greenhouse frame. Don’t drag the material across the ground where debris can puncture it. With a helper, drape the cover over the roof arches from one end, cenking it so there’s equal overhang on both sides. The material should reach the ground with a few extra inches, you’ll secure this excess to prevent gaps.
Most kits include plastic clips that snap onto the frame pipes or tie-down cords that thread through grommets. Work your way from the center outward, securing clips every two to three feet along the base and roof arches. Pull the cover taut but not stretched tight, you want it snug enough to shed rain and resist wind, but not so tight it tears at attachment points. The quality of your glazing materials matters here, but even durable covers need careful handling during installation.
Once clipped, check for wrinkles or sagging sections and adjust clips as needed. Secure the door flap last, ensuring the zipper or closure operates smoothly without binding on the frame.
Step 6: Secure and Anchor the Greenhouse
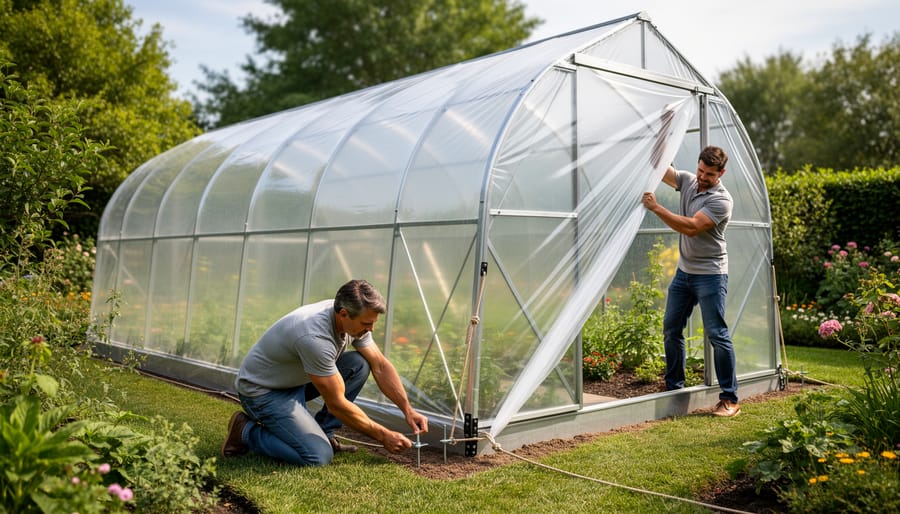
Your greenhouse might look complete, but it’s not truly ready until it’s properly anchored. Wind is the biggest threat to portable greenhouses, even a moderate gust can lift an unsecured structure, bend the frame, or tear the cover. This step takes just 10-15 minutes but prevents hundreds of dollars in damage.
Most kits include ground stakes (metal pegs that drive into soil) and anchor ropes or straps. Push stakes through the base frame’s designated holes at a 45-degree angle away from the greenhouse, driving them fully into the ground until only the hook remains visible. Attach the provided ropes or straps from these stakes to the frame, pulling them taut but not overly tight, you want tension that holds the structure down without warping it.
If you’re setting up on concrete, a deck, or hard ground where stakes won’t work, use sandbags or concrete blocks placed inside along the base perimeter. Aim for at least 20-30 pounds of weight per corner for small greenhouses, more for larger models.
Test your anchoring by gently pushing against the frame from different angles. It should feel rock-solid with minimal give.
Checking Your Work: How to Verify Proper Assembly
Once you’ve completed all assembly steps, resist the urge to call it finished right away. A ten-minute inspection now can prevent headaches later, especially before the first strong wind or heavy rain tests your work.
Start by checking the entire frame for wobble. Grip each corner and apply gentle pressure in different directions. The structure should feel solid, with no excessive flexing or loose joints. If you notice movement, go back and tighten all bolts and connectors, hand-tight first, then a quarter-turn more with your tool.
Walk through this verification checklist before you consider the job complete:
- Frame stability: All joints secure with no wobbling or flexing under light pressure
- Cover tautness: Plastic pulled snug without sagging areas or excessive wrinkles that collect water
- Door operation: Zippers run smoothly and door flaps close completely without gaps
- Anchor security: All stakes driven fully into ground, ropes or tie-downs properly tensioned
- Levelness: Base frame sits flat with no corners lifted off the ground
Pay special attention to the cover. Run your hand along the surface looking for spots where the plastic feels loose or baggy. These areas will catch wind and flap noisily, eventually wearing holes. Adjust the clips or ties to achieve even tension across all sections.
Test the door by opening and closing it several times. The zipper shouldn’t snag, and when closed, you shouldn’t see daylight gaps around the edges. Check that shelves or stakes inside don’t block the door swing.
Finally, step back and view the greenhouse from all four sides. It should look symmetrical, with the cover draped evenly and the frame standing straight. If something looks off, trust your eye, it probably needs adjustment.
Troubleshooting Common Assembly Issues
Even when you follow the instructions carefully, a few assembly hiccups are completely normal, especially on your first portable greenhouse. The good news is that most problems have simple fixes that don’t require disassembling everything and starting over.
Parts That Won’t Connect or Align
If tubes won’t slide together or bolt holes don’t line up, the frame likely isn’t square. Step back and check that your base is level and all corners form true 90-degree angles. Loosen a few connections slightly, adjust the frame position, then retighten once everything aligns. Sometimes you’ll find you’ve inserted a pole backwards or swapped two similar-looking pieces, double-check part numbers against your manual before forcing anything.
Wobbly or Unstable Frame
A frame that feels shaky usually means connections aren’t fully seated or tightened. Walk around and push each joint firmly together, then snug up bolts with consistent pressure, not gorilla-tight, just firm. Check that all cross braces are installed; skipping even one diagonal support dramatically reduces stability. If wobbling persists after tightening, verify your base sits on level ground, as uneven surfaces create stress points that prevent solid connections.
Sagging or Loose Cover
Covers that sag or flap usually weren’t pulled tight enough during installation or weren’t secured at every anchor point. Remove the cover from one end, pull it taut (this is much easier with two people), and reattach using all provided clips, not just every other one. Work from the center outward to distribute tension evenly. If the cover still sags after a few weeks, UV exposure and temperature changes cause some initial stretching; simply retighten clips and add extra spring clamps at problem spots.
Doors That Stick or Won’t Close Properly
Misaligned door frames stem from uneven end walls. Loosen the wall-to-base connections slightly, use a carpenter’s square to verify the door frame is perfectly vertical, then retighten. If the zipper catches or won’t run smoothly, the cover is probably too tight across the door opening, loosen cover tension slightly on that wall. For rigid doors that bind, check that hinges are straight and screws haven’t stripped their holes; moving a hinge mounting point by half an inch often solves persistent binding.
What to Do After Assembly: Next Steps for Success
Once your greenhouse is standing, resist the urge to immediately fill it with plants. A few smart setup steps now will save you headaches later.
Start by testing your door. Open and close it several times to confirm the zipper or flap seals completely. Gaps here let heat escape and pests enter. If the door drags or won’t seal, adjust the frame slightly or retighten connections.
Next, establish your ventilation routine. Most portable greenhouses trap heat quickly on sunny days, even in cool weather. Roll up side panels or open roof vents during the warmest part of the day, then close them before temperatures drop in late afternoon. Set a phone reminder for the first week until this becomes habit.
If your greenhouse didn’t come with shelving, add it now while the interior is empty. Simple wire shelving or wooden boards on cinder blocks work perfectly and maximize your growing space. Position heavier pots on lower shelves to prevent tipping.
Check all anchor points one more time. Walk around the perimeter and tug each stake or weight. Wind often reveals loose connections that felt secure during assembly.
Finally, give the cover a gentle cleaning with plain water and a soft cloth. Remove any dirt or fingerprints from installation. This improves light transmission and lets you spot any tears or stress points that need attention before they worsen.
Your greenhouse is now ready for planting.
Frequently Asked Questions
Can one person assemble a portable greenhouse alone?
Yes, smaller portable greenhouses (6×8 feet or less) can typically be assembled solo, though it takes longer. Larger models benefit significantly from a helper, especially when attaching roof arches and draping the cover without letting it touch the ground.
Do I need a concrete foundation for a portable greenhouse?
No, portable greenhouses are designed to sit directly on level ground without permanent foundations. Ground stakes, anchor ropes, or sandbags provide sufficient stability for most conditions, making them genuinely portable if you need to relocate.
How long does assembly really take for a first-timer?
Small greenhouses typically take 2-3 hours, medium sizes 4-6 hours, and larger models 6-8 hours for beginners. These times include unpacking, organizing parts, and double-checking your work, rushing cuts corners that you’ll regret when the first windstorm hits.
What should I do if parts are missing from my kit?
Contact the manufacturer immediately with your model number and a photo of the parts list from your assembly instructions PDF. Most companies ship replacement hardware within days at no charge, don’t try to improvise with mismatched bolts or clips, as this compromises structural integrity.
These questions come up repeatedly because they address real concerns about whether you’re equipped to handle the project. The honest answer is that portable greenhouse assembly isn’t complicated, but it does require patience and attention to the manual. If you’ve assembled flat-pack furniture or followed any multi-step building instructions, you already have the skills needed. The difference between a wobbly greenhouse that blows apart in the first storm and one that serves you reliably for years often comes down to taking those extra 20 minutes to check that the frame is square and anchors are properly set. Don’t skip the final inspection steps covered earlier, they catch the small mistakes that turn into big headaches later.
Assembling a portable greenhouse is completely within your reach when you break it down into manageable steps and give yourself enough time to do it right. You’ve seen the process: gather your tools, prepare your site, follow the sequence from base to cover, and anchor everything securely. It’s not complicated, it just requires attention to detail and a bit of patience.
Don’t rush through the assembly trying to finish in record time. The homeowners who enjoy their greenhouses for years are the ones who took an extra hour to get the frame perfectly square and the cover properly tensioned. If you hit a snag, step back, review the instructions, and remember that every greenhouse builder has faced the same challenges. Taking a short break often helps you see the solution more clearly.
When you’re ready to start your greenhouse project, Storage Sheds Outlet offers a range of portable greenhouse kits designed with DIY assembly in mind. Each kit includes clear, step-by-step instructions that guide you through the entire process, no guesswork required.
Your greenhouse is waiting to be built, and you’ve got everything you need to make it happen. Take a deep breath, lay out those parts, and start building.